Table of Contents
Advertisement
Quick Links
Download this manual
See also:
Setup Manual
Advertisement
Table of Contents

Summary of Contents for NetComm 3G15Wn
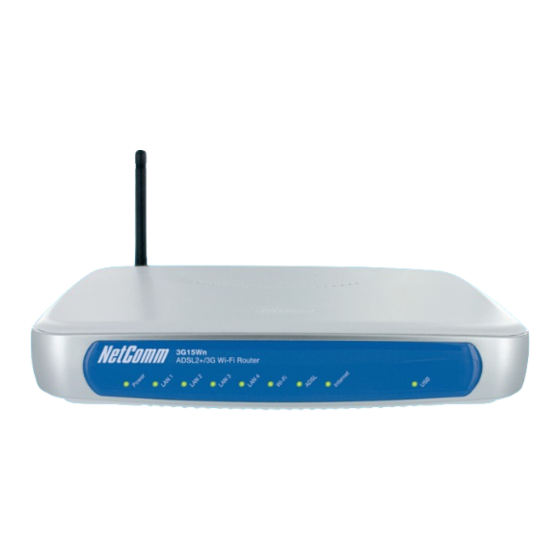
- Page 1 NetComm Gateway SerieS ADSL2+/3G Wireless N300 4-Port Modem Router...
-
Page 2: Connecting The Cables
Connecting the cables 1. Connect the supplied rJ-11 cable to the DSL port on the back of your router to the phone port that supplies your aDSL. 2. and/or, attach a compatible 3G USB modem into the USB port on the back of the router. -
Page 3: Login To The Web Interface
Login to the web interface 1. open a web browser (internet explorer, Firefox, Safari) and type 192.168.1.1 into the address bar. 2. at the login screen type admin into both the username and password fields. then click ok. this will take you directly to the Home page. 3. - Page 4 Connecting with aDSL 1. enter the user ID/Password on this screen as supplied by your iSP. 2. Click on Next to use these settings. 3. you will then be asked to enter additional setup details. this will be explained from Step 6.
- Page 5 Connecting with 3G 1. Select the 3G only box and click Next. 2. Compatible modems will be auto detected: this information can be seen at the top of the page. 3. From the drop down Profile box select your 3G ISP, which will auto-fill your aPN setting.
- Page 6 Configuring 3G backup 1. Select the ADSL with 3G backup box and click Next. 2. Follow the instructions listed above for both aDSL and 3G to set up both connections. 3. Check the Enable 3G Backup box and enter your desired backup settings. 4.
- Page 7 wireless Quick Setup 1. the default settings already appear on the wireless quick setup page. 2. you can enable/disable the wireless signal. 3. you can change your wireless SSiD. if you do, be sure to remember the new name or write it down so you know what network to connect to. 4.
-
Page 8: Usb Storage
2. if you enable USB storage you will be shown the Netbios and Directory name, you can change these to anything you want. 3. Click Next once you are happy with the settings. 4. to access the storage device open a web browser and type \\Netbios\ Directory\. So using the defaults \\3G15Wn\USB-Storage\... -
Page 9: Usb Print Server
USB Print Server 1. if a USB device is plugged into the USB port, it will be auto detected and you will have the choice to Enable on-board print server. 2. if you enable the device to work as a print server you will be asked to enter the printer name and make and model. - Page 10 Passwords 1. on this page you can change the passwords for the different levels of users. 2. the default password for all users is the same as the corresponding username. 3. once you have completed setting the passwords click Finish. 4.
-
Page 11: Establishing A Wireless Connection
1. Using your wireless device, scan the wireless networks in your area and select the network called NetComm Wireless, then click connect. Note: if you changed the SSiD in the wireless quick setup, then your network name will be different 2. -
Page 12: Troubleshooting
troubleshooting Cannot establish a wireless connection • Make sure the wireless switch on your laptop is in the on position. • Ensure your device and wireless adapter are using the same wireless security settings. • Make sure you are trying to connect to the correct SSID with the correct security key. - Page 13 Cannot establish a 3G Connection • Ensure you are using a compatible 3G USB Modem. Note: See NetComm website for a list of compatible modems - www.netcomm.com.au • Ensure you have entered the correct 3G Profile (iSP name and pre/post paid) and that the APN is the same as supplied by your 3G iSP.
- Page 14 NetComm Velocity Series accessories for your product NP900n NP901n NP910n NP902n NP910n wireless N150, this product is perfect for users wishing to extend their network with the convenience of a miniature USB adapter. NP900n wireless N300, this product is perfect for home users.


Need help?
Do you have a question about the 3G15Wn and is the answer not in the manual?
Questions and answers