Ambir ImageScan Pro 800ix Series Installation And Setup Manual
High-speed adf scanner installation and setup guide for mac
Hide thumbs
Also See for ImageScan Pro 800ix Series:
- Installation and setup manual (15 pages) ,
- User manual (36 pages)

Subscribe to Our Youtube Channel
Related Manuals for Ambir ImageScan Pro 800ix Series


Summary of Contents for Ambir ImageScan Pro 800ix Series
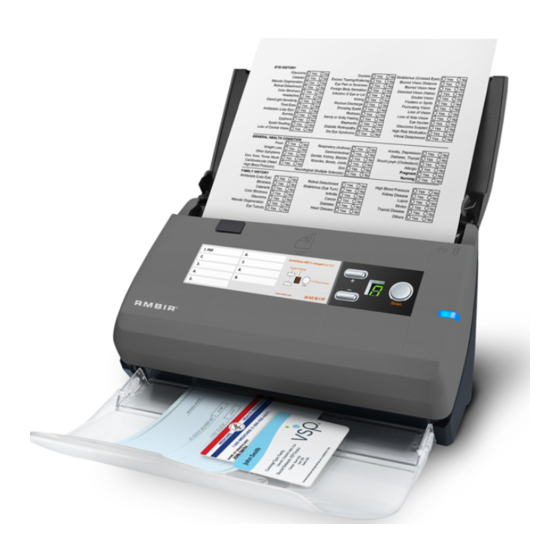
- Page 1 Image Series Scan Pro 800ix ® High-Speed ADF Scanner Installation and Setup Guide for Mac...
-
Page 2: Box Contents
Box Contents: 1. Scanner 2. USB Cable 3. AC Adapter 4. Stacker Tray 5. Installation Guide 6. Calibration Sheet 7. Cleansing Cloth 8. Pad Module (replacement pad) 9. Roller Module (replacement roller) 10. USB C Adapter... -
Page 3: Installation And Setup
Installation and Set-up: 1. Download the software and drivers Visit http://ambir.com/835ix-setup Important: Ensure you download the correct drivers for your scanner model. 2. Install the software and drivers Install the downloaded software and drivers before you connect the scanner 3. Attach the Stacker Tray Open the scanner door and snap the tray guide pins into the holes in the bottom of the ADF. -
Page 4: Loading Documents
1. Plug the AC adapter into the scanner’s power receptor. 2. Plug the other end of the AC adapter into a standard AC power outlet. 3. Plug the square end of the included USB cable to the USB port at the rear of the scanner. 4. - Page 5 3. Adjust the Paper Width Sliders so they are gently touching both sides of the document in the feeder. Important: Do not adjust the Paper Width Sliders by pushing the spring-loaded paper guides. You must adjust the Paper Width Sliders by pushing the lower portion of the guides as shown below. Note: Load business cards, ID Cards, Drivers Licenses and Plastic cards horizontally (landscape orientation) in the center of the ADF and adjust the Paper Width Sliders...
- Page 6 Scanning using Mac Image Capture To use your scanner with Mac Image Capture, follow the steps listed below 1. Select your scanner from the device list. It will appear as “Ambir ImageScan Pro 820ix” or “Ambir ImageScan Pro 830ix” 2. Adjust the settings on the right side of the Image Capture program 3.
- Page 7 Scanning using the buttons on the scanner: 1. Load the documents or cards into the scanner (refer to the Loading Documents section above for document and card loading instructions). 2. Check current button settings by viewing the sticker on the scanner or the AmbirScan Button Configuration screen.
- Page 8 Follow the steps below to edit the button settings: 1. Open the Button Configuration window by clicking on the icon in the Mac Dock 2. Select a button number by clicking on an icon in the left column 3. Select the desired button function from the Button Template dropdown 4.
-
Page 9: Maintenance And Troubleshooting
Note: If you lose the calibration sheet or the calibration sheet is damaged, contact Ambir support. 1. Use the included calibration sheet to calibrate the scanner. The calibration sheet is marked with arrows on the long edges and is specifically designed for calibrating your scanner. - Page 10 3. Install the new pad module by inserting the tabs on the module onto their slots on the scanner. 4. Close the ADF cover by pushing it back down until it snaps back into place. Note: Additional pads and rollers are available for purchase at: www.ambir.com/support/imagescan-pro-800-setup...
-
Page 11: Clearing Paper Jams
Clearing Paper Jams If a paper jam occurs, do the following: 1. Remove any unjammed documents from the ADF 2. Open the ADF cover by pulling the cover open lever 3. Remove the jammed documents from the ADF. Try to avoid creasing or wrinkling the documents 4. -
Page 12: Status Led
Status LED The front panel LED indicates the scanner status Light Status Blue The scanner is turned on, ready to scan images. The scanner is in standby mode (sleep mode). Default timeout is 10 minutes. The timeout can be changed or disabled by right Orange clicking the icon in the menu bar and selecting “Scanner... -
Page 13: Warranty
The standard warranty period for this scanner is two years. A one-year warranty extension is available for purchase, thus bringing the total warranty period to three years. Visit http://ambir.com/835ix-setup for more information. Need help? We are pleased to provide comprehensive U.S. based phone and online chat support as a resource to serve our customers.
Need help?
Do you have a question about the ImageScan Pro 800ix Series and is the answer not in the manual?
Questions and answers