Advertisement
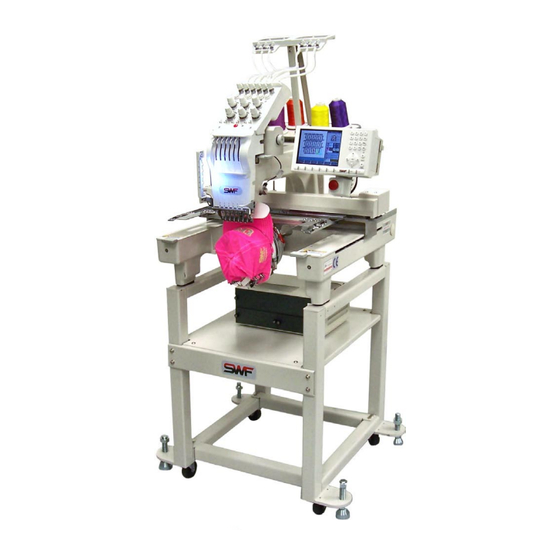
Compact Series Machine (601C and 1201C)
Follow the instructions below to replace the reciprocator in the SWF Compact series machines.
The tools required can be found in the tool kit that came with the machine.
Preparation
1. First, place the machine at needle 3 for the 601C, or needle 6 for the 1201C. This will
make the removal and replacing of the needle case somewhat easier. NOTE: once in
place, do not move the manual color change knob at any time during the procedure.
Turn the machine off.
2. Begin by removing the SWF face plate on the bottom half of the needle case. This will
be one screw on the 601, or two screws on the 1201. (Fig.1)
3. Remove the thread from the needle case only. It is not necessary to remove the thread
from the tension base.
4. Now remove the upper face plate where the take up lever arms are located. (Fig.2)
5. Remove the cover from the back of the tension base by lightly pulling down on the top
while pulling away from the tension base.
Removing the Needle Case
1. Remove the four screws that hold the face of the tension base to the machine. The top
two are Phillips head and the bottom two are 3mm socket head screws. (Fig.3)
2. Remove the cover from the cover sensor switch on the right side of the head. Next
remove the screw holding the switch to the side of the head. (Fig.4a & 4b)
3. Lift off the tension base face plate and place it behind the color change assembly to
keep it out of the way. (Fig.5)
4. Locate and remove the four bolts that secure the needle case to the sewing head.
(Fig.6)
5. Carefully lift the needle case slightly and pull the top towards you. It should come loose
easily. Do not force the needle case if it does not come loose.
6. Set the needle case assembly to the side. You will not need it until reassembly.
Page 1 of 5
Replacing the Reciprocator on the SWF
Advertisement
Table of Contents

Subscribe to Our Youtube Channel
Related Manuals for SWF Compact Series


Summary of Contents for SWF Compact Series
- Page 1 Turn the machine off. 2. Begin by removing the SWF face plate on the bottom half of the needle case. This will be one screw on the 601, or two screws on the 1201. (Fig.1) 3.
- Page 2 Replacing the Reciprocator on the SWF Compact Series Machine (601C and 1201C) Removing the Needle Case(cont.) Removing the broken reciprocator 1. Remove the left and right cover plates. There are 2 screws for each side. (Fig.7) 2. Locate the hole to the lower left side of the head. (Fig.8) There is a 2mm allen screw in this hole.
- Page 3 Replacing the Reciprocator on the SWF Compact Series Machine (601C and 1201C) Installing the new reciprocator 1. Holding the reciprocator upright, guide the pin on the back side into the hole at the bottom of the connecting rod. 2. Move the assembly slightly to align the guides around the presser foot driving shaft located to the right.
- Page 4 Replacing the Reciprocator on the SWF Compact Series Machine (601C and 1201C) Remounting the Needle Case(cont.) If the needle case is mounted correctly, the 4 bolts that hold it on should automatically line up. If they do not, redo step 2 again.
- Page 5 Replacing the Reciprocator on the SWF Compact Series Machine (601C and 1201C) Adjusting the Needle Bars Start with needle #1 (or whichever needle bar needs adjusting ). Pull the needle bar down by pushing down the presser foot until it locks in place.
Need help?
Do you have a question about the Compact Series and is the answer not in the manual?
Questions and answers