
Related Manuals for Nordpeis Smarty Series


Summary of Contents for Nordpeis Smarty Series
- Page 1 Smarty Brukerveiledning User manual Brugervejledning Installations- och bruksanvisning Käyttöohje Product no: SN-00005-xxx Sintef no: 110-0302 RRF no: 40 09 1921 Last updated: 01.01.2013...
- Page 2 Kontrollskjema SJEKKLISTE OG BEKREFTELSE PÅ UTFØRT KONTROLL AV ILDSTEDSMONTERING Eiendommens adresse Eiers navn Adresse Sted Adresse Sted Ildstedstype og fabrikk Brenseltype Skorstenstype (Eks. tegl, type elementskorsten) Ant. ildsteder på skorstenen Installasjonen er kontrollert av Adresse Sted Kontrollpunkt Er ildstedet montert etter monteringsanvisning? Er avstanden til brannmur kontrollert? Er avstanden til brennbart materiale kontrollert? Er avstanden til tak kontrollert?
- Page 3 INDEX 1. Prior to assembling the stove 1. Prior to assembling the stove European requirements and also to the Norwegian standard NS 3058 and NS 3059, 2. Technical information 3. Distance to combustible material 4. Assembly (please note that this list is not exhaustive): materials 6.
-
Page 4: Distance To Combustible Material
For your own safety, comply with the assembly instructions. All safety distances are minimum distances. Installation of the insert must comply with the rules and regulations of the country where installed. Nordpeis AS is not responsible for wrongly assembled inserts. 4. Assembly 2. Technical information then the gases from the fumes are lit by the hot air. -
Page 5: Maintenance
FIG 12 B FIG 13 C set is not used Operating control Door Closed Opened Air vent control Open Closed Flue outlet collar outlet: FIG 14: FIG 15: FIG 16: IMPORTANT! Always remember to open the air FIG 17: vent control and the door when new wood logs top outlet are inserted into a hot burn chamber. -
Page 6: Warranty
For detailed description of the warranty conditions see the enclosed warranty card or visit our website plates may release www.nordpeis.com The CE mark is situated under the stove. Door and glass Should there be any soot on the glass it may be and gaskets). - Page 7 Firing air vent and have the door slightly ajar in order for the be released unburnt. For this reason it is important to Choice of fuel Attention! We do not recommend using fuel briquettes/ compact wood in our products. Use of such fuel may cause the product to overheat and exceed the temperatures determined safe.
- Page 8 Some advice in case of combustion problems Error Explanation Solution No draught must be installed in the room. more vents must be installed. the room. The stove release smoke when lighting the combustion not in use. The stove releases smoke inside when it is windy outside.
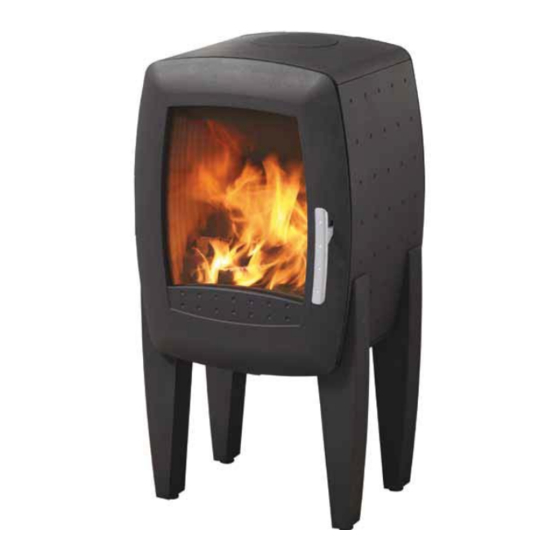
- Page 9 Smarty Classic = mm Smarty Stone = mm Smarty One leg = mm...
- Page 10 FIG 1...
- Page 11 FIG 2 FIG 3 Classic FIG 4 Classic FIG 5 Classic...
- Page 12 FIG 7 Stone FIG 6 Stone FIG 8 One leg FIG 9 One leg...
- Page 13 FIG 10 One leg FIG 11 One leg FIG 12 One leg FIG 13...
- Page 14 FIG 15 FIG 14 FIG 17 FIG 16...
- Page 15 FIG 19 FIG 18 FIG 21 FIG 20...
- Page 16 FIG 22...
Need help?
Do you have a question about the Smarty Series and is the answer not in the manual?
Questions and answers