Table of Contents
Advertisement
Quick Links
THE NEXT GENERATION
OF 3D PRINTING
IS HERE
DISPOSAL INSTRUCTIONS
Do not throw this electronic device into the waste when dis-
carding. To minimize pollution and ensure utmost protection
of the global environment, please recycle or return to Pho-
tocentric for recycling.
UK
USA
Cambridge House, Oxney Road
2205 West Parkside Lane, Phoenix,
Peterborough PE1 5YW UK.
85027, AZ USA
info@photocentric.co.uk
www.photocentricgroup.com
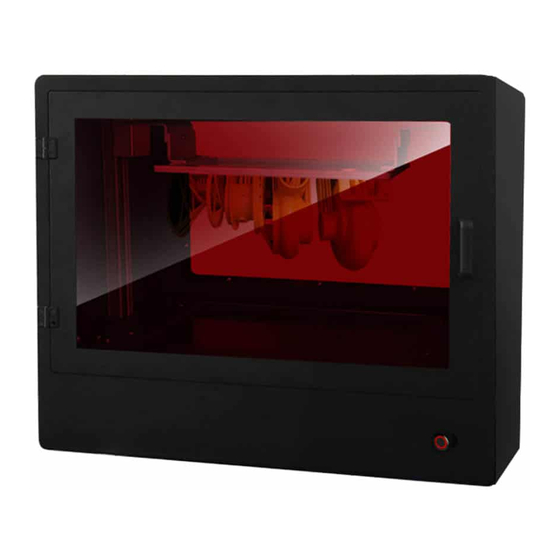
LC PRO
USER
MANUAL
Advertisement
Table of Contents

Subscribe to Our Youtube Channel
Related Manuals for PhotoCentric Liquid Crystal Pro


Summary of Contents for PhotoCentric Liquid Crystal Pro
- Page 1 Do not throw this electronic device into the waste when dis- carding. To minimize pollution and ensure utmost protection of the global environment, please recycle or return to Pho- tocentric for recycling. Cambridge House, Oxney Road 2205 West Parkside Lane, Phoenix, Peterborough PE1 5YW UK. 85027, AZ USA info@photocentric.co.uk www.photocentricgroup.com...
-
Page 2: Table Of Contents
1.2.1 Connecting the printer Photocentric Studio 2. Slicing your print CW 2.1. Slicing your print Photocentric Studio 3. Setting up a print CW 3.1 Setting up a print Photocentric Studio 4.Removing the finished part, cleaning & post-exposing 17-18 5. Emptying and cleaning the vat 19-20 6. - Page 3 Date of Issue: 08 June 2017 Manufacturer ding source that initiates the free radical or catio- Place of Issue: Peterborough Photocentric Ltd nic polymerisation necessary to change the liquid Cambridge House, Oxney Road photopolymer resin into your hardened object. The...
-
Page 4: Safety Information
Printer requires two people to lift it from the Refer all repairs to qualified service personnel. recycle or return to Photocentric for recycling. packaging. Please send an email to your national supplier Operate on a table or flat, stable surface, ensu- or contact technical service at: The resin is an irritant to skin and eyes. -
Page 5: Installation & Assembly Instructions
Repeat this Cable step until the bolts are fully loose so the platform Print Plate can be removed.) Liquid Crystal Pro Printer Scraper 5. Place the platform back into the printer and Ratchet Socket Wrench tighten the bolts. -
Page 6: Software Installation Cw
3840 x 2160. There are activation to validate and update the software. videos online if you need further help. If Creation Workshop or Photocentric Studio software doesn’t recognise 4k resolution and only 2k the 5. Execute the Creation Workshop software by carry out the following;... -
Page 7: Software Installation Photocentric Studio
Make sure that the printer’s screen is set to a resolution of 3840 x 2160. There are videos online if you need further help. If Photocentric Studio software doesn’t recognise 4k resolution 1. Go to support on www.photocentricgroup.com MINIMUM COMPUTER and only 2k the carry out the following;... -
Page 8: Connecting The Printer Cw
Choose a different COM port from the drop- down menu (if available). Press ‘OK’ then press ‘Apply Changes’. Connect the machine again and try moving the drive (remember the door must be closed). If all COM Port options have been tried unsuccessfully, contact Photocentric for further support. -
Page 9: Slicing Your Print Cw
Creation Workshop. You may need to expand this tool bar by pressing the ‘+’ button. 5. Slice the STL file using the button. Use the ‘Slice View’ tab to review the slice images. If you have difficulty generating the slices correctly, contact Photocentric for further support... -
Page 10: Setting Upa Print Cw
6. Press the ‘Home’ button on creation workshop 3.1 SETTING UP A PRINT (the door must be closed). PHOTOCENTRIC STUDIO 7. Wait for the printer to reach the home position. If the print plate started in a very high position, it may stop before reaching home. -
Page 11: Removing The Finished Part, Cleaning & Post-Exposing
4. REMOVING THE FINISHED PART, CLEANING AND POST-EXPOSING 5. Using a scraper detach the supports at the base 1. Use your print controller to drive the print plate to remove the part from the platform. Handle it up until the print is clear of the vat. Allow the gently as it won’t achieve full strength until after print to drain for a few minutes to reduce the full post exposure. -
Page 12: Emptying And Cleaning The Vat
5 EMPTYING AND CLEANING THE VAT 1. Before starting a print on the Liquid Crystal Pro, 6. Use paper towels to clean up the resin on the the vat should be emptied and cleaned. Wear flange of the vat. Be particularly careful to clean protective gloves. -
Page 13: Replacing The Vat Film
6. REPLACING 8. Use scissors to cut away a triangular piece of film outside each of the bolts. Carefully THE VAT FILM make two cuts from the edge of the film to the punched hole. You Will need: Note: Complete vat New piece of vat film Work on a clean flat surface with plenty of space New vat bottom gasket... -
Page 14: Software Instructions
1 hour. 19. The vat is complete and ready to use in your Liquid Crystal Pro. Following this procedure applies less tension to the vat film than in the standard configuration. This can assist with release of the print from the vat and improve reliability.
Need help?
Do you have a question about the Liquid Crystal Pro and is the answer not in the manual?
Questions and answers