Table of Contents
Advertisement
Quick Links
Liquid Crystal
HR2
DISPOSAL INSTRUCTIONS
Do not throw this electronic device into the waste when discarding. To minimize
pollution and ensure utmost protection of the global environment, please recycle or
return to Photocentric for recycling.
UK
USA
Cambridge House, Oxney Road
2205 West Parkside Lane, Phoenix,
Peterborough PE1 5YW UK.
85027, AZ USA
info@photocentric.co.uk
www.photocentricgroup.com
THE NEXT GENERATION
OF 3D PRINTING
IS HERE
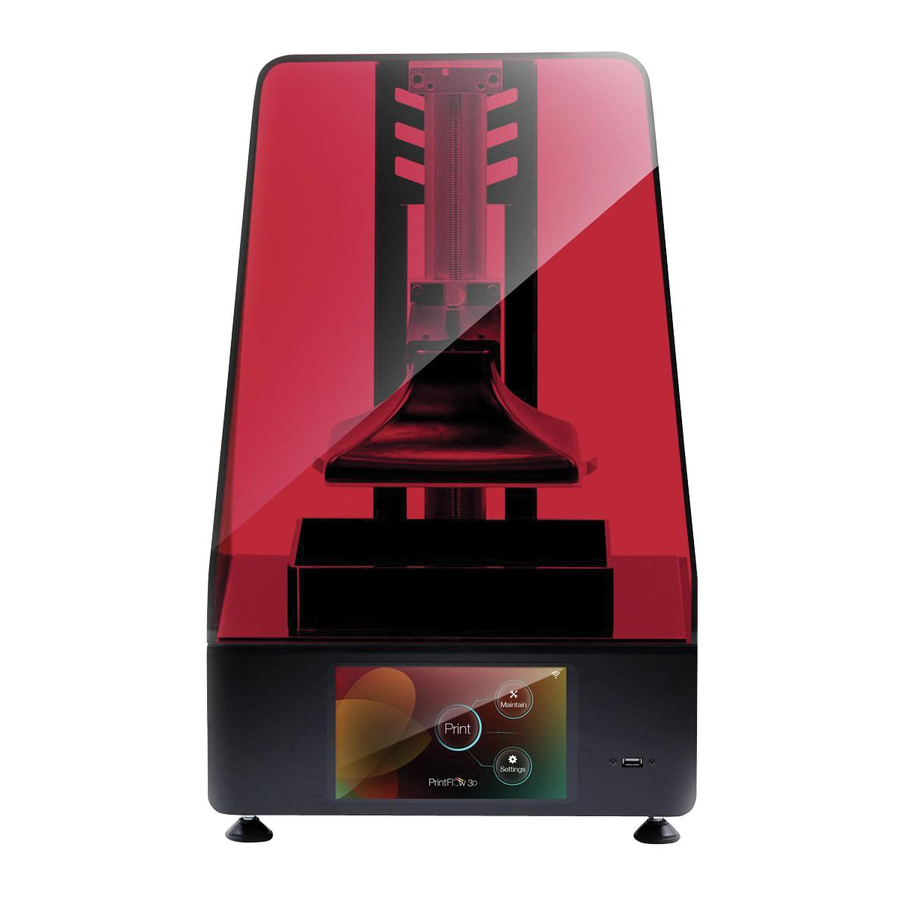
LC HR2
USER MANUAL
Advertisement
Table of Contents

Related Manuals for PhotoCentric LC HR2


Summary of Contents for PhotoCentric LC HR2
- Page 1 DISPOSAL INSTRUCTIONS Do not throw this electronic device into the waste when discarding. To minimize pollution and ensure utmost protection of the global environment, please recycle or return to Photocentric for recycling. Cambridge House, Oxney Road 2205 West Parkside Lane, Phoenix, Peterborough PE1 5YW UK.
-
Page 2: Table Of Contents
LC HR2 USER MANUAL Contents General information Safety Information Contents of Box 1. Installation & assembly instructions 2. Filling the vat with resin 3. Starting a Test Print 4. Washing 9-10 5. Hardening 6. Preparing for the next print 11-12 13-14 7. - Page 3 NEW DAYLIGHT TECHNOLOGY LIQUID CRYSTAL 3D-PRINTER HIGH RESOLUTION 3D PRINTER Model: LC HR2 We hereby declare that the product above is in compliance with the essen- Congratulations! simultaneously. As the format grows this makes it You have just purchased a new type of 3D printer much more efficient than all alternative means.
-
Page 4: Safety Information
Also, make sure that the total rating of protection of the environment, please all products plugged into the wall outlet does recycle or return to Photocentric for recycling. not exceed the fuse rating. Use the product only with the supplied power supply cord set. -
Page 5: Installation & Assembly Instructions
Soft brush or sponge to clean the object. • Glass or clear plastic container to post ex- A Photocentric Studio license is included with this printer. pose the object in. Please follow the steps from page 14 to install and activate your software. -
Page 6: Filling The Vat With Resin
2. FILLING THE VAT 3. STARTING A WITH RESIN TEST PRINT STARTING A PRE-SLICED FILE FROM THE TOUCHSCREEN 1. Once you have the printer assembled and connected then press + 10 and pour your resin into the vat. Once poured then press - 10. Now you have set up your printer lets make your very first print! Your LCHR2 has been shipped 2. -
Page 7: Washing
4. WASHING . Gentlyremove excess polymer with absorbent paper. The fastest way to clean it and achieve a dry surface is by removing the flex plate and spraying or immersing it in IPA. . When your print has finished, press the ‘+50’ Alternatively, you can wash it in hot water and button and the platform will rise to above the detergent. -
Page 8: Preparing For The Next Print
6. PREPARING FOR Loosen the three adjustment screws on top of the print arm with an allen key. THE NEXT PRINT Chip off any cured resin and clean the flex plate and platform with hot water and liquid detergent. Dry it thoroughly before inserting back into printer. -
Page 9: Re Skinning The Vat
Pull each side of the film up and onto the sides of the vat. TOOLS REQUIRED MATERIALS REQUIRED Scissors Photocentric vat film replacement pack, single sided Craft knife sticky tape, double sided tape and paper towel. Pallet knife Re-skinning the vat is a simple process but care... -
Page 10: Photocentric Studio
STUDIO location simply click Browse and select a new location of your choice. Once the location has been selected click Next. Photocentric Studio software installation files can MINIMUM COMPUTER be found on the USB supplied with the printer. REQUIREMENTS Insert the USB into your computer and run the ‘photocentric studio’... -
Page 11: Getting Started
To configure general settings, machine and Installation has now completed, click Close print settings, press File and then select and you can now open the software. When Configuration. You can change support opening the software you will see a section to enter your license number, click on this settings in the dropdown Support Profiles. - Page 12 The two circled buttons allow you to flatten supports. This solves the problem of lattice Support supports becoming slow, this can happen when very detailed supports are used. Typically For support you need to activate support mode by going to Help on this would be used once you have finished with an object, allowing you to easily handle 20 the top menu, Help documentation, Supporting.
- Page 13 Before slicing you can check your machine and print settings in Edit. Use the red circled option for choosing desired file format. In Edit you can also change your file name under Slice folder name. NOTE After your settings have been checked Printers which do not need a direct connection with computer will recognise cws.
-
Page 14: Sending Printable File To The Printer
5. Select the desired network and press the 9 SENDING PRIN- button “Setup Network”. TABLE FILE TO THE PRINTER Now you have your printer installed and configured. There are 2 ways to start a print: 6. Enter your Wifi Password and press “Accept”. 1. -
Page 15: Remove A File From The Touchsreen
9.3 REMOVE A FILE FROM THE TOUCHSCREEN From the home page press “Print”. Select the printable you want to remove and click the red button with the X on the right. Click “Yes” to delete the file.
Need help?
Do you have a question about the LC HR2 and is the answer not in the manual?
Questions and answers