
Related Manuals for Echomaster MRC-HDDVR


Summary of Contents for Echomaster MRC-HDDVR
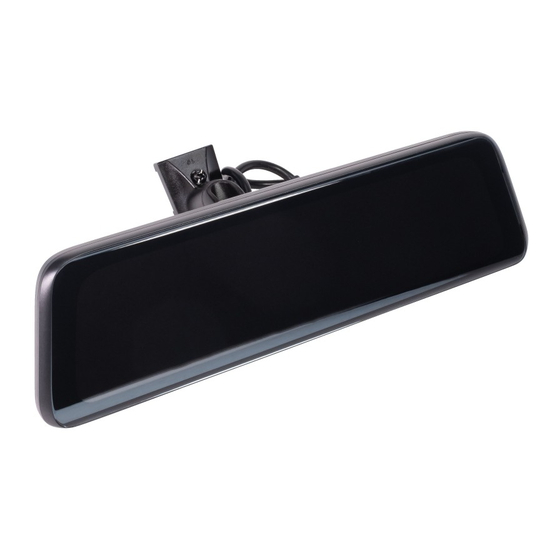
- Page 1 MRC-HDDVR FULL SCREEN REAR VIEW MIRROR REPLACEMENT MONITOR WITH DVR AND BACKUP CAMERA KIT USER MANUAL 1080p...
- Page 2 Wrench Mirror Dash Camera Rear CameraC ar Rear Window Bracket License Plate Bracket GPS Antenna 4X Vehicle-Specific Micro Fuse Tap Adapter x2 Video Cable Power Cable Monitoer Mounting Adapters 1X Universal Adapter email - support@aampglobal.com email - support@aampglobal.com tel - 866-931-8021 tel - 866-931-8021...
-
Page 3: Mirror Installation
MRC-HDDVR Full Screen Rear View Mirror Replacement Monitor with DVR and Backup Camera Kit STEP 2: INSTALLATION GUIDE MIRROR INSTALLATION Monitor Overview REMOVE THE ORIGINAL MIRROR Pull out away from Remove rear view mirror Hold the base of the windshield to... - Page 4 (not needed with mirrors that have a protective case) ADAPTER 4 In some vehicles, the EchoMaster mirror will not fit in the standard bracket in the vehicle, and none of the adapters fit. In this case, glue Adapter 4 onto the windshield using UV glue.
-
Page 5: Camera Installation
STEP 5: CAMERA INSTALLATION INSTALLATION WIRING There are two locations you can install your EchoMaster backup camera. We recommend that it is installed on your license plate, but it can also be installed on your back windshield if needed. MOUNTING THE CAMERA ON YOUR LICENSE PLATE 1. -
Page 6: Monitor Settings
STEP 6: NOTE: The Micro add-a-circuit fuse tap adapter is included in the package. MONITOR SETTINGS A: Connect the yellow wire (B+) to the fuse box (Please be sure the fuse tap adapter is connected to the other end) Turn ON/OFF the Monitor This wire needs to be connected to the fuse which is a constant power 1.Turn ON source. - Page 7 Menu Options Description Available Options Beep Turn on or off the keytone On / Off Volume Turn off speaker or set a desired volume for speaker Off / High / Middle / Low Language Set the on-screen display menu language Multilanguage, English(default) Set the desired duration for backlight, always "Off"...
- Page 8 Manual Emergency Recording Loop Recording To activate manual emergency recording, tap ( ), the current recording will be Insert a memory card into the card slot, and automatic loop recording will begin locked as emergency recording and cannot be overwritten by loop recording. after the vehicle turns on.
- Page 9 Manually Display Park Assist Grid Lines Automatic Date and Time The park assist grid lines can be shown on the screen manually. Just slide your 1. Tap ( )> ( ) > General Settings > Time Zone finger on the screen to the right before putting your vehicle in reverse. It will 2.
- Page 10 1. Remove the memory card from the dash cam and access the card on the computer via a card reader. 2. By default, EchoMaster GPS Player shows the Map and the FILE LIST on the right, meanwhile you can check the speed and direction at the bottom right.
-
Page 11: Troubleshooting
• Reset or restore default settings. GPS date / time are incorrect • Choose the correct time zone manually when using it in the first time. EchoMaster is a Power Brand of AAMP Global Video recording / photography unavailable EchoMaster.com •... - Page 12 Phone – 866-931-8021 E-Mail – support@aampglobal.com EchoMaster is a Power Brand of AAMP Global EchoMaster.com...
Need help?
Do you have a question about the MRC-HDDVR and is the answer not in the manual?
Questions and answers