
Related Manuals for AGA RAYBURN XT


Summary of Contents for AGA RAYBURN XT
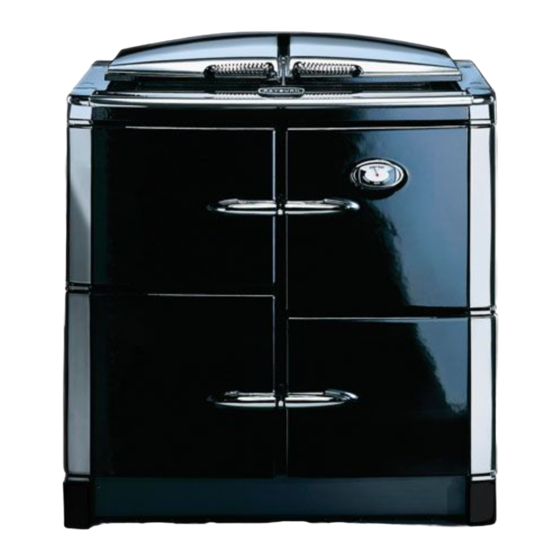
- Page 1 Users Instructions XT - Gas (GPF) For use in GB and IE DESN 514112 B PLEASE READ THESE INSTRUCTIONS BEFORE USING THIS APPLIANCE raywarranty@aga-web.co.uk 10/13 EOPI 514105...
-
Page 2: Table Of Contents
CONTENTS SECTION PAGE INTRODUCTION FEATURES AND ACCESSORIES 4 - 5 SETTING UP THE COOKER FOR USE THE AUTOMATIC COOKING CONTROL SETTING THE AUTOMATIC COOKING CONTROL USING THE AUTOMATIC COOKING FACILITY MAIN OVEN OPERATION COOKING WITH YOUR RAYBURN COOKING CHART CLEANING AND CARE OF YOUR RAYBURN SERVICING, BURNER RESET, GAS LEAK OR FAULT AND POWER FAILURE NOTE: SMOKE/SMELL EMITTED DURING INITIAL USAGE. -
Page 3: Introduction
IMPORTANT NOTICE: PLEASE READ THE ACCOMPANYING WARRANTY Any alteration that is not approved by AGA could invalidate the approval of the appliance, operation of the warranty and could affect your statutory rights. It could be dangerous. -
Page 4: Features And Accessories
Features/Accessories Doors Fig. 1 To open the doors. Twist the handle slightly to disengage the door catch from the locking spindle and pull the door open. Thermodial See Fig. 2 All thermodials vary slightly but if used with the following Fig. - Page 5 Features/Accessories (cont.) SHELF POSITION 1 SHELF POSITION 2 SHELF POSITION 3 SHELF POSITION 4 SHELF POSITION 5 OVEN BASE Fig. 3A DESN 514195 Further accessories, tins, grid shelves, solid shelves, saucepans, aprons and gauntlets, etc. are available from your Rayburn stockist. 7-Day Programmer (optional extra) This control is available giving three individual time settings and an override control.
-
Page 6: Setting Up The Cooker For Use
Setting Up the Cooker For Use Fig. 4 DESN 514107 Before the appliance can be used, it will be necessary to set the ‘time-of-day clock’. This is a 24-hour clock, and when the power supply is initially switched on, or after an interruption in supply, the clock will show 12.00 and the LED bar 4 will flash above the sign. -
Page 7: The Automatic Cooking Control
The Automatic Cooking Control Fig. 5 DESN 514107 This control includes a minute timer, a time-of-day clock as well as an automatic cooking control. There are three buttons which operate the timer. The buttons are used for the following purpose: Mode By using these buttons the following functions can be selected: Minute timer... -
Page 8: Setting The Automatic Cooking Control
Setting the Automatic Cooking Control Fig. 6 DESN 514107 This can be used to set an automatic cooking programme at the pre-set times. The maximum length of cooking programme which can be set is 23 hours and 59 minutes e.g. delay time + cooking time = max. - Page 9 Setting the Automatic Cooking Control SETTING A STOP TIME ONLY 1. Place the food on the correct shelves in the oven. 2. Press the MODE button repeatedly until the LED bar 3 flashes and then press the plus + button until the time at which the cooking is to end.
-
Page 10: Using The Automatic Cooking Facility
Using the Automatic Cooking Facility Using this facility on the Rayburn timer allows the user to select the amount of time the appliance is on and the finish/off time. HINTS ON THE USE OF THIS FACILITY * The Rayburn should be COLD before starting any automatic cooking where there is a delay in the start time. Because the Rayburn is made from cast iron and will therefore retain the heat for a number of hours after it is turned off, food should NOT be loaded into the appliance for automatic cooking if the Rayburn has been used earlier in the day, or is sitting warm even if it has been turned off for some hours. -
Page 11: Main Oven Operation
Main Oven Operation Note: care should be taken not to touch the hotplate, oven combustion chamber door and flue areas unless an insulated glove is used, as these areas are hot working surfaces and will burn unprotected skin. The oven is indirectly heated from the outside by hot gases from the heat source so that no flame or elements within the oven means full use can be made of the whole cooking time. -
Page 12: Cooking With Your Rayburn
Cooking with your Appliance Grilling The top of the oven is where grilling takes place. When the main oven is hot use the meat tin with a grill rack (used on the highest position) so that the fat can drip into the tray. Position the food on the rack and put into the oven on the highest runner. -
Page 13: Cooking Chart
Cooking with your Rayburn COOKING CHART (MAIN OVEN) (PRE-HEAT THE MAIN OVEN FOR 30-40 MINS) Setting Shelf Approximate Time Position SCONES 10-15 mins SMALL CAKES 20 mins (Turn the tray round halfway through cooking. For best results place the solid plain shelf on the top runner). -
Page 14: Cleaning And Care Of Your Rayburn
Cleaning and caring of your Rayburn COOKER PART AND FINISH CLEANING METHOD Enamelled Clean with a damp cloth and hot soapy water. Wipe off any condensation streaks on the front plate as they occur, Hob plate to prevent any permanent discolouration. Doors Wipe up any spills as they occur. -
Page 15: Servicing, Burner Reset, Gas Leak Or Fault And Power Failure
Servicing or Fault BURNER RESET If a fault occurs on the burner then it automatically shuts down and the red button on the front of the plinth will be illuminated. This can be re-set, after 10 seconds by depressing the re-set button. The re-set button is located in the lower plinth panel. - Page 16 For further advice or information contact your local distributor/stockist With AGA Rangemaster’s policy of continuous product improvement, the Company reserves the right to change specifications and make modifications to the appliance described at any time. Manufactured by AGA Rangemaster Station Road...
Need help?
Do you have a question about the RAYBURN XT and is the answer not in the manual?
Questions and answers