Advertisement
Tools required:
Prerequisite
Removing the OTAC Unit
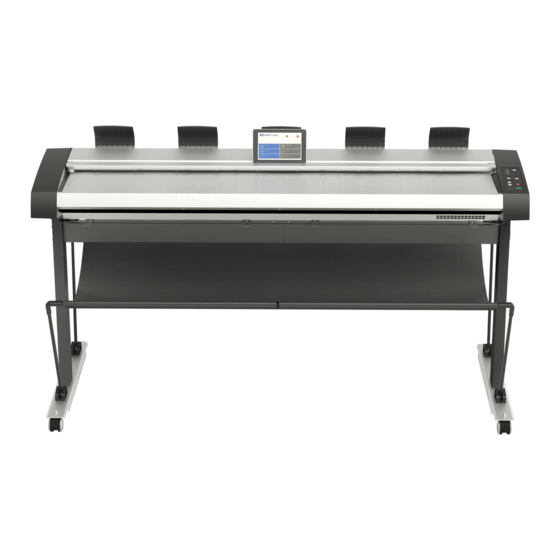
OTAC Replacement Work Instruction
T10 screwdriver
T20 screwdriver
Small Flat Screwdriver
Disconnect power from the scanner.
Pliers
E-clip Tool (size 5)
1.
Open the OTAC Assembly by
depressing the Lid Latches at
both ends.
2.
Use a cloth (or similar) to cover
the gap in the lower chassis, to
prevent the e-clip from falling into
the chassis, then remove the E-
clip using small flat screwdriver.
3.
Repeat for the right end, again
making sure to use a cloth to
prevent the e-clip falling into the
chassis.
4.
Slide a piece of paper under the
Guide Plate Hinge, to prevent
the T20 screw falling into the
chassis while removing it from
the side plate.
June 2018
Advertisement
Table of Contents

Related Manuals for Contex HD Ultra X Series


Summary of Contents for Contex HD Ultra X Series
- Page 1 OTAC Replacement Work Instruction Tools required: T10 screwdriver Pliers T20 screwdriver E-clip Tool (size 5) Small Flat Screwdriver Prerequisite Disconnect power from the scanner. Removing the OTAC Unit Open the OTAC Assembly by depressing the Lid Latches at both ends.
- Page 2 HD Ultra X Series Instructions Repeat for the other end of the Guide Plate. Lift the OTAC and remove the brass spacers at both ends. Carefully push the Gas Piston off from the bracket, making sure not to cause any damage.
- Page 3 HD Ultra X Series Instructions Carefully lift the whole OTAC Unit, including the Top Lid Cover off from the chassis Replacing the OTAC Unit When replacing the Guide Plate, make sure the Gas Pistons go inside of the end plates...
- Page 4 HD Ultra X Series Instructions While pressing down on the Guide Plate, to align the screw holes, and using paper to cover the gap to prevent the screw falling into the chassis, refit the long T20 screw. Do this at both ends of the Guide Plate.
- Page 5 HD Ultra X Series Instructions Retighten the 3 x T10 locking screws to hold the Lid Cover down and in place. Press down on the Guide Plate until both ends lock in place to close. With the scanner powered up,...
- Page 6 HD Ultra X Series Instructions Insert a T10 screwdriver into the access hole in the back of the scanner, loosen the locking screw, and move the sensor bracket up or down until the Lid LED goes out. Retighten the screw.
Need help?
Do you have a question about the HD Ultra X Series and is the answer not in the manual?
Questions and answers