
Related Manuals for Everycom X7


Summary of Contents for Everycom X7
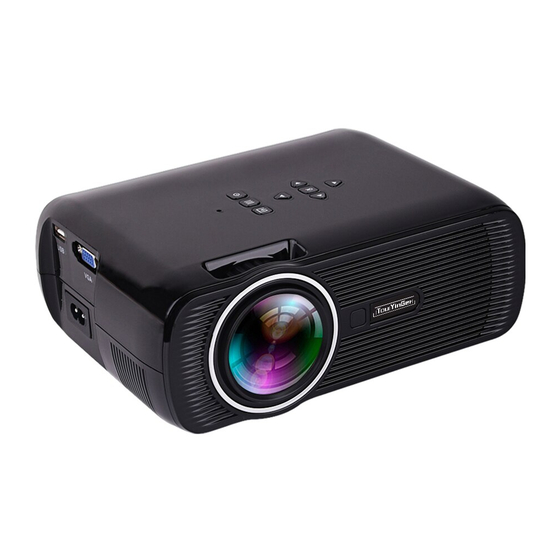
- Page 1 EVERYCOM X7 PROJECTOR USER MANUAL TOLLFREE HELPDESK : 1800-121-4480 Please read manual throughly before using and keep it for future reference.
-
Page 2: Table Of Contents
CONTENTS Packing Content Precautions Function Overview Remote Overview Projection Distance & Size Input Source Quick Start Projector Connection Multimedia Menu Settings Of The Main Menu 08-10 Projector Installation Options 11-12 Specifications Troubleshooting Guide 14-15... -
Page 3: Packing Content
PACKING CONTENT VOL+ VOL- SOURCE INFO ENTER MENU EXIT Remote User Manual Projector AV Cable Power Cable NOTICE Recommended Not Recommended Support @ 1800-121-4480... -
Page 4: Precautions
PRECAUTIONS Before use, please read the Instructions carefully. To ensure stable power supply for the product, please use the power supply circuit that meets national power consumption requirements and power sockets that are provided with such protection means as grounding. Please use the power supply indicated on the projector and power source provided with the projector to supply power. -
Page 5: Function Overview
FUNCTION OVERVIEW Describe Define Serial Number on/off on/off up and down, Left and multi-function up and down, Right left and right function to confirm menu menu display Signal source source display focusing ring resolution adjustment Keystone Correction +15 adjustment picture keystone out alignment VGA/Computer Computer input or other VGA output devices HDMI... -
Page 6: Remote Overview
REMOTE OVERVIEW On / Off Mute Fast Rewind Volume+ Fast Forward VOL+ Volume- Stop VOL- Play / Pause SOURCE INFO Input Source Screen Enter/OK Right ENTER Left Exit Menu MENU EXIT Down Channel + Channel - Numbers Keys Support @ 1800-121-4480... -
Page 7: Projection Distance & Size
PROJECTION DISTANCE & SIZE The distance at which you place the projector from the screen determines the approximate size of the image. The projection size increases when the projector is father from the screen. Note: Being too far or too close between the projector and the wall/screen, or the incorrect adjustment of the focus ring and Keystone may result in the poor image. -
Page 8: Input Source
INPUT SOURCE Press button on the projector or remote to enter the interface of INPUT SOURCE. Input Source A. VGA Connection PC - RGB HDMI USB / SD B. USB / SD Connection Input Source PC - RGB HDMI USB / SD C. -
Page 9: Quick Start
QUICK START 1. STARTUP AND SHUTDOWN * Connect the projector to the DC terminal of the power adapter, and then plug in the power adapter so that the projector is in standby status when the power light of the projector is on. STARTUP: Press the power key on the projector or the power key on the remote controller, so that the projector is started to enter working... -
Page 10: Projector Connection
MULTIMEDIA MENU After USB or SD signal channel is selected, the following operation interface will be generated To play video, select 'MOVIE" to enter the next menu for selection: To play music, select 'MUSIC' to enter the next menu for selection, To play photo, select PHOTO"... - Page 11 1.2 Sound submenu 1.2.1 Operation of the remote controller Press the key "MENU" on the remote controller to call out the main menu, then press the key " “ or “ " to enter the image submenu: press the key “ “...
- Page 12 1.4 Option submenu 1.4.1 Operation of the remote controller Press the key "MENU" on the remote controller to call out the main menu, then press the key " “ or “ " to enter the image submenu: press the key “ “...
-
Page 13: Projector Installation Options
PROJECTOR INSTALLATION OPTIONS Depending on how you positioned the projector, you may need to change the projection direction to project your images correctly. If you project from the ceiling or from the rear, please go to please go to Menu—Picture—Flip to set up the projection modes. - Page 14 3. Front On Ceiling, which flips the image over top-to-bottom to project upside-down from a ceiling or wall mount. 4.Rear On Ceiling, in this mode, the projector is placed behind the screen with the lens upside down. This mode allows you to flip the image over. A compatible screen which supports rear projector will be required. Note: Wherever you set up the projector, make sure to position it squarely in front of the center of the screen or the wall.
-
Page 15: Specifications
SPECIFICATION Display Light Source 1800 Lumens 800x600/1024x768/1280x800/ Native 800x600 Resolution Input Signal 1920x1080 Support Max : 1080p Installation Type Aspect Ratio Front / Rear / Ceiling 4:3/16:9 15 Vertical, Focus Keystone Manual Manual keystone Correction Speaker Power Supply 4Ω2W AC 110-240V, 50/60Hz 212 x 150 x 78mm 1.0kg (2.20lbs) Unit Dimensions... -
Page 16: Troubleshooting Guide
*Encryption applied to the videos or media player which holds the video *If the lamp of the projector is off with only audio playing, the lamp is defective. Please contact Everycom for a replacement *Try another HDMI cable if you select the HD input source 5. - Page 17 *Make sure the power plug is working and firmly fitted into the outlet. *If the LED indicator on the projector is light up, but the fan doesn't work, please contact Everycom Team for assistance. *Overheat on the projector will activate built-in power-off protection panel. Restart the projector when it gets cooler.
Need help?
Do you have a question about the X7 and is the answer not in the manual?
Questions and answers