Sign In
Upload
Download
Table of Contents
Contents
Add to my manuals
Delete from my manuals
Share
URL of this page:
HTML Link:
Bookmark this page
Add
Manual will be automatically added to "My Manuals"
Print this page
×
Bookmark added
×
Added to my manuals
Manuals
Brands
Sepura Manuals
Portable Radio
SC20 series
Service manual
Sepura SC20 Series Service Manual
Hand-portable radio
Hide thumbs
Also See for SC20 Series
:
User manual
(157 pages)
,
Quick start manual
(56 pages)
1
2
3
Table Of Contents
4
5
6
7
8
9
10
11
12
13
14
15
16
17
18
19
20
21
22
23
24
25
26
27
28
29
30
31
32
33
34
35
36
37
38
39
page
of
39
Go
/
39
Contents
Table of Contents
Bookmarks
Table of Contents
Table of Contents
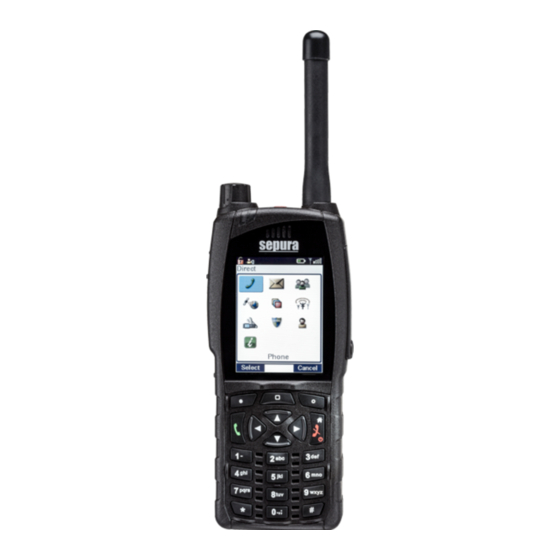
SC20 Series Hand-Portable Radio
General Information
Safety
Safe Working Practices
Product Handling Precautions
Product Warranty
Validity of the Warranty
Returns
Special Notes about Returning the Product to a Service Centre
Disassembly/Assembly
Antenna
Large Belt Clip
Klickfast Stud
Battery
Smartcard
Accessories
Cleaning
Regular Cleaning
Specialist Cleaning
Routine Maintenance
External Surfaces
Antenna
Battery
Encoder Knob (Navi-Knob)
Keypad
Smart/Microsd Card Compartment
Replacement Parts
External Components
Optional Accessories
Repairs
Rugged Accessory Connector (Srac) Cover Assembly
Encoder Knob (Navi-Knob)
Colour Bar
Keypad and Keypad Bezel
Notices
Regulatory
Advertisement
Quick Links
1
Sc20 Series Hand-Portable Radio
2
General Information
3
Keypad
Download this manual
Level 1 Service Guide
SC20 Series hand-portable radio
Models:
SC2020 (380 - 430MHz)
SC2024 (403 - 470MHz)
Table of
Contents
Previous
Page
Next
Page
1
2
3
4
5
Advertisement
Table of Contents
Need help?
Do you have a question about the SC20 Series and is the answer not in the manual?
Ask a question
Questions and answers
Related Manuals for Sepura SC20 Series
Radio Sepura SC20 series User Manual
Hand-portable radio (157 pages)
Portable Radio Sepura SC2024W Quick Start Manual
Hand-portable radio (56 pages)
Portable Radio Sepura STP8000 Series Installation & User Manual
Car kit (4 pages)
Portable Radio Sepura STP8000 Quick Reference Manual
(5 pages)
Portable Radio Sepura TETRA STP8 Series Product Manual
(46 pages)
Portable Radio Sepura STP9000 Quick Reference Manual
(4 pages)
Portable Radio Sepura SC21 Series User Manual
Hand-portable radio (133 pages)
Portable Radio Sepura SC21 Series Quick Start Manual
Hand-portable radio (57 pages)
Portable Radio Sepura SC21 Series Service Manual
Hand-portable radio (41 pages)
Portable Radio Sepura TETRA SC2128W User Manual
Hand-portable radio (166 pages)
Portable Radio Sepura SBP8000 Quick Reference Manual
Dmr hand-portable radio (16 pages)
Portable Radio Sepura SC2020 Service Manual
Hand-portable radio (39 pages)
Portable Radio Sepura SC2024 Service Manual
Hand-portable radio (39 pages)
Portable Radio Sepura SC2120 Service Manual
Hand-portable radio (41 pages)
This manual is also suitable for:
Sc2020
Sc2024
Table of Contents
Save PDF
Print
Rename the bookmark
Delete bookmark?
Delete from my manuals?
Login
Sign In
OR
Sign in with Facebook
Sign in with Google
Upload manual
Upload from disk
Upload from URL


Need help?
Do you have a question about the SC20 Series and is the answer not in the manual?
Questions and answers