Advertisement
Easy Setup Guide
Introduction
This document explains the setup procedure for the TSP100IIIU.
For further instructions, please refer to the TSP100IIIU online manual.
Please read the instructions before using the printer.
If contents are missing or damaged, please contact the reseller that sold you
What's Included
the printer.
*accessories vary depending on the region where the printer was purchased.
Power Cable*
Paper Roll Guide
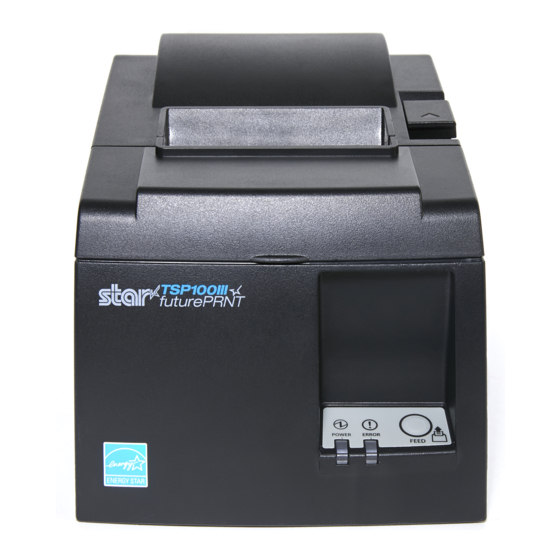
TSP100III
USB Cable
For customers using Windows Tablet ・ PC
Installing the Windows driver
Install it before connecting a USB cable.
Download the TSP100 Windows Driver "futurePRNT"
Extract the futurePRNT software and run "Autorun.
exe"
Follow the wizard and install the software.
For customers using iPad / iPhone / iPod touch ・ Android
The connection will be completed by simply
connecting the USB cable.
A TSP100III utility is available from the following link which will
allow you to check printer operation or change settings.
iPad, iPhone, iPod touch are trademarks of Apple Inc., registered in the U.S. and other countries. Lightning are trademarks of Apple Inc. IOS is a trademark or registered trademark of Cisco in the U.S.
and other countries and is used under license. Android is a trademark of Google Inc. Windows is a registered trademark of Microsoft Corporation.
For more information please visit our FAQ site at: http://www.starmicronics.com/support/faq.aspx
TSP100IIIU online manual
www.star-m.jp/
tsp100iiiu-oml.html
This Sheet
Easy Setup Guide
Safety Instructions
Paper Roll
Switch Cover
Rubber Feet
< What to Do First >
Download the TSP100 futurePRNT Driver
The drivers can be downloaded using the link below:
www.star-m.jp/tsp100iii-wsw.html
The Windows drivers are included in futurePRNT.
When futurePRNT is used, the printer settings can be
configured and an operation test can be performed.
<Optional>
TSP100III Utility Download
www.star-m.jp/tsp100iii-app.html
※ Access if from your iOS or Android device.
Set Up the Printer
1
TSP100IIIU
Connect a USB cable
Windows
You will need:
USB cable included with the
printer
iPad / iPhone / iPod touch
You will need:
Lightning cable included with
your apple product
Holder Plate
Android
Screws(2)
You will need:
USB cable (sold commercially or
one that comes with a tablet)
A specific USB On-the-Go adapter
may be required for your Android
product, please contact your
tablet manufacturer.
2
Inserting a Paper Roll
Push the cover opening lever
open the rear cover
.
2
1
When using a paper roll with 58 mm
width, install the supplied paper
guide into the printer.
To change the paper width, the
memory switch must be set. Refer to
the online manual for details.
Using the supplied USB cable, connect it to the port in the middle (type B)
secure it with the cable lock
. Connect the opposite end to the PC
Plug for the printer
(Type B)
5V
DK
Using the lighting cable provided with your apple product, connect it to the port on
the left (type A)
and secure it with the cable lock
your Apple product
.
Plug for the printer
(Type A)
5V
DK
Using your USB to type B cable, connect it to the port in the middle (type B)
secure it with the cable lock
. Connect the opposite end to your Android device
Plug for the printer
(Type B)
5V
DK
1
and then
Insert a paper roll in the direction shown
in the illustration.
Pull the end of the paper out straight
,
and push down both sides of the printer
cover to close
.
4
3
and
.
2
3
1
. Connect the opposite end to
2
3
1
and
.
There are various plugs
for Android devices
2
3
3
Turn ON the Main Unit
Power
Connect the included power cable to the inlet
on the back side of the TSP100III
. Connect the
plug of the power cable to the outlet
.
2
1
RST
Turn on the power to the TSP100III
, and check
the blue LED lights up
.
4
O
OF
F
I
ON
3
This completes printer setup.
On Windows, the device driver software will
be installed automatically. Shortly thereafter,
your device will be ready to use.
Copyright © 2017 Star Micronics Co., Ltd. 80877840
Advertisement
Table of Contents

Subscribe to Our Youtube Channel
Related Manuals for Star TSP100IIIU


Summary of Contents for Star TSP100IIIU
- Page 1 . Connect the opposite end to the PC For further instructions, please refer to the TSP100IIIU online manual. USB cable included with the tsp100iiiu-oml.html Please read the instructions before using the printer.
- Page 2 ◦iPad、 iPhone、 iPod touch は、 米国および他の国々で登録された Apple Inc. の商標です。 Lightning は、 Apple Inc. の商標です。 “iPhone” の商標は、 アイホン株式会社のライセンスにもとづき使用されています。 IOS は、 動でプリンターキューが作成されます。 米国およびその他の国における Cisco 社の商標または登録商標であり、ライセンスに基づき使用されています。 ◦Android は、Google Inc. の商標です。◦Windows は、米国 Microsoft Corporation の、米国、日 本およびその他の国における登録商標です。 ◦ さらに細かな内容については、弊社 FAQ サイト( http://www.star-m.jp/faq/index.html )をご参照ください。 Copyright © 2017 Star Micronics Co., Ltd.
Need help?
Do you have a question about the TSP100IIIU and is the answer not in the manual?
Questions and answers