Table of Contents
Advertisement
Quick Links
ø2mm stainless steel wire
Pixel Distributor
100mm/4"
(clearance)
150mm/6"
(clearance)
ø2mm stainless steel wire
Pixel Distributor
100mm/4"
(clearance)
Pixel Distributor alternative mounting
position – behind the Mesh grid.
150mm/6"
(clearance)
To increase stability, particularly
for outdoor, multi-unit installations,
anchor mounting wires at 1m intervals.
NOTE:
To keep the entire Mesh installation
straight, bolt the mounting wires to the
ceiling and to the floor to ensure the wires
are tort.
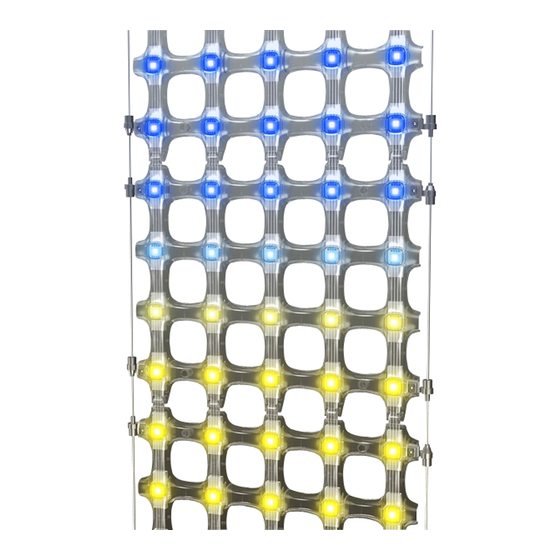
Mesh unit attached to steel wires
with Pixel Distributor on top.
Mesh unit attached to steel wires
with Pixel Distributor on top.
Total weight (including steel wires) is 4.2kg.
Total weight (including steel wires) is 4.2kg.
www.traxontechnologies.com
©2015 traxon technologies - an osraM Business. all rights reserved. traxon™, tx connect®, are tradeMarks of traxon technologies. u.s. patents, e.u. patents, japan patents, other patents pending. specifications are suBject to change
without notice.
Mounting guide
M o un ti n g Gu i de
1
Prepare the mounting wires.
3
Attach Mesh unit onto mounting wires.
Wire-stopper slides
freely when plunger
is pressed down.
Attach Mesh unit onto mounting wires.
3
(A) Clip Mesh unit onto wire.
Pixel Distributor alternative mounting
position – behind the Mesh grid.
Mounting additional Mesh units.
(A) Clip Mesh unit onto wire.
Mount Mesh units from left to right.
(Anchors not included.)
To increase stability, particularly
for outdoor, multi-unit installations,
X: Attach to above unit first.
anchor mounting wires at 1m intervals.
Mounting additional Mesh units.
Y: Clip wire-holders to wire and
rest on adjacent unit.
Mount Mesh units from left to right.
(Anchors not included.)
Slide wire-stoppers in place.
X: Attach to above unit first.
Y: Clip wire-holders to wire and
rest on adjacent unit.
Slide wire-stoppers in place.
NOTE:
To keep the entire Mesh installation
straight, bolt the mounting wires to the
ceiling and to the floor to ensure the wires
are tort.
05/15 v0.3
M es h
Fix mounting wires with
the distances shown.
Slide the wire-stoppers
with the spacings shown.
340mm/26.8"
Wire-stopper hold
its position when
plunger is released.
(Note that
155mm/6"
Wire-stopper can
still slide upward)
125mm/5"
125mm/5"
(B) Rest mesh unit on top stoppers.
(B) Rest mesh unit on top stoppers.
(C) Slide wire-stopper down.
Y
X
Y
www.traxontechnologies.com
©2015 traxon technologies - an osraM Business. all rights reserved. traxon™, tx connect®, are tradeMarks of traxon technologies. u.s. patents, e.u. patents, japan patents, other patents pending. specifications are suBject to change
without notice.
1 of 3
Mounting guide
125mm/5"
For easier mounting,
allow wires to hang loose.
125mm/5"
Bolt wires at bottom after
all units are mounted.
312.5mm/12.3"
312.5mm/12.3"
2
Use spirit level to ensure
top wire-stoppers
are horizontal.
For easier mounting,
allow wires to hang loose.
Bolt wires at bottom after
all units are mounted.
4
(C) Slide wire-stopper down.
(D) Wire-stoppers shown in position.
Mounting back-to-back Mesh units.
(D) Wire-stoppers shown in position.
Mounting back-to-back Mesh units.
X
For single-row back-to-back installations:
1. Remove the wire-holders on the back unit.
2. Pre-assemble back-to-back units.
3. Hang the back-to-back units using the
same method as above.
For two-row back-to-back installations:
(Second row Mesh units require customized
lead cable length of 2.5m)
1. Hang Mesh units on one side.
2. Remove the wire-holders on the back units.
3. Attach and screw on second row back units.
4. Hide second row lead cables in above units.
5. Attach and screw on first row back units.
05/15 v0.3
Me sh
M ou n t in g G u ide
Assemble the Mesh grids.
4
Clip the Mesh grids together
at an angle.
Mount the Pixel Distributor.
Pixel Distributor alternative
mounting using the wall brackets.
(Brackets and screws included.)
Pixel Distributor mounting
on steel wire.
Tighten wire-clips
with 5mm hex key.
(Hex key not included.)
For single-row back-to-back installations:
1. Remove the wire-holders on the back unit.
2. Pre-assemble back-to-back units.
3. Hang the back-to-back units using the
Use provided screws to
secure the units together.
same method as above.
For two-row back-to-back installations:
(Second row Mesh units require customized
lead cable length of 2.5m)
1. Hang Mesh units on one side.
2. Remove the wire-holders on the back units.
Wire-holder on
front unit only.
3. Attach and screw on second row back units.
4. Hide second row lead cables in above units.
5. Attach and screw on first row back units.
Mount
Pixel Dis
on steel
2 of 3
Advertisement
Table of Contents

Related Manuals for Traxon Mesh


Summary of Contents for Traxon Mesh
- Page 1 ©2015 traxon technologies - an osraM Business. all rights reserved. traxon™, tx connect®, are tradeMarks of traxon technologies. u.s. patents, e.u. patents, japan patents, other patents pending. specifications are suBject to change ©2015 traxon technologies - an osraM Business. all rights reserved. traxon™, tx connect®, are tradeMarks of traxon technologies. u.s. patents, e.u. patents, japan patents, other patents pending. specifications are suBject to change without notice.
- Page 2 . ©2015 traxon technologies - an osraM Business. all rights reserved. traxon™, tx connect®, are tradeMarks of traxon technologies. u.s. patents, e.u. patents, japan patents, other patents pending. specifications are suBject to change without notice.
Need help?
Do you have a question about the Mesh and is the answer not in the manual?
Questions and answers