Advertisement
Quick Links
Advertisement

Related Manuals for Better Bathrooms Lustro BeBa 26848


Summary of Contents for Better Bathrooms Lustro BeBa 26848
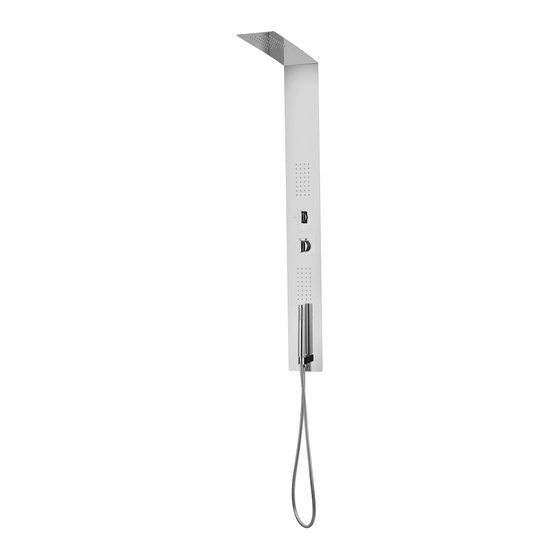
- Page 1 Lustro Thermostatic Concealed Shower Tower BeBa_26848 Please note: Image is for illustrative purposes only and may differ slightly to the actual product Single-person assembly Tools required We always recommend using professional tradespeople to install your product V1 15.7.20...
- Page 2 Congratulations on your purchase And welcome to our growing gang of savvy shoppers We're on a mission to bring you extraordinary bathroom products, for less. From modern to traditional style ceramics, plus the gorgeous fixtures, fittings and furniture to match. So, you can fall in love with your space every single day.
-
Page 3: Table Of Contents
Contents Parts Tools required Installation Operation Troubleshooting Maintenance 10-11 Cleaning... -
Page 4: Parts
Parts 1. Shower Tower including hand shower holder (6) 5. Hand shower 7. Hose including 2 x seals 10. Wall screws x 4 11. Shower tower wall housing 12. Wall Plugs x 4 Parts 2, 3, 4, 6, 9, 13, 14, 15, 16 are pre-fitted to the unit Tools required ... -
Page 5: Installation
Installation IMPORTANT: Prior to installation please note the following- a) The location should be checked before drilling, that no pipes or wires can be damaged. b) The supply pipes must come from the bottom. c) Prepare the supply pipes at the specified height, ensuring that the cold supply is on the right and the hot supply on the left. - Page 6 4. With the housing in the recess, mark the location of the drill holes that will secure the housing into the recess, then remove and drill the holes. 5. Insert the wall plugs into the holes and tap flat then re-fit the housing into the recess.
- Page 7 Please note: The supply pipes to the shower tower must come from the bottom, pass through the holes in the housing to connect to the 1/2" female nut on the hot and cold flexi- pipes. 6. Connect the supply pipes to the flexi-pipes ensuring that the seals are fitted, and the hot supply is on the left, tighten to create a seal.
- Page 8 7. Following the leak check, silicone can be applied to the back edge of the panel to prevent moisture running behind. Once applied, hook the shower tower into position via the slots, then hook these onto the bars inside the housing. 8.
-
Page 9: Operation
Operation To set the temperature - Turn the bottom dial until the desired temperature is reached. The product is set so that the handle stops at approx. 38⁰c, this is a safety feature; it can be overridden by pressing the button and holding while turning. ... -
Page 10: Maintenance
Maintenance Poor Flow 1. Remove the shower tower flexi-connectors from the tower and turn on the water supply to ensure sufficient water is reaching the unit; if it is poor flow, this is not a product fault. 2. Remove the flexi-pipe on the rear connected to the outlet for the body jets and hand shower then turn on the water to check water flow is sufficient. -
Page 11: Cleaning
Re-calibration 1. The mixer is set up under factory conditions and so on some occasion’s re- calibration (re-set of the temperature) is required. To do this, turn the temperature control dial to the stop position. Remove the handle as advised previously, do not remove the stop ring.
Need help?
Do you have a question about the Lustro BeBa 26848 and is the answer not in the manual?
Questions and answers