Advertisement
Quick Links
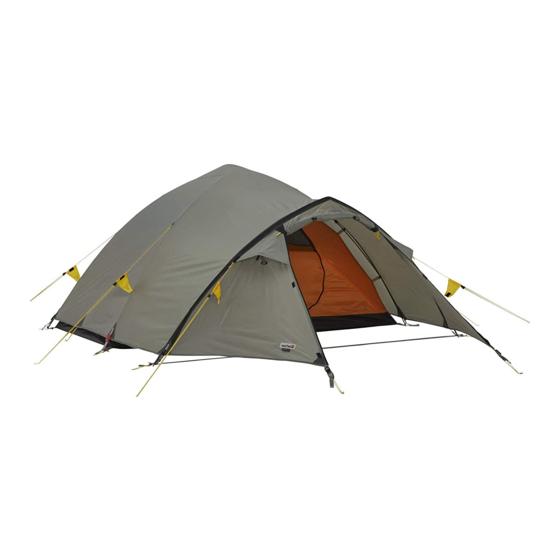
CHARGER 2AX
Gestänge am roten Segment festhalten und
auseinander falten und zusammen stecken.
Grab the red pole segment, hold it up, unfold
the segments and insert them to each other.
Obere zwei Gestängeclips nur an dem roten
Segment befestigen.
Connect the two top hooks to the red segment.
Das Innenzelt mit Heringen fixieren.
Tighten the inner tent by using the tent pegs.
Nun die verbliebene Apsis Stange in den außen-
liegenden Kanal einführen und spannen.
Now insert the remaining vestibule pole into
the outer sleeve and erect the vestibule.
Gestänge an den vier Ecken des IZ fixieren. Die
01
Apsisstange befindet sich über den Eingängen.
Connect the poles set to the four corners. The
ridge pole is above the two doors.
Alle Clips des Innenzeltes befestigen.
03
Connect all hooks to the poles.
Außenzelt an den Steckschnallen befestigen.
05
Rote Steckschnalle dient als Orientierung.
Connect the fly to the inner tent using the
buckles. Use red buckle as orientation.
Apsiden abspannen und die Lüfter öffnen.
07
Stake out the vestibules.
AUFBAU
PITCHING THE TENT
02
04
06
08
Advertisement

Related Manuals for Wechsel CHARGER 2AX


Summary of Contents for Wechsel CHARGER 2AX
- Page 1 CHARGER 2AX AUFBAU PITCHING THE TENT Gestänge am roten Segment festhalten und Gestänge an den vier Ecken des IZ fixieren. Die auseinander falten und zusammen stecken. Apsisstange befindet sich über den Eingängen. Grab the red pole segment, hold it up, unfold Connect the poles set to the four corners.
- Page 2 – Various pegs for different usages and conditions – Wing – Ferrules for pole repair – Aufstellstangen Next time you take a Wechsel tent on your travels, why not – verschiedene Heringe für unter- send us your story and some pictures for our blog: schiedliche Bodenbeschaffenheiten www.wechsel-tents.com/travelogue...
Need help?
Do you have a question about the CHARGER 2AX and is the answer not in the manual?
Questions and answers