
Related Manuals for Morso 1000 Swift


Summary of Contents for Morso 1000 Swift
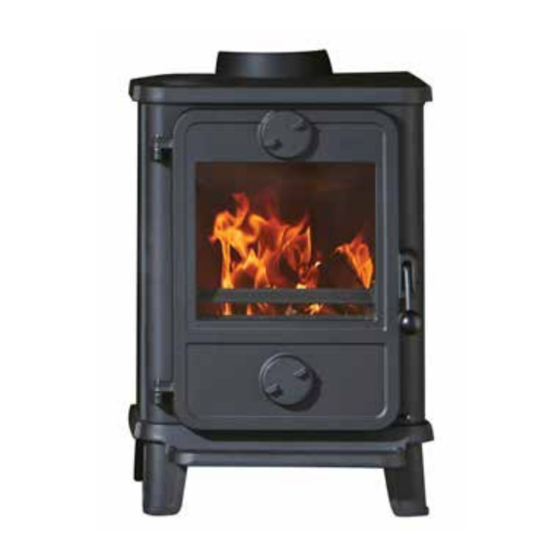
- Page 1 Instructions for installation and use Morsø 1000 Swift EN 13240 MORSØ JERNSTØBERI A/S . DK-7900 NYKØBING MORS E-Mail: stoves@morsoe.com · Website: www.morsoe.com...
-
Page 2: Table Of Contents
Enjoy your new Morsø stove! Morsø, the biggest stove company in the Danish mar- ket, has been making wood-burning stoves of the highest quality since 1853. Just follow the instructions below, and we are certain that you will be able to use and enjoy your new stove for many years. -
Page 3: Installing Your Morsø Stove
1.0 Installing your Morsø stove 1.1 Unpacking the stove After removing the outer packaging lift the stove and set it carefully in place. We recommend that two people perform the assembly and installation procedure. Morsø 1000 The Swift weighs 70 kg. 1.2 Installing the stove The stove and chimney installations MUST comply to all current National and Local Building Regu- lations;... - Page 4 Minimum clearances to combustible surfaces: To the sides of the Stove type Behind the stove (A) To soft furnishings stove (B) Morsø 1000 Swift 300 mm 500 mm 700 mm uninsulated flue Morsø 1000 Swift 200 mm 550 mm 700 mm...
-
Page 5: The Chimney
1.5 The chimney Only if National or Local Regulations permit are you permitted to connect a stove into a chim- ney that is shared by another appliance. YOU MUST be aware of any applicable Regulations in this respect. The wood-burning stove must never been connected to a chimney to which a gas-burn- ing stove or appliance is connected. -
Page 6: Connecting To A Brick Chimney
1.7 Connecting the stove to a masonry chimney A wall sleeve should be bricked securely into the wall of the chimney at the appropriate height and the stovepipe inserted centrally. The pipe must not extend into the actual chimney open- ing, but rather must reach only to the inside of the chimney aperture. -
Page 7: Draught
1.9 Draft conditions If smoke spillage occurs when the fire door is opened, it is probably due to poor chimney draft. This type of stove requires at least 12 pa of chimney draft to achieve satisfactory com- bustion and smoke spillage prevention. However, in cases where the stove door is opened too vigorously you could expect that slight smoke spillage may occur. -
Page 8: Firing/Using The Stove
2.0 Firing the stove/Using your stove The heat output of your stove is regulated by means of the air inlets. The primary air supply, i.e. the air which passes through the shaking grate, is controlled by the bottom draft vent, while the secondary air supply, i.e. -
Page 9: Lighting Instructions And Fuelling Intervals
2.1 Lighting and refuelling intervals A lot of air is needed when first lighting the stove. When starting with a totally cold stove, it may be helpful to leave the door ajar (2-3 cm) during the first few minutes; the secondary air intake should be fully open. - Page 10 5. Refuelling of your stove should be done while there are still glowing embers in the bed. Spread the embers across the bottom, but concentrated mostly towards the front of the stove. 6. Place three pieces of fuel weighing roughly 0.6 kg and measuring about 25 cm in length across the coals in one layer, with spacing of roughly 1 cm between the pieces of wood.
- Page 11 The stove door should normally be opened gently the first 2 - 3 centimetres, then you should wait until the pressure has equalised before opening the door all the way. This technique will prevent smoke from getting out, particularly when there is a poor draught. The stove door should never be opened when the stove is being fired vigorously.
-
Page 12: Routine Stove Maintenance
3.0 Routine stove maintenance 3.1 External maintenance The surface of the stove is painted with heat-resistant Senotherm paint. If the stove is used too vigorously, the painted surface may take-on a greyish tinge. It is easily maintained by sim- ply vacuuming the surface with a soft brush attachment and applying two light layers of paint. Morsø... -
Page 13: Cleaning The Stove
Reasons for premature wear of internal parts: - Stove being used/fired too vigorously. - Too much air passing through the bottom grate. - Use of excessively dry wood (wood from old furnitures) - Excessive debris collection on baffle plate or inner fireback (see section on cleaning) - Ash level too high in the ash pan (see section on ash) Firebricks It should be expected that at sometime the Chamote firebricks will show some signs of crack-... -
Page 14: Alternative Fuel Types
4.0 Alternative fuel types Your new Morsø stove is EN-approved for burning wood. However, the stove can also, e.g. when used overnight, burn alternative fuels such as bri- quettes, petrocoke (energy coke) and furnace coke. If you fire your stove with any fuel other than wood, it may help to use a coal insert, which has a left part and a right part. - Page 15 It is importat to avoid firing the stove so vigorously that the fuel glows white. This will cause the ash to melt together to form larger pieces of slag which cannot pass through the shak- ing grate, resulting in severe damage to the grates and fireproof stones. If the pieces of coke are glowing cherry-red, there is a risk that the fire is about to go out.
- Page 16 Maintenance parts for Morsø 1000 Swift Description Product code Riddling grate 44203000 Grate frame 44203100 Baffle plate 44141100 Front grate 44141400 Glass panel 1440/1450 790724 Glass kit 1440/1450 62904100 Side firebrik 790935 Back firebrik 790934...
- Page 17 Guarantee Product Registration MORSØ 10 YEAR GUARANTEE CERTIFICATE Behind every Morsø stove is more than 160 years of dedicated stove design and manufacturing experi- ence. Quality control has always been at the heart of the production process and detailed measures have been put into place at all key stages of the build.
- Page 20 IMPORTANT! How to heat safely for the environ- ment and yourself! • Use only dry wood Use only dry (max. 20% moisture content) and untreated wood. The fuel must be split and 8 - 12 cm thick. • Light Light with dry kindling (use 1 - 2 kg). Leave the door ajar and stay close to the stove during the lighting phase.
Need help?
Do you have a question about the 1000 Swift and is the answer not in the manual?
Questions and answers