Gliderol Glidermatic GRD+ Manual
Setting door travel limits
Hide thumbs
Also See for Glidermatic GRD+:
- Installation instructions and owner's manual (21 pages) ,
- Installation instructions manual (17 pages) ,
- Handset key settings (2 pages)
Advertisement
Glidermatic GRD+
Setting Door Travel Limits
The following instructions demonstrate how to set the travel limits of your Gliderol Roller door. Setting
your door travel limits is a vital part of the initial setup of your Glidermatic GRD+ operator. Essentially,
this communicates to the operator the specific distance it must travel to complete an open/close cycle.
All steps must be completed in quick succession to prevent the unit from exiting Limit setup mode.
Step 1:
ENTER
BUTTON
Press and hold the 'Enter' button (shown above)
for 2 seconds to access the operator menu. The
unit will beep twice to confirm this has been
selected.
Note: Pressing the enter button for 5 seconds or more will
erase all handset data from your operator - be careful not to
press the enter key for longer than neccessary.
Step 3:
Left Hand Drive
Standing inside your garage opening and facing
out toward the street, determine if your operator
is mounted on the left or right side of the door.
Use the arrow (Up & Down) buttons to select
your doors correct drive handling configuration.
Press 'Enter to confirm your selection. The door
will automatically close to find the floor position.
Right Hand Drive
Step 2:
ENTER
BUTTON
Use the arrow (Up & Down) buttons to select
the 'Limit' option and press 'Enter' to confim
selection.
Step 4:
ENTER
BUTTON
Upon reaching the floor, the unit will beep 3
times to confirm floor level has been reached.
You can then set the top/open door limit by
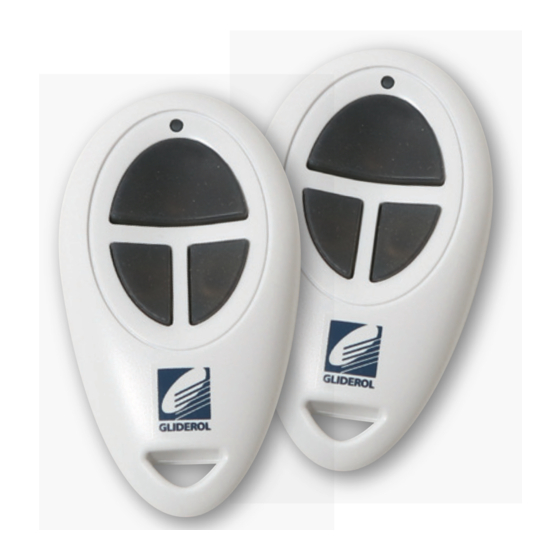
using the arrow (Up & Down) buttons on the
operator (or the buttons on your Gliderol
Handset) to raise the door curtain to it's open
position. Press 'Enter' to confirm limit.
www.gliderol.com.au
LIMIT
OPTION
Advertisement
Table of Contents

Related Manuals for Gliderol Glidermatic GRD+


Summary of Contents for Gliderol Glidermatic GRD+
- Page 1 Glidermatic GRD+ Setting Door Travel Limits The following instructions demonstrate how to set the travel limits of your Gliderol Roller door. Setting your door travel limits is a vital part of the initial setup of your Glidermatic GRD+ operator. Essentially, this communicates to the operator the specific distance it must travel to complete an open/close cycle.
- Page 2 Glidermatic GRD+ Setting Door Travel Limits cont... The following instructions demonstrate how to set the travel limits of your Gliderol Roller door. Setting your door travel limits is a vital part of the initial setup of your Glidermatic GRD+ operator. Essentially, this communicates to the operator the specific distance it must travel to complete an open/close cycle.
Need help?
Do you have a question about the Glidermatic GRD+ and is the answer not in the manual?
Questions and answers