Advertisement
Table of Contents
- 1 Table of Contents
- 2 Owner's Information
- 3 General Specifications
- 4 Specific Marzocchi Tools
- 5 General Rules for a Correct Overhauling and Maintenance
- 6 Failures, Causes and Remedies
- 7 Recommendations for Use
- 8 Installation
- 9 Disc Brake System Assembly
- 10 Adjustments
- 11 Disassembly
- 12 Disassembly Diagram
- 13 Reassembly
- 14 Fork Exploded View
- Download this manual
Advertisement
Table of Contents

Related Manuals for Marzocchi Z2 ATOM BOMB


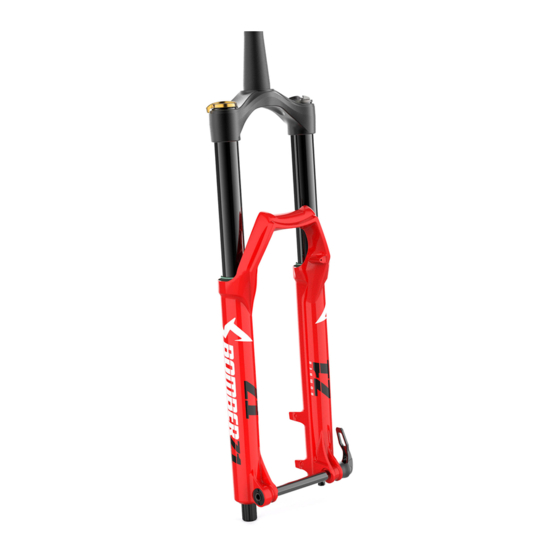
Summary of Contents for Marzocchi Z2 ATOM BOMB
-
Page 2: Table Of Contents
The responsibility of the owner 1) The Marzocchi suspension system is designed to absorb the shocks of an uneven road surface in order to give the rider more control over this bicycle. It is not designed to absorb the forces generated by jumps or other acrobatic maneuvers. If you subject the Marzocchi suspension system to repeated jumps or other acrobatic maneuvers, you could cause one or more of the components of the suspension system to unexpectedly break, resulting in a loss of bicycle control and serious injury to the rider. -
Page 3: General Specifications
Oil: Specially formulated oil which eliminates foaming and viscosity breakdown while providing complete stiction-free performance. Fork leg oil: type EBH 16 - SAE 7.5. – Z2 ATOM BOMB: right leg 75 cc, left leg 85 cc. – Z2 BAM: right leg 90 cc, left leg 100 cc. -
Page 4: General Rules For A Correct Overhauling And Maintenance
– Technical Specifications. GENERAL RULES FOR CORRECT OVERHAULING AND MAINTENANCE 1. Where specified, assemble and disassemble the shock absorption system only using the LARM or MARZOCCHI special tools, as shown in the table below. 2. On reassembling the suspension system, always use new seals. -
Page 5: Installation
INSTALLATION Installing the BOMBER Z2 fork on a bicycle is a very delicate operation that should be carried out with extreme care. The installation should always be checked by one of our Technical Service Centers. WARNING: Steer tube/headset mounting and adjustment must be carried out in compliance with the headset manufacturer’s instructions either when a threaded steer tube or an “A-Head Set”... -
Page 6: Disassembly
SPRING PRELOAD (FIG. B) FIG. B The spring preload determines COMPRESSION damping and can be adjusted by turning the knob (2) on top of the fork legs. From the factory the Z2 is set with the minimum preload, i.e. the adjustment knob is completely unscrewed counterclockwise. -
Page 7: Disassembly Diagram
DISASSEMBLY DIAGRAM SPRING CHANGE PRELOAD KNOB FIG. 1 STOP RING FIG. 2 HYDRAULIC STANCHION TUBE CAP CARTRIDGE FIG. 3 CHANGE (right leg) SPRING FIG. 4 FOOT NUT FIG. 5 FORK OIL CHANGE HYDRAULIC CARTRIDGE REBOUND SPRING FIG. 6 FIG. 6 PILOT BUSHING AND SEAL ASSEMBLY CHANGE... - Page 8 FIG. 2 FIG. 2 Remove the stop ring (4) from the top of the preload knob support with a small screwdriver. FIG. 3 FIG. 3 Place the stanchion tube (13) in a vice making sure it is not damaged or dented in the process and unscrew the cap (5) with a 26 mm open end wrench.
- Page 9 FIG. 6 FIG. 6 Right Pull the hydraulic cartridge (11) complete with rebound spring (12) out of the stanchion tube. Replace the whole hydraulic cartridge. PILOT BUSHING AND SEAL ASSEMBLY CHANGE FIG. 7 FIG. 7 Pull the stanchion tube (13) completely out of the slider. FIG.
- Page 10 FIG. 10 FIG. 10 Remove the stop ring (15) from the slider by placing the screwdriver bit in one of the openings on the stop ring and carefully lifting the ring out of place. IMPORTANT: when removing the stop ring, make sure not to damage its seat.
-
Page 11: Reassembly
REASSEMBLY FIG. 14 CAUTION: before reassembling, all metal parts should be washed carefully with inflammable and biodegradable solvent and dried with compressed air. PILOT BUSHING AND SEAL ASSEMBLY FIG. 14 Check that no dirt or debris is between slider and bushing. Insert the pilot bushing (18) into place so that it adheres to the slider. - Page 12 FIG. 18 FIG. 18 Lubricate the dust seal (14) and fit it into the top of the slider. STANCHION TUBE FIG. 19 FIG. 19 Fit the stanchion tube (13) gently into the dust seal, from the unthreaded end. Rotate the stanchion tube while inserting it into the seal to facilitate installation and reduce the chance of damaging the seals.
- Page 13 Check that oil level is at the recommended distance (H) from the top of the stanchion tube. H (mm) Z2 BAM 40 Right - 45 Left Z2 ATOM BOMB Z2 Alloy SPRING AND CAP FIG. 23 Right FIG. 23 Fit the spring (9) into the stanchion tube.
- Page 14 FIG. 26 FIG. 26 Fit the stop ring (4) of the preload knob support and make sure it is properly seated into place. FIG. 27 FIG. 27 Fit the preload knob (2) and secure it on the support by tightening the Allen bolt (3) at 1.5 Nm.
-
Page 15: Fork Exploded View
Description Safety ring Preload knob Allen bolt Stop ring O-ring External preload adjuster Lower washer Spring O-ring Z2 ATOM BOMB Hydraulic cartridge Rebound spring Stanchion tube Dust seal Stop ring Oil seal Upper washer Pilot bushing R.H. slider L.H. slider... - Page 16 Ref. Description Safety ring Preload knob Allen bolt Stop ring O-ring External preload adjuster Lower washer Spring O-ring Hydraulic cartridge Rebound spring Z2 BAM Disc Brake Stanchion tube Dust seal Stop ring Oil seal Upper washer Pilot bushing R.H. slider L.H.
- Page 17 Ref. Description Safety ring Preload knob Allen bolt Stop ring O-ring External preload adjuster Lower washer Spring O-ring Hydraulic cartridge Rebound spring Z2 Alloy Stanchion tube Dust seal Stop ring Oil seal Upper washer Pilot bushing R.H. slider L.H. slider O-ring Foot nut Cantilever boss...