Table of Contents
Advertisement
Quick Links
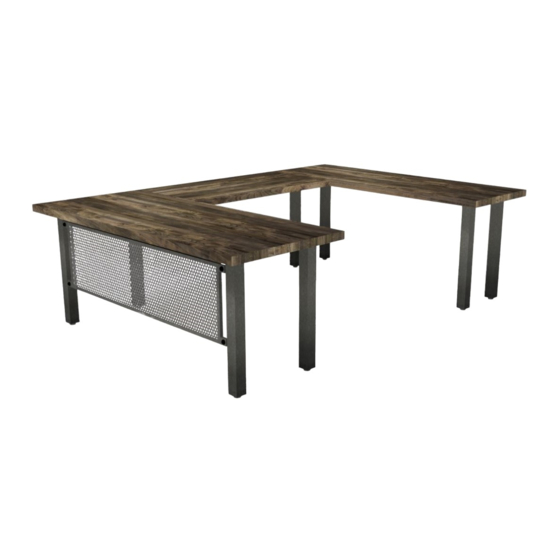
FORTIS U-SHAPE
Assembly Instructions
Thank you for your purchase!
Iron Age Office furniture is uniquely and individually
fabricated. For this reason, your furniture is pre-assembled
and labeled before shipping. Labels are marked on the
underside of the furniture. Most furniture is then
deconstructed prior to shipping. Pieces that uniquely
correspond can typically be found on the same pallet.
Assembly is best completed by keeping the pieces that
correspond together. Clear your work area of anything that
could scratch furniture surfaces. If possible, cover your
work area with a clean, soft blanket. Carefully flip
any wooden tops over and inspect the bottom sides for markings.
Match legs, flat brackets, etc.
to the appropriate labels.
If you need further assistance of any kind,
please contact:
Iron Age Office Operations Manager
Henry Dover
678-725-1473 (c)
hd@ironageoffice.com
Advertisement
Table of Contents

Related Manuals for Iron Age Office FORTIS U-SHAPE


Summary of Contents for Iron Age Office FORTIS U-SHAPE
- Page 1 FORTIS U-SHAPE Assembly Instructions Thank you for your purchase! Iron Age Office furniture is uniquely and individually fabricated. For this reason, your furniture is pre-assembled and labeled before shipping. Labels are marked on the underside of the furniture. Most furniture is then deconstructed prior to shipping.
- Page 2 HARDWARE Screws are shown actual size. You may receive extra hardware with your unit. Tools Required #3 Square Drive 14-10 LAG BOLT QTY: 44 SCREEN BOLT 3/8 Hex Drive QTY: 4 SCREEN NUT 15/16 Crescent Wrench QTY: 4 LEVELING FOOT 9/16 Crescent Wrench QTY: 8...
- Page 3 PARTS LEFT TABBED LEG MAIN TOP RETURN RIGHT TABBED LEG BACK TOP STANDARD LEG SPLICE PLATE MAIN SCREEN SPLICE PLATE...
- Page 4 ASSEMBLY STEP 1 Place wood tops face down on a clean surface. STEP 2 Align legs using markings on the underside of the wood tops. Tabbed legs should be placed so that tabs are facing each other. Screw in all legs with (4) 14-10 lag bolts in each leg.
- Page 5 ASSEMBLY STEP 4 Screw in (1) leveling foot in each leg. Screw in leveling foot into each leg with 9/16 crescent wrench. STEP 5 Align splice plates following markings on backside of the main and back tops. Screw in (3) 14-10 lag bolts in each splice plate on the underside of the main top to secure splice plates.
- Page 6 STEP 7 Enjoy your desk! CARE INSTRUCTIONS To care for either wooden or metal surfaces of Iron Age Office products, gently wipe with a soft cloth dampened with water and a mild dishwashing liquid. Once satisfied, dry with a soft cloth.
Need help?
Do you have a question about the FORTIS U-SHAPE and is the answer not in the manual?
Questions and answers