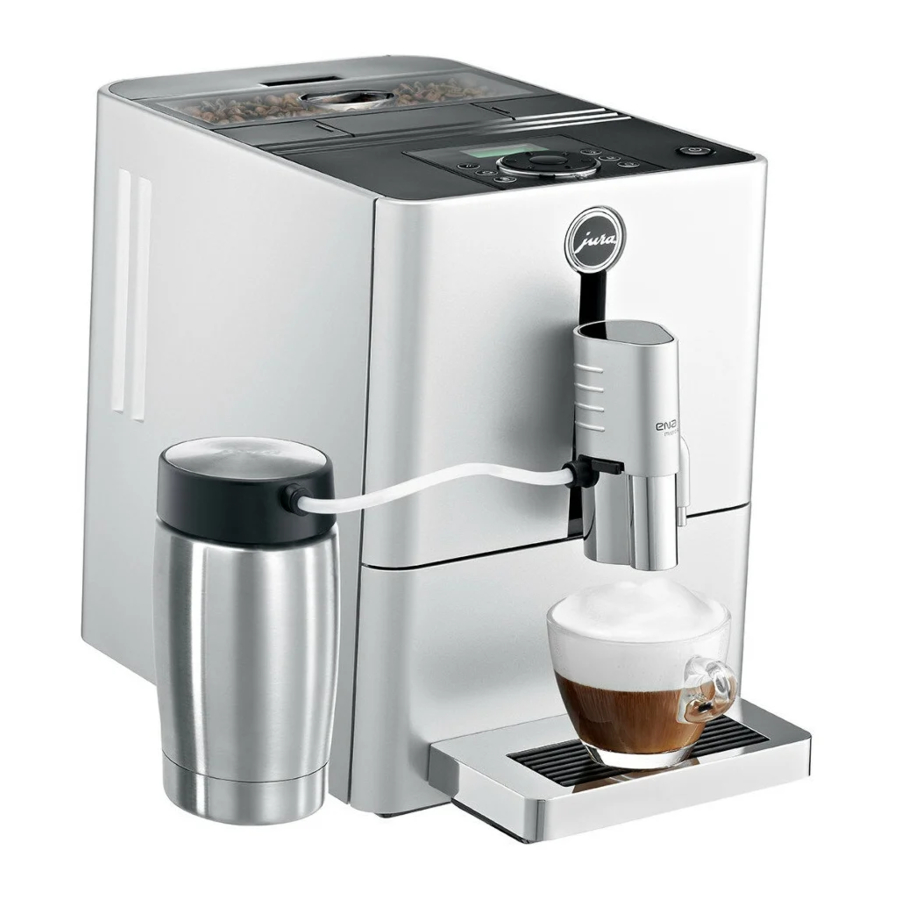
Jura ENA Micro 9 One Touch Disassembling Manual
Hide thumbs
Also See for ENA Micro 9 One Touch:
- Instructions for use manual (136 pages) ,
- User instructions (28 pages) ,
- Instructions for use manual (30 pages)
Advertisement
Elektroapparate AG
Language
1
Disassembling of the various components: ..............................................................................2
2
View appliance, Right:........................................................................................................... 11
3
View appliance, Left: ............................................................................................................. 12
4
View appliance, Top: ............................................................................................................. 13
5
View appliance, Back: ........................................................................................................... 13
6
View power-logic print, cable wiring (example ENA Micro 9 One Touch): ............................ 14
6.1
Block schematic: ..................................................................................................................... 14
7
View multi-valve connections: .............................................................................................. 15
7.1
Fluid system: .......................................................................................................................... 15
Revision:
A:
Remove hose of BU, remove inner distributing collar
Author: Patrik Studer
Date:
Rev. A:
06.10.2011
11.11.2011
Disassembling manual
ENA Micro 9 One Touch
EN
Checked:
Rev. B:
Rev. C:
Table of contents:
Approved:
Docu.-name:
Rev. D:
Rev. E:
Technical Support
Demontage_ENA_Micro_EN.doc
Rev. F:
Page 1/15
Advertisement
Table of Contents

Related Manuals for Jura ENA Micro 9 One Touch


Summary of Contents for Jura ENA Micro 9 One Touch
-
Page 1: Table Of Contents
View appliance, Left: ......................12 View appliance, Top: ......................13 View appliance, Back: ......................13 View power-logic print, cable wiring (example ENA Micro 9 One Touch): ......14 Block schematic: ........................14 View multi-valve connections: ....................15 Fluid system: .......................... 15... -
Page 2: Disassembling Of The Various Components
Disassembling manual Technical Support Elektroapparate AG ENA Micro 9 One Touch Language Disassembling of the various components: Important: When exchanging components, it is very important to put back the cable wiring the same way as it was before ! Remove water tank, grounds container, aroma preservation lid, powder funnel... - Page 3 Disassembling manual Technical Support Elektroapparate AG ENA Micro 9 One Touch Language Push with a small screw driver (no. 0) or alike Remove cover of the service plug simultaneous in both immersions of the interlock (between both lateral- and front parts) Insert e.g.
- Page 4 Disassembling manual Technical Support Elektroapparate AG ENA Micro 9 One Touch Language 11. Remove with a screw driver the cover of the 12. View: brewing unit Brewing unit cover removed. 13. Unscrew 3x TORX 15 to remove the brewing unit 14. Remove hose 15.
- Page 5 Disassembling manual Technical Support Elektroapparate AG ENA Micro 9 One Touch Language 17. Unscrew 4x TORX 15 18. Remove the 2x supports of the front shield 19. Remove coffee spout 20. Release 3x snap-locks of the bottom of the (Press interlocks on both sides) coffee spout and remove the lid 21.
- Page 6 Disassembling manual Technical Support Elektroapparate AG ENA Micro 9 One Touch Language 23. Release 2x snap-locks of the interlock angel 24. Unscrew 2x TORX 10 of the fluid system support 25. Unscrew TORX 15 of the hose shield 26. Remove hose shield.
- Page 7 Disassembling manual Technical Support Elektroapparate AG ENA Micro 9 One Touch Language 29. Release snap-lock of the air cover 30. Remove the air cover. Unscrew 1x TORX 15. 31. Unscrew 2x TORX 15 (front side). 32. Release 4x snap-locks Remove top case cover upwards.
- Page 8 Disassembling manual Technical Support Elektroapparate AG ENA Micro 9 One Touch Language 35. Remove the upper and sideward 36. Unscrew TORX 15 of the multi-valve cable-connectors (bottom of the appliance) 37. Pull down carefully the snap-lock of the multi- 38. Pull out the pump of the pump support valve support and remove the multi-valve 39.
- Page 9 Disassembling manual Technical Support Elektroapparate AG ENA Micro 9 One Touch Language 41. Variation when print and pump is removed: 42. Turn at the same time the tank base Release snap-lock of the tank base. (bayonet lock). 43. View: 44. Variation 2:...
- Page 10 Disassembling manual Technical Support Elektroapparate AG ENA Micro 9 One Touch Language 47. Unscrew TORX 15. 48. Remove grinder: Remove the powder funnel guide downwards. Unscrew 3x TORX 15 49. Press snap-lock and slide the Zero Energy Switch 50. Pull down the 2x snap-locks and slide down the...
-
Page 11: View Appliance, Right
Disassembling manual Technical Support Elektroapparate AG ENA Micro 9 One Touch Language View appliance, Right: Grinder (Zero Energy Switch Membrane controller Pump Power-Logic print Multi-valve Heater TB2010 Encoder Brewing unit motor Drain motor Author: Patrik Studer Checked: Approved: Docu.-name: Demontage_ENA_Micro_EN.doc L:\Geräte\ENA\ENA_Micro\ENA_Micro_9\Schulungsunterlage... -
Page 12: View Appliance, Left
Disassembling manual Technical Support Elektroapparate AG ENA Micro 9 One Touch Language View appliance, Left: Brewing unit (BU) Flowmeter Author: Patrik Studer Checked: Approved: Docu.-name: Demontage_ENA_Micro_EN.doc L:\Geräte\ENA\ENA_Micro\ENA_Micro_9\Schulungsunterlage n\E\Demontage_ENA_Micro_EN.doc Date: Rev. A: Rev. B: Rev. C: Rev. D: Rev. E: Rev. F: Page 12/15 06.10.2011... -
Page 13: View Appliance, Top
Disassembling manual Technical Support Elektroapparate AG ENA Micro 9 One Touch Language View appliance, Top: Service-plug Aroma lid detector Control panel View appliance, Back: Connector mains feeder Transformer Suppression filter Author: Patrik Studer Checked: Approved: Docu.-name: Demontage_ENA_Micro_EN.doc L:\Geräte\ENA\ENA_Micro\ENA_Micro_9\Schulungsunterlage n\E\Demontage_ENA_Micro_EN.doc Date: Rev. -
Page 14: View Power-Logic Print, Cable Wiring (Example Ena Micro 9 One Touch)
Disassembling manual Technical Support Elektroapparate AG ENA Micro 9 One Touch Language View power-logic print, cable wiring (example ENA Micro 9 One Touch): TM5A to ZES TM6 to mains L TM5 to supp. filter L Inp. TM6A to ZES TM2 to heater N... -
Page 15: View Multi-Valve Connections
Disassembling manual Technical Support Elektroapparate AG ENA Micro 9 One Touch Language View multi-valve connections: 1. Direction to Fluid terminal outlet (Hot water) 2. Direction to Fluid terminal outlet (Steam) 3. Direction to Fluid connector Check valve 4. Direction to Fluid connector Thermoblock 5.
Need help?
Do you have a question about the ENA Micro 9 One Touch and is the answer not in the manual?
Questions and answers