
Related Manuals for MasterCraft 068-0005-0


Summary of Contents for MasterCraft 068-0005-0
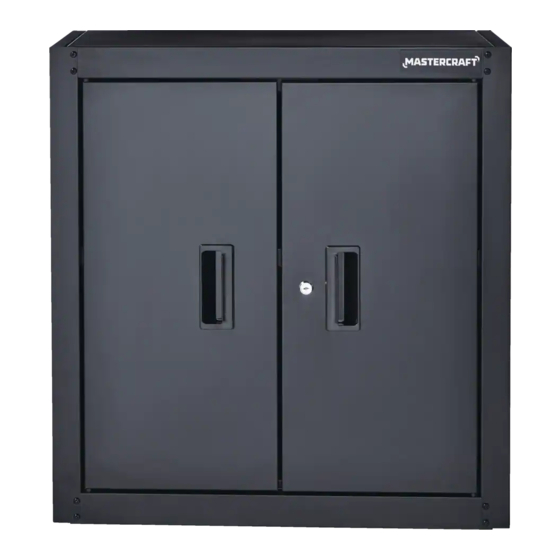
- Page 1 068-0005-0 Wall Cabinet INSTRUCTION IMPORTANT MANUAL Please read this manual carefully before assembling and Due to continuing improvements, using this product, and save it for reference. the actual product may differ slightly from the product described herein.
-
Page 2: Table Of Contents
068-0005-0 I contact us 1-800-689-9928 TABLE OF CONTENTS SAFETY MAINTENANCE EXPLODED VIEW / PARTS LIST ASSEMBLY INSTRUCTIONS COORDINATING PRODUCTS WARRANTY NOTE: If any parts are missing or damaged, or if you have any questions, please call our toll-free helpline at: 1-800-689-9928. -
Page 3: Safety
SAFETY To reduce the risk of serious injury, read and follow the safety instructions below before assembling and using this product. This product is intended for indoor use only. This product is not designed for commercial nor industrial usage. Keep the product on level surfaces. The product could become unstable and it may tip over if stored or moved on an uneven surface, which may cause personal injury, death or product damage. -
Page 4: Exploded View / Parts List
. 068-0005-0 I contact us 1-800-689-9928 EXPLODED VIEW / PARTS LIST Qty. Description Description Qty. Description Qty. Mounting bracket Door handle Locking hook M6 x 40 hex tapping bolt Rubber ring M6 x 16 hex socket... -
Page 5: Assembly Instructions
ASSEMBLY INSTRUCTIONS TOOLS REQUIRED FOR ASSEMBLY • Hex wrench (21) • Power drill (not included) NOTE: Assemble on a flat surface. A piece of cardboard is recommended to keep the product from being scratched during assembly. STEP 1 ATTACH THE BOTTOM AND SIDE PANELS Attach the side panels (7 and 19) to the bottom panel (8) with eight M6 x 16 hex socket head screws (3). - Page 6 068-0005-0 I contact us 1-800-689-9928 STEP 3 ATTACH THE TOP PANEL Attach the top panel (20) to the side panels (7 and 19) with eight M6 x 16 hex socket head screws (3). • Insert the screws by hand. DO NOT tighten.
- Page 7 STEP 5 ATTACH THE DOORS Lay down the left door (16) on its face with a soft mat underneath. Pull the bottom locking tab at the • right bottom corner of the door outwards. Insert a pin (15) through the hole at the door’s bottom corner and put a rubber ring (14) into the pin’s vertical end.
- Page 8 068-0005-0 I contact us 1-800-689-9928 STEP 6 INSTALL THE LOCKING HOOK Install the lock (9) per Step 1, ensuring the lock code stays on top of the lock face. Release the nut from the lock (9) back and attach the locking hook (13) per Step 3. Tighten the hook (13) securely with the nut previously removed from the lock (9) back as shown in Step 4.
- Page 9 STEP 8 INSTALL THE MOUNTING BRACKETS The M6 x 40 hex tapping bolts (2) should be drilled into Wear safety glasses when drilling the screws into the the studs of the wall. wall. The mounting brackets should be level after installing Wall on the wall.
-
Page 10: Coordinating Products
068-0005-0 I contact us 1-800-689-9928 COORDINATING PRODUCTS This product coordinates well with the units below to offer a best storage solution. They can be combined into various combinations to meet different storage requirements. Stainless Steel Top Tall Cabinet... -
Page 11: Warranty
This product is not guaranteed if used for industrial or commercial purposes. Made in China. Imported by Mastercraft Canada Toronto, Canada M4S 2B8...
Need help?
Do you have a question about the 068-0005-0 and is the answer not in the manual?
Questions and answers