
Related Manuals for Road Armor STEALTH 5203R0B


Summary of Contents for Road Armor STEALTH 5203R0B
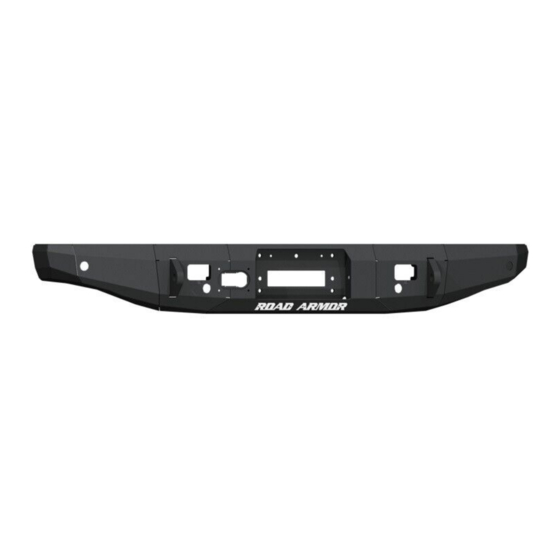
- Page 1 INSTALL INSTRUCTIONS STEALTH Rear Full-Width Winch Bumper Product : 5203R0B Application : 2020 JEEP GLADIATOR JT...
- Page 2 Be sure to inspect and test fit your product to ensure proper fitment before having it coated, painted, bed lined, etc. • Road Armor will not be responsible for the cost of coating your unit if any problems with fit or finish are not noted and addressed beforehand. SAFETY FIRST! •...
- Page 3 Install both 3x2 (SRM SURFACE MOUNT) lights, as this is easier now than after Road Armor bumper has been installed. Install hitch pin plate with included #10 Stainless Button Head Bolts and Keps Nuts Install both license plate lights using #8 hardware, as this is easier now than after Road Armor bumper has been installed. NOTE If installing winch do so at this time: Install 8000lbs Winch on to winch plate.(License Plate Relocation Bracket: LPF360B)
- Page 4 Install new Road Armor bumper by starting a washer, lock washer and nut over each bolt. Once all nuts are finger tight, check fitment and tighten them all down. Check that all the bracket bolts are fully tight as well.
- Page 5 INSTALL INSTRUCTIONS **Installation Tips - STEALTH Winch Rear Bumper** When installing “hawse” Fairlead, use 2 - 3/8” bolts (supplied with winch) to install fairlead onto winch mounting plate. If installing “roller” fairlead, use bumper as templet to drill out 3/8” holes shown below with blue arrows (allows the bottom two winch bolts to bolt through the fairlead bracket and into the winch.) (Longer winch bolts will be needed.)
Need help?
Do you have a question about the STEALTH 5203R0B and is the answer not in the manual?
Questions and answers