Advertisement
Quick Links
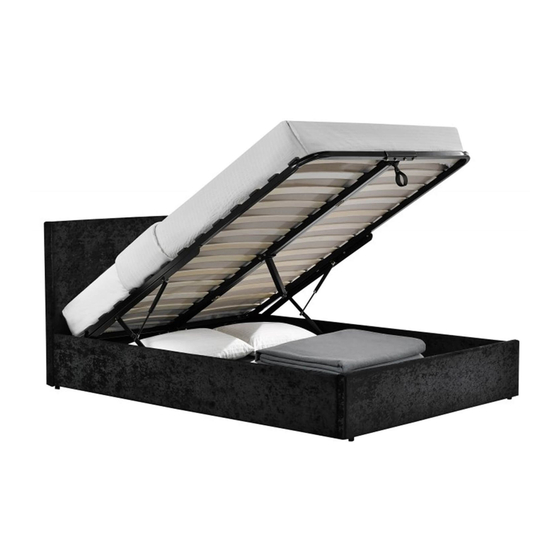
Berlin Fabric Bed - Single
Before you begin...
1. Please check you have received the correct product.
2. Unpack all boxes and lay out each component on the floor.
3. Check your product for any damage that may be immediately obvious. If damage is identified,
please contact your retailer.
4. Please read through these instructions thoroughly to ensure you have constructed your bed
correctly.
For Care and Maintenance of your bed...
•
Always assemble in your desired room of use.
•
Check all screws and fixings periodically to
ensure they are still secure.
•
Do not push or pull this bed as it will cause
damage.
•
Always lift this bed with a second person to
prevent damage or injury.
•
Keep any sharp objects away from this bed
frame.
o...
Als
If your desired room of choice has a non-carpeted surface please ensure that you use some form of
protection and do not place directly on the wooden floor. This will prevent the bed from moving and
therefore collapsing which will void your guarantee..
Assembly Instructions
For your Health and Safety...
•
Please don't not jump on this bed.
•
Do not use this bed if you find missing, damaged
or worn parts. Please contact the retailer you
purchased the bed from.
•
Please do not use this bed until you have fully
secured all fixings.
•
Please keep all small components away from
children.
•
Please ensure this bed is on an even, level
surface.
Page 2 of 7
Advertisement

Related Manuals for Happy Beds Berlin Fabric Bed Single


Summary of Contents for Happy Beds Berlin Fabric Bed Single
- Page 1 Berlin Fabric Bed - Single Assembly Instructions Before you begin... 1. Please check you have received the correct product. 2. Unpack all boxes and lay out each component on the floor. 3. Check your product for any damage that may be immediately obvious. If damage is identified, please contact your retailer.
- Page 2 Box 1 All fittings are stored within the zipped compartment of the headboard. Footboard (x1) Slats (x13) Legs (x4) M8x16mm Bolts (x4) M8x65mm Bolts (x4) M8x30mm Bolts (x8) Headboard (x1) Spring Washer (x8) Slat Caps (x26) Flat Washer (x8) M5 Allen Key (x1) Bed Cross Bar (x1) Spanner (x1) Nuts (x6)
- Page 3 Step 1 Unpack all components from the boxes and check you are not missing anything. Please check these against the list on page 3 and note that some components are stored within the zipped compartment at the rear of the headboard. Should you identify any missing components, please contact the retailer you purchased the bed from.
- Page 4 Step 3 Attach 2x Side Rails to 1x Headboard and 1x Footboard using 8x M8x30mm Bolt , 8x Spring Washer 8x Flat Washer and 1x M5 Allen Key Step 4 Attach the 4x Corner Pads to the Headboard , Footboard (B) and Side Rails using M6x16mm Bolts and 1x M4 Allen Key...
- Page 5 Step 5 Attach the 2x Front and Back Frame Rails to the 1x Left Frame Rail and 1x Right Frame Rail using 4x M8x16mm Bolts and 1x M5 Allen Key . Then attach the Cross Support Rail to the 1x Left Frame Rail 1x Right Frame Rail ( using 4x M8x65mm Bolts , 4x Nuts...
- Page 6 Step 7 Slot each Slat Cap on to the end of each Slat . Then press firmly into each Left Frame Rail and Right Frame Rail Y). Do not attempt to push the ottoman frame down before applying the mattress as this will cause damage to the pistons and void your warranty.
Need help?
Do you have a question about the Berlin Fabric Bed Single and is the answer not in the manual?
Questions and answers