Table of Contents
Advertisement
Quick Links
San Diego, CA 92110 USA
www.ecr4kids.com
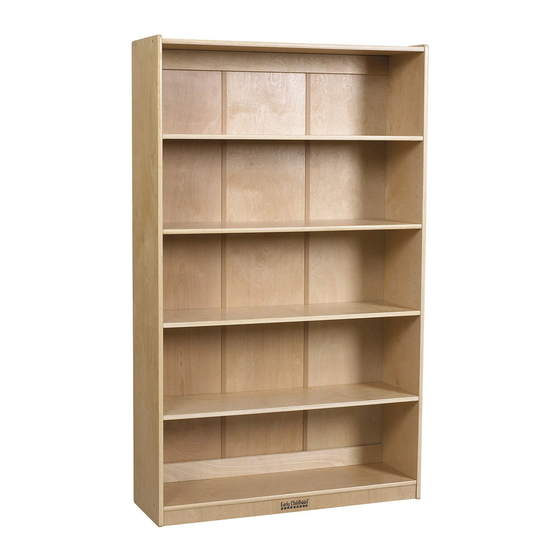
36", 48" & 60" Book Case
ELR-17102-A
ELR-17101-A
WARNING:
Adult Assembly Required.
Two adults recommended.
- Contains small parts, sharp points and edges.
- Do not stand, sit, kneel, climb, lean or pull on
unit for support.
- Never leave children unattended.
- Do not place unit near high heat or moisture.
- Adult supervision recommended.
Children climbing on furniture
can lead to death or serious
injury due to tipping. Secure
unit to wall using appropriate
hardware.
A
B
ELR-17100-A
C
TOOLS INCLUDED
Hex Tool (1)
TOOLS NEEDED
D
Phillips Screwdriver
E
Drill Driver
+ Drill Bits
Parts List
BEFORE ASSEMBLING, MAKE SURE YOU HAVE ALL THE PARTS
Left/Right Side Panels (2)
A1
A2
Top Panel (1)
Bottom Panel (1)
Batch ID Sticker
located on underside
Shelves
ELR-17100 = 2pcs
ELR-17101 = 3pcs
ELR-17102 = 4pcs
Frame Wall Mount (1)
F
Must be drilled to mount to wall
per individual installation application
G
H
I
J
K
Short Hex Screws (6)
L
Long Hex Screws (10)
Use the
Hex Tool
M
Cam Posts & Cam Locks (2/2)
M1
M2
N
Phillips Screws (6)
O
Use a Phillips
Screwdriver
Wall Mount (1)
Upper Rail (1)
Lower Rail (1)
H Connector (2)
Back Panels (3)
Use the
Hex Tool
Use a Phillips
Screwdriver
Small Cam Posts
(4 per shelf)
Use a Phillips
Screwdriver
Advertisement
Table of Contents

Related Manuals for ECR 4 Kids ELR-17102-A


Summary of Contents for ECR 4 Kids ELR-17102-A
- Page 1 Must be drilled to mount to wall per individual installation application Upper Rail (1) Lower Rail (1) Top Panel (1) H Connector (2) Back Panels (3) ELR-17102-A ELR-17101-A ELR-17100-A Bottom Panel (1) WARNING: TOOLS INCLUDED Adult Assembly Required. Hex Tool (1)
- Page 2 Attach Upper Rail to Top Panel Insert the Back Panels Install two Cam Posts (M1) into the threaded plastic inserts on the underside of Top Panel (B) Slide one Back Panel (J) into the with a Phillips screwdriver. Reminder: Do not overtighten as the plastic threads can be stripped. grooves on the Top Panel (B) &...
- Page 3 Attach the Right Side Panel Attach the Shelves Install four Small Cam Posts (O) into the shelf adjustment holes for each shelf. Make sure Install the Right Side Panel (A2) that all four posts are in the same height hole (front to back / side to side). to the Top Panel (B) and Bottom Panel (C) with four Long Hex Lower the Shelves (D) onto the Small...
- Page 4 Model Number: ELR-17100-A Do not place near heat, moisture or (circle one) ELR-17101-A vaporizer which may cause wood to warp ELR-17102-A and peel. Factory Code: Check for loose or worn parts periodically and tighten or replace as necessary. Manufacture Date:...
Need help?
Do you have a question about the ELR-17102-A and is the answer not in the manual?
Questions and answers