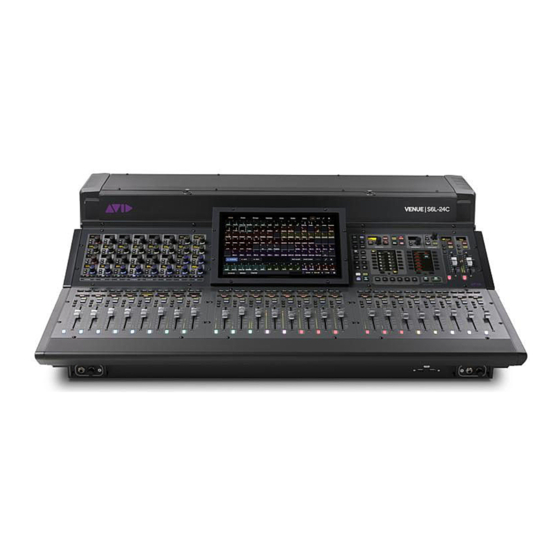
Avid Technology VENUE S6L Manual
Rack supports
Hide thumbs
Also See for VENUE S6L:
- System manual (432 pages) ,
- Installation manual (87 pages) ,
- Handbook (40 pages)
Table of Contents
Advertisement
Quick Links
VENUE | S6L Stage I/O Rack Supports
This guide shows you how to attach the included rack ears to the following VENUE | S6L I/O units:
• On all units, the ears can be installed on the front or the back of the rack depending on the desired orientation.
• Stage 64 instructions also show how to mount the rack into a flight case, furniture or other rack housing.
• Stage 16 instructions show how to configure the ears for rack mounting or to be used as handles.
—
© 2019 Avid Technology, Inc
1/28/19
9329-66011-00 REV A
9329-65894-00 REV A
Advertisement
Table of Contents

Summary of Contents for Avid Technology VENUE S6L
- Page 1 • Stage 64 instructions also show how to mount the rack into a flight case, furniture or other rack housing. • Stage 16 instructions show how to configure the ears for rack mounting or to be used as handles. — © 2019 Avid Technology, Inc 1/28/19 9329-66011-00 REV A...
- Page 2 Stage 64 This section shows you how to attach the included rack ears to the VENUE | Stage 64 I/O rack and mount the rack into a flight case, fur- niture or other rack housing. The ears can be installed on the front or the back of the rack depending on the desired orientation. Avoid overheating.
- Page 3 Attaching the Rack Ears The included rack ears can be installed on the front or the back of the Stage 64. The front of the rack is where all the I/O connectors are located, and the back of the rack is where the power switches and associated AC connectors are located. To attach the rack ears to Stage 64: Locate the rack ears and the rack ear mounting screws, included in the Stage 64 box.
- Page 4 Mounting Stage 64 in a Case The Stage 64 can be installed in a standard 19-inch road case. When the Stage 64 is forward-mounted in a case, its audio connectors face the front of the case. +48V +48V +48V +48V +48V +48V MUTE...
- Page 5 Stage 32 This section shows you how to attach the included rack ears to the VENUE | Stage 32 I/O rack to mount the rack into a flight case, fur- niture or other rack housing. The ears can be installed on the front or the back of the rack depending on the desired orientation. The front of the rack is where all the I/O connectors are located, and the back of the rack is where the power switches and associated AC connectors are located.
- Page 6 Stage 16 Stage 16 can be rack-mounted, or it can be used freestanding. If you are using Stage 16 freestanding, you can configure the rack ears to function as handles. Rubber edging protects the box when used freestanding. To ensure proper airflow, make sure the vents on either side of Stage 16 are always exposed.
- Page 7 Replace the rack ears on the Stage 16 so they function as handles, lining up the screw holes on the handles with the screw holes on the Stage 16, and replace the 16 screws (eight per side). Replacement screws are provided with the Stage 16 in case any screws are lost. Replacing the rack ear/handles screws —...
- Page 8 Local 16 This section shows you how to attach the included rack ears to the VENUE | Local 16 I/O rack to mount the rack into a flight case, fur- niture or other rack housing. The ears can be installed on the front or the back of the rack depending on the desired orientation. The front of the rack is where all the I/O connectors are located, and the back of the rack is where the power switches and associated AC connectors are located.


Need help?
Do you have a question about the VENUE S6L and is the answer not in the manual?
Questions and answers