Advertisement
Quick Links
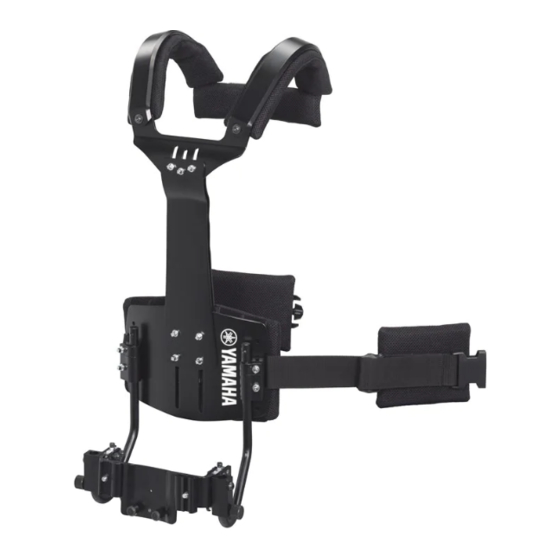
マーチングドラムキャリア
Marching Drum Carrier
MSH9500 MSH9500S
マーチングスネアドラム用
for Marching Snare Drum
适用于行进小军鼓
MTH9500 MTH9500S
マーチングマルチタム用
for Marching Multi-Toms
适用于行进组鼓
行进鼓固定器
MBH9500 MBH9500S
マーチングバスドラム用
for Marching Bass Drum
适用于行进大军鼓
MKH9500 MKH9500S
マーチングベル&マーチングシロフォン用
for Marching Bell & Marching Xylophone
适用于行进钢片琴&行进木琴
取扱説明書
Owner's Manual
使用说明书
JA
EN
ZH
Advertisement


Need help?
Do you have a question about the MSH9500 and is the answer not in the manual?
Questions and answers