Sign In
Upload
Download
Table of Contents
Contents
Add to my manuals
Delete from my manuals
Share
URL of this page:
HTML Link:
Bookmark this page
Add
Manual will be automatically added to "My Manuals"
Print this page
×
Bookmark added
×
Added to my manuals
Manuals
Brands
Festo Manuals
Control Panel
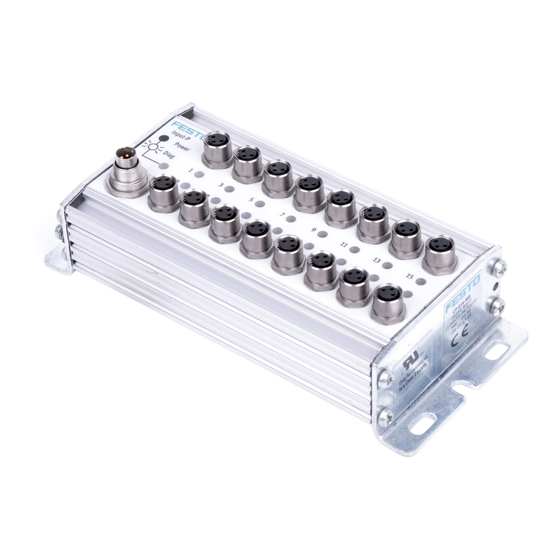
CP-E16-M8
Manual
Festo CP-E16-M8 Manual
Hide thumbs
Also See for CP-E16-M8
:
Manual
(108 pages)
,
Electronic manual
(126 pages)
1
2
3
Table Of Contents
4
5
6
7
8
9
10
11
12
13
14
15
16
17
18
19
20
21
22
23
24
25
26
27
28
29
30
31
32
33
34
35
36
37
38
39
40
41
42
43
44
45
46
47
48
49
50
51
52
53
54
55
56
57
58
page
of
58
Go
/
58
Contents
Table of Contents
Bookmarks
Table of Contents
Table of Contents
Designated Use
Target Group
Important User Instructions
Information on this Manual
Input Module Type CP-E16
Mode of Operation of Input Modules CP-E16
Display and Connecting Elements
Fitting
Installation
Connecting Sensors
Connecting the Input Module to the Node
Instructions on Commissioning
Technical Specifications CP-E16
Output Module Type CP-A08
Overview
Fitting
Installation
Connecting the Actuators
Connecting the Output Module to the Node
Connecting the Load Voltage
Instructions on Commissioning
Technical Specifications
Advertisement
Quick Links
1
Mode of Operation of Input Modules Cp-E16
2
Display and Connecting Elements
3
Installation
4
Connecting Sensors
5
Connecting the Input Module to the Node
6
Instructions on Commissioning
7
Instructions on Commissioning
Download this manual
Compact Performance
CP Modules
Electronics
Only valid in agreement with the printed documentation
accompanying the product! Compare this edition code.
Table of
Contents
Previous
Page
Next
Page
1
2
3
4
5
Advertisement
Table of Contents
Need help?
Do you have a question about the CP-E16-M8 and is the answer not in the manual?
Ask a question
Questions and answers
Related Manuals for Festo CP-E16-M8
Terminal Block Festo CPV GE-CO2-8 Series Electronic Manual
Cpv valve terminal with direct connection (126 pages)
I/O Systems Festo CP-E16...M Series Manual
Compact performance (108 pages)
Control Panel Festo CDSA-D1-VX Assembly And Installation Manual
Teach pendant (38 pages)
Control Panel Festo CP-E16-M12x2 Manual
(58 pages)
Control Panel Festo CDPX-X-E2-W-5-EX2 Manual
(24 pages)
Control Panel Festo CDPX-X-E2-W EX2 Series Manual
(26 pages)
Control Panel Festo FED Series Manual
Front end display. operator panel (115 pages)
Control Panel Festo FED-50 Manual
Operator panel fed series (106 pages)
Control Panel Festo SPC200 Series Short Description
Smart positioning controller, operating panel (50 pages)
Control Panel Festo SPC200-MMI-1 Brief Description
(14 pages)
This manual is also suitable for:
Cp-e16-m12x2
Cp-e16n-m8
Cp-e16n-m12x2
Cp-a08-m12
Cp-a08n-m12
Table of Contents
Print
Rename the bookmark
Delete bookmark?
Delete from my manuals?
Login
Sign In
OR
Sign in with Facebook
Sign in with Google
Upload manual
Upload from disk
Upload from URL


Need help?
Do you have a question about the CP-E16-M8 and is the answer not in the manual?
Questions and answers