
Related Manuals for Clemas & Co MotorScrubber Force


Summary of Contents for Clemas & Co MotorScrubber Force
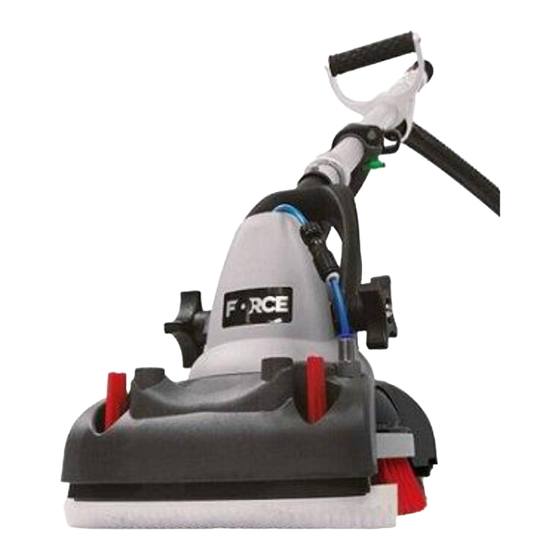
- Page 1 MOTORSCRUBBER FORCE KIT OPERATOR MANUAL Clemas & Co. Unit 16 Ashchurch Business Centre, Alexandra Way, Tewkesbury, Gloucestershire, GL20 8NB. Tel: 01684 850777 Fax: 01684 850707 Email: info@clemas.co.uk Web: www.clemas.co.uk...
- Page 2 Until now scrubber dryers have only cleaned 85% of your floor. Here at MotorScrubber we like to clean 100% of the floor. Thank you for choosing MotorScrubber Force, this machine will deep clean all your hardest to reach areas, around the toilet, under benches and tables, under production lines - Anywhere.
-
Page 3: Quick Start
QUICK START Install squeegees; Slide squeegee into Attach the brush; Hold the hub stable the suction housing. Turn the red tabs with one hand and twist brush until it so they are facing towards you to lock locks Push suction tube onto the rear Lift machine out of lower mount squeegee tube until it stops INFORMATION MOTORSCRUBBERCLEAN.COM... - Page 4 Slide backwards to release upper Plug suction fitting into tank mount Lower Force onto the floor Lift flip clip and adjust handle length so you are stood with your back straight Switch on suction motor Press blue switch to release fluid (minimal solution needed) Press red switch to activate the brush INFORMATION MOTORSCRUBBERCLEAN.COM...
-
Page 5: Maintenance
Moving slowly in straight forward and backward motions allow Force to deep clean your difficult areas Apply more fluid on demand Stop spraying fluid 20 seconds before finishing the area to allow the suction to fully dry the floor Lift and re-mount Force into its brackets and wind the hose Refit scrubber dryer suction hose to continue using the large machine... - Page 6 FORCE KIT OVERVIEW 6 PHOTOS INFORMATION MOTORSCRUBBERCLEAN.COM VIDEOS...
- Page 7 VACUUM FITTING SIZES PRE-FITTING CHECKS SECTION 41 - 38mm • Measure the internal diameter of the 44.5 - 41mm 36 - 32mm water pipe which exits the water tank. 48 - 46mm 38 - 40mm 52 - 50mm 44 - 42mm Soft Rubber Handle Pump Switch On / off switch...
- Page 8 Firstly please have an open mind with pencil, the bracket position so you can MotorScrubber Force, we can design and drill the tank later. supply bespoke brackets to make Force fit pretty much any model of 40 Litre machine Before drilling the tank carefully check the and upwards.
- Page 9 interval to fit various tanks. If the suction tank inlet is not easily accessible you can fit the Force hose onto the squeegee hose as shown. INFORMATION MOTORSCRUBBERCLEAN.COM PHOTOS VIDEOS...
- Page 10 WATER TANK CONNECTION & PUMP PUMP FITTING DIAGRAM Check internal diameter of this hose and order T fitting with 1 or 2mm larger barb. underneath the machine. Ensure pump Check the water pipe underneath the cables and water pipe are securely fitted machine, find a straight run with space and will not be damaged over time.
- Page 11 CONNECTING POWER CABLES FORCE KIT WIRING DIAGRAM WITH VACUUM SWITCH Force cable 12 V 12 V 24 Volt Total volt connection (see wiring diagram). Connect the pump neutral to negative 24 volt battery terminal. As shown left. • Connect Force cable live to battery positive bullet connector.
- Page 12 the pump live bullet connector. Once the machine is connected the brush and pump switch on MotorScrubber Force will operate. • Check for leaks. Fill the water tank of the machine and check for leaks underneath near the new T fitting. Operate the pump and check pump fittings for leaks.
- Page 13 HOW TO TERMINATE THE HOSE TO THE CORRECT LENGTH • Mount the machine brackets and hose wind horns. • Clamp the hose in to place on the • Upper handle bracket fitting; Most upper machine mount. models of machine require a specific plate which needs fitting to the upper handle bracket (MSF3), Check our technical database which plate fits...
- Page 14 switch skip this step. Or if your suction stays permanently on when the rear squeegee is lowered. If your suction motor is operated by a PCB and auto turns off when the machine is not used then you need to fit the vacuum bypass switch.
- Page 15 FITTING THE VACUUM SWITCH VACUUM SWITCH WIRING DIAGRAM Fit the switch from behind and secure in place with lock nut. Locate PCB control board which the vacuum motor connects to. Find suitable location for switch which doesn’t impede other controls, remove the panel and check there is Pull off the vacuum motor Live and space behind.
- Page 16 switch cables labelled 5. Vacuum live and 6 Vacuum neutral. Ensure the cable connection is fully insulated. Now take the cables from the Force vacuum switch labelled 8. PCB Live and 7. PCB Neutral and connect these to the PCB in place of the vacuum motor cables.
- Page 19 Male Bullet...
-
Page 22: Your Warranty
Register your warranty at: motorscrubberclean.com/warranty YOUR WARRANTY LIMITED ONE-YEAR WARRANTY MOTORSCRUBBER 24-VOLT DC TOOL We at Motorscrubber UK work hard to build the highest quality cleaning tool, we strive for perfection! As the market leader in compact scrubbing machines we select the highest grade components and continuously develop our machines based on the valuable feedback from our customers.
Need help?
Do you have a question about the MotorScrubber Force and is the answer not in the manual?
Questions and answers