Sign In
Upload
Download
Table of Contents
Contents
Add to my manuals
Delete from my manuals
Share
URL of this page:
HTML Link:
Bookmark this page
Add
Manual will be automatically added to "My Manuals"
Print this page
×
Bookmark added
×
Added to my manuals
Manuals
Brands
Daikin Manuals
Air Conditioner Accessories
DZK Series
Installation manual
Daikin DZK Series Installation Manual
Zoning kit
Hide thumbs
1
Table Of Contents
2
3
4
5
6
7
8
9
10
11
12
13
14
15
16
17
18
19
20
21
22
23
24
25
26
27
28
29
30
31
32
33
34
35
36
37
38
39
40
41
42
43
44
45
46
47
48
49
50
51
52
53
54
55
56
page
of
56
Go
/
56
Contents
Table of Contents
Troubleshooting
Bookmarks
Table of Contents
Table of Contents
Warnings, Environmental Policy, and Certifications
Warnings
Environmental Policy
FCC Regulatory Notices
INTERTEK / UL Regulatory Notices
System Description
Product Dimensions
DZK Control
DZK Control Board
DZK Interface Board
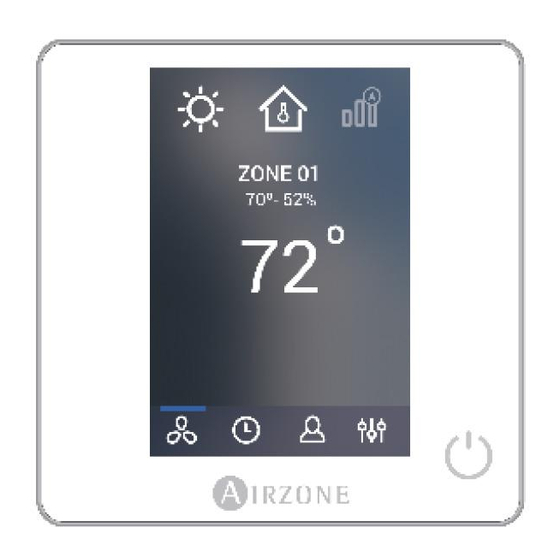
Wired Thermostat
Wireless Thermostat
Wireless Lite Thermostat
DZK Bacnet Interface
Description, Installation and Connection of the Components
General Recommendations
DZK Zoning Box
Assembly
Damper Setting
Connection
DZK Interface Board
Connection and Configuration
DZK Bacnet Interface
Installation
Configuration
Wired Thermostat
Installation
Wiring
Wireless and Wireless Lite Thermostat
Changing Batteries
Initial Configuration
Wired and Wireless Thermostats Configuration
Wireless Lite Thermostat Configuration
Wireless Lite Thermostat Reset
Advanced Configuration
Advanced Configuration - Wired Thermostat
System Parameters
Zone Parameters
Advanced Configuration -Wireless Thermostat
User Settings - Wired Thermostat
Zone Settings
Zone Settings - Wired Thermostat
Zone Settings - Wireless Thermostat
Commissioning Steps
Turn on Power to All System
Communications with the Indoor Unit - Modes / Temperature
Zone Assignment
Airflow Control Selection
Other Configuration Parameters
Exception Codes
Warnings
Errors
Auto Diagnostics
DZK Control Board Auto Diagnosis
DZK Interface Board Auto Diagnosis
DZK Bacnet Interface Auto Diagnosis
Navigation Guide
Wired Thermostat Navigation Guide
Wireless Thermostat Navigation Guide
Troubleshooting
Errors in Wired and Wireless Thermostats
Errors in Wireless Lite Thermostat
More System Incidences
Wiring Diagram
Advertisement
Quick Links
1
Dzk Control Board
2
Dzk Control
3
Dzk Zoning Box
Download this manual
Installation Manual
Zoning Kit
Table of
Contents
Previous
Page
Next
Page
1
2
3
4
5
Advertisement
Table of Contents
Need help?
Do you have a question about the DZK Series and is the answer not in the manual?
Ask a question
Questions and answers
Related Manuals for Daikin DZK Series
Air Conditioner Accessories Daikin DZK030E4-3 Installation Manual
Zoning kit (56 pages)
Air Conditioner Accessories Daikin DP 14 Service Instructions Manual
(72 pages)
Air Conditioner Accessories Daikin DTA119A71 Installation Manual
Interface adapter-aor (20 pages)
Air Conditioner Accessories Daikin DIII EKMBDXB7V1 Design Manual
Modbus interface (54 pages)
Air Conditioner Accessories Daikin BYCQ140E2W1 Installation Manual
(8 pages)
Air Conditioner Accessories Daikin FDMQ09RVJU Service Manual
(19 pages)
Air Conditioner Accessories Daikin KPW5E112 Installation Manual
Wind baffle (4 pages)
Air Conditioner Accessories Daikin BRR9B1V1 Installation Manual
Communication box (40 pages)
Air Conditioner Accessories Daikin RKD50GVMV Service Manual
(24 pages)
Air Conditioner Accessories Daikin BYBCQ40HW1 Installation Manual
Decoration panel (13 pages)
Air Conditioner Accessories Daikin Smart Grid Box Installation & Operating Manual
(13 pages)
Air Conditioner Accessories Daikin RRDQ220V1 Operation Manual
Refrigerant recycle equipment (28 pages)
Air Conditioner Accessories Daikin K-KDU303KVE Installation Manual
Drain up kit (2 pages)
Air Conditioner Accessories Daikin EKEXMCBV3 Installation And Operation Manual
Option kit for combination of daikin condensing units with field supplied evaporators (14 pages)
This manual is also suitable for:
Dzk030e4-3
Dzk030e5-3
Dzk048e4-3
Dzk048e6-3
Dzks015e3-3
Dzks015e4-3
...
Show all
Dzks030e4-3
Dzks030e5-3
Dzks048e4-3
Dzks048e6-3
Table of Contents
Save PDF
Print
Rename the bookmark
Delete bookmark?
Delete from my manuals?
Login
Sign In
OR
Sign in with Facebook
Sign in with Google
Upload manual
Upload from disk
Upload from URL


Need help?
Do you have a question about the DZK Series and is the answer not in the manual?
Questions and answers