Table of Contents
Advertisement
Advertisement
Table of Contents

Related Manuals for Tineco A10 HERO


Summary of Contents for Tineco A10 HERO
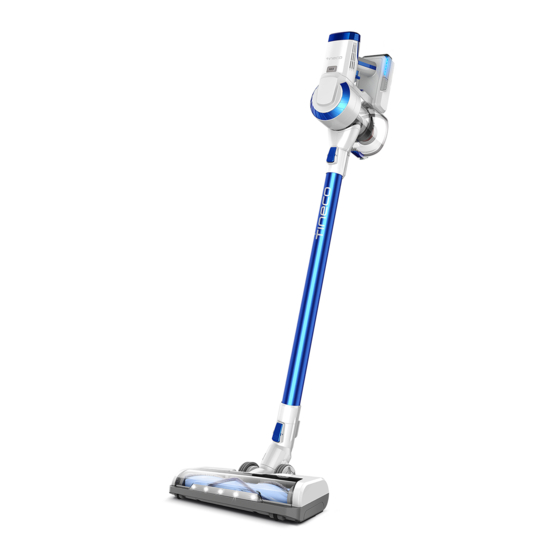
- Page 1 Instruction Manual Mode d’Emploi Stick Vacuum Cleaner A10 HERO / MASTER...
-
Page 2: Table Of Contents
CONTENTS 1.Important Safety Instructions 2.Overview 3.Product Components 4.Accessory Instructions 5.Assembly 6.Product Instructions 7.Daily Maintenance 8.Specification 9.Trouble Shooting 10.Warranty... -
Page 3: Important Safety Instructions
Important Safety Instructions SAVE THESE INSTRUCTIONS Household use only. When using an electrical appliance, basic precautions should always be followed, including the following: READ ALL INSTRUCTIONS BEFORE USING (THIS APPLIANCE), Failure to follow the warnings and instructions may result in electric shock, fire and/or serious injury. - Page 4 Such preventive safety measures reduce the risk of starting the appliance accidentally. 14. Recharge only with the charger specified by TINECO. A charger that is suitable for one type of battery pack may create a risk of fire when used with another battery pack.
-
Page 5: Overview
Overview A. MAX mode B. Dust empty release button C. Dustbin D. Trigger to fix switch button E. Switch button F. Dust bin release button G. Battery release button H. HEPA release button I. Indicator light J. Rubber handle K. Battery pack... -
Page 6: Product Components
A10 MASTER (Additional to A10 HERO) Hard floor motorized brush* Battery* Dual adaptor* Tube What’s more: * Note:You can purchase additional accessories from TINECO. Carpet motorized brush Extra soft dusting brush* Flexible extension hose* Docking station Flexible multi-angle tube* Long crevice nozzle *... -
Page 7: Accessory Instructions
Accessory Instructions Carpet motorized brush Ideal for rugs/carpets. Can also be used for vacuuming smooth floors. Hard floor motorized brush Ideal for hard floors, especially sensitive wood floor. Vacuums coarse and fine dirt at the same time. Crevice nozzle For corners, niches and other hard-to-reach places. Also suitable for cleaning inside vehicles. - Page 8 Accessory Instructions Ultra soft dusting brush Very soft brush for cleaning of sensitive surfaces such as keyboards, lamps, etc. Also suitable for cleaning inside vehicles. Long crevice nozzle To increase reach when cleaning narrow and dicult to access corners and niches. Also suitable for cleaning inside vehicles.
-
Page 9: Assembly
Assembly Install the Tube Insert tube. Press the release button and remove tube. Install the Brush Insert motorized power brush. Press the release button and remove motorized power brush. Note: •AII other accessories can be directly connected to the main body or, to increase the appliance's reach,to the tube. - Page 10 Assembly Install the Dustbin Install the dustbin to the main body and push Press the dustbin release button and pull out. upward until a ‘click’ sound is heard. Install the Battery Press the battery release button, then pull Slide the battery into the bottom of the main body. the battery out.
-
Page 11: Product Instructions
Product Operation Start to Work Note: •Before the first use, please charge the appliance (see "Charging the battery" ) for at least 3 hours. •Select the accessories according to needs (see "Accessory Instructions" ). Press the switch button, the machine will Press the MAX button to go between high start to work. - Page 12 Product Operation Empty the Dustbin When finished, press the release button on the Reattach the dustbin's bottom cover. side of the dustbin and empty the contents. Charging the Battery Connect the adaptor to the battery pack. Dual Adaptor can charge two battery packs at the same time. To prevent any accident , please put away the appliance on the docking station near wall during charging.
- Page 13 One flashing red light during charging: Fault, check Trouble Shooting. Tips: • Charge the battery only with the adaptor provided by TINECO . • Do not charge the battery over the time suggested, which may cause heating, deformation or burning.
-
Page 14: Daily Maintenance
Daily Maintenance In order to maintain machine performance, it is recommended that you clean it's components on a regular basis. Note:Wash the filters, including the HEPA filter, at least every month. Dustbin and Filters Clean with wet cloth. Press the bust bin release button, pull out the Do not let liquids seep into the appliance. - Page 15 Daily Maintenance HEPA Press the HEPA release button on both sides of The HEPA can be washed under running water if the windshield and gently pull out the HEPA. necessary, and should be air dried completely before reinstalling. Brush Use a coin or other tool, to unlock the brush roller Remove the hair and debris wrapped around the lock, then remove the brush from the brush roller.
-
Page 16: Specification
Specification Product Technical Parameters Product Operating Voltage 21.6 V Rated Power 350 W Dustbin Capacity 0.4 L Charge Time <=5 hrs Continuous Working Time 25 min. (MAX mode: 7 min) Dimensions 12.72*7.40*30.24 in (L*W*H) Net Weight 2.87 lb (main body) Adaptor YLS0241A-T260080 Input... -
Page 17: Trouble Shooting
Stop the appliance and clean the body continues working The brush is blocked brush while the brush stops Note: If the above solutions can not solve the problem, please contact us at support@tineco.com or visit our website www.tineco.com for further support. -
Page 18: Warranty
This limited warranty is subject to the following terms: WHAT IS NOT COVERED ? TINECO shall not be liable for costs, damages or repairs incurred as a result of : Machines purchased from an unauthorized dealer. Careless operation or handling, misuse, abuse and/or lack of maintenance or use not in accordance with the TINECO Instruction Manual. - Page 19 States and so this limitation may not apply to you. Your remedy for breach of this warranty is limited to the warranty service described above. TINECO will not be liable for any consequential damage or incidental damages you may incur in connection with your purchase and use of your machine.
- Page 20 Live Easy Enjoy Life Web:www.tineco.com Email:support@tineco.com...
Need help?
Do you have a question about the A10 HERO and is the answer not in the manual?
Questions and answers