Advertisement
Table of Contents
Advertisement
Table of Contents

Related Manuals for Tineco A10 HERO


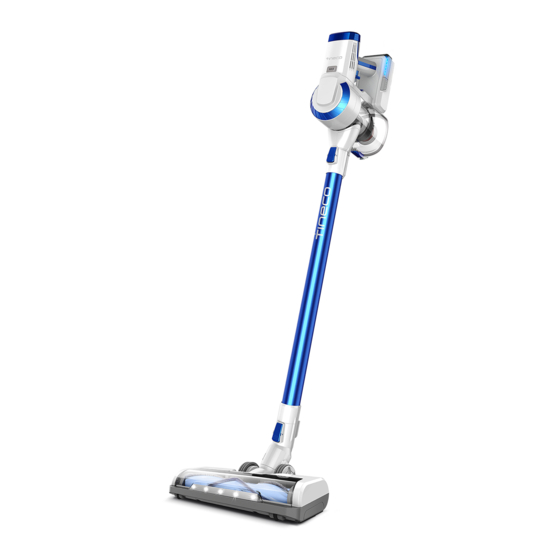
Summary of Contents for Tineco A10 HERO
-
Page 1: Instruction Manual
Instruction Manual Mode d’Emploi Stick Vacuum Cleaner A10 HERO / MASTER... -
Page 2: Table Of Contents
CONTENTS 1.Important Safety Instructions 2.Overview 3.Product Components 4.Accessory Operation 5.Assembly 6.Product Instructions 7.Daily Maintenance 8.Specification 9.Trouble Shooting 10.Warranty... -
Page 3: Important Safety Instructions
Important Safety Instructions SAVE THESE INSTRUCTIONS Household use only. When using an electrical appliance, basic precautions should always be followed, including the following: READ ALL INSTRUCTIONS BEFORE USING (THIS APPLIANCE), Failure to follow the warnings and instructions may result in electric shock, fire and/or serious injury. - Page 4 Such preventive safety measures reduce the risk of starting the appliance accidentally. 14. Recharge only with the charger specified by TINECO. A charger that is suitable for one type of battery pack may create a risk of fire when used with another battery pack.
-
Page 5: Overview
Overview A. MAX mode G. Battery release button H. HEPA release button B. Dust empty release button I. Indicator light C. Dustbin J. Rubber handle D. Switch lock K. Battery pack E. Switch button F. Dustbin release button... -
Page 6: Product Components
Product Components Item A10 Hero A10 Master Main body Tube Full-size LED Multi-tasker Power Brush Mini power brush 2-in-1 Dusting brush Crevice tool Full-size LED Soft-roller Power Brush Extra battery Storehouse Pre filter cleaning tool & extra pre filter Hair cleaning tool... -
Page 7: Accessory Operation
Accessory Instructions Note: ·Test an inconspicuous area of a sensitive surface before using an accessory on it. ・All accessories can be directly connected to the main body or to the tube. Full-size LED Multi-tasker Power Brush Very effective for agitating dirt embedded in the carpet. Mini power brush For vacuuming upholstered furniture, mattresses etc. - Page 8 Use the end with little brush to clean the brush window, also can be used to clean the dustbin. Optional accessories (please purchase separately) * Note:You can purchase additional accessories from TINECO. Soft dusting brush Angled bristles on slender, oval shape provide anti-static cushioned contact. Suitable for dusting shelves, lighting, delicate surfaces, electronics, and more.
-
Page 9: Assembly
Assembly Install the Tube Insert tube. Press the release button and remove tube. Install the Brush Insert power brush. Press the release button and remove power brush. - Page 10 Assembly Install the Dustbin Incline the dustbin, the slot on the dustbin towards Press the dustbin release button and pull out. the hook on the main body. Push upward until the hook fixed into the slot. A 'click' sound will be heard when it has been successfully accomplished.
-
Page 11: Product Instructions
Product Operation Start to Work Note: •Before the first use, please charge the appliance (see "Charging the battery" ) for 3-4 hours in an area where the temperature is higher than 4 (39.2°F) but lower than 40 (104°F ), and the above charging time based on the condition that the battery is cooled. •Select the accessories according to needs (see "Accessory Instructions"... -
Page 12: Charging The Battery
Product Operation Empty the Dustbin When finished, press the release button on the Reattach the dustbin's bottom cover. side of the dustbin and empty the contents. Charging the Battery Connect the adaptor to the battery pack. Charge the battery installed on the main body, or charge the battery separately. Dual adaptor can charge two battery packs at the same time. - Page 13 • Data is obtained by Tineco laboratory using one battery and non-motorized accessories. Charging Time • Charging time takes about 3-4 hours. • Based on results from Tineco lab tests. Lab test environment: temperature between 4 ℃(39.2°F) to 40℃(104°F ). Indicator Light On Work Three solid blue lights: Full power.
-
Page 14: Daily Maintenance
Clean the dustbin and mesh filter under cold, running water. The dustbin and mesh filter should be air dried completely before reinstalling. Clean the pre filter with Tineco Pre Filter Cleaning Tool. After cleaning, insert the clean filters into dustbin, the... -
Page 15: Hepa Filter
Daily Maintenance HEPA filter Press the HEPA release button on both sides of the The HEPA can be washed under running water if windshield and gently pull out the HEPA. necessary, and should be dried completely before Please detach the battery pack before pulling out reinstalling. -
Page 16: Specification
Specification Model A10 Series Voltage 21.6V Rated Power 350W Dustbin Capacity 0.4L Charging Time 3-4 hrs Charging Input 100-120V Running Time 25 min. (MAX mode: 10 min.) (*A10 Master is equipped with two batteries, the running time will be double.) -
Page 17: Trouble Shooting
The filters or the suction mouth is Pink light blinking Clean filters or remove blockages blocked Note: In any other case or if the solution explained above did not solve the problem, please contact us at support@tineco.com or visit our website www.tineco.com for further support. -
Page 18: Warranty
Live Easy Enjoy Life tinecoglobal Web: www.tineco.com Email: support@tineco.com Contact us - We'll get back to you within 1 business day. US Service Call: +1 (855) 292-8864 Service Hours: Mon. – Fri. 9am - 6pm (CST)
Need help?
Do you have a question about the A10 HERO and is the answer not in the manual?
Questions and answers