
Related Manuals for EliteModels Foamboard Blackbird Kit


Summary of Contents for EliteModels Foamboard Blackbird Kit
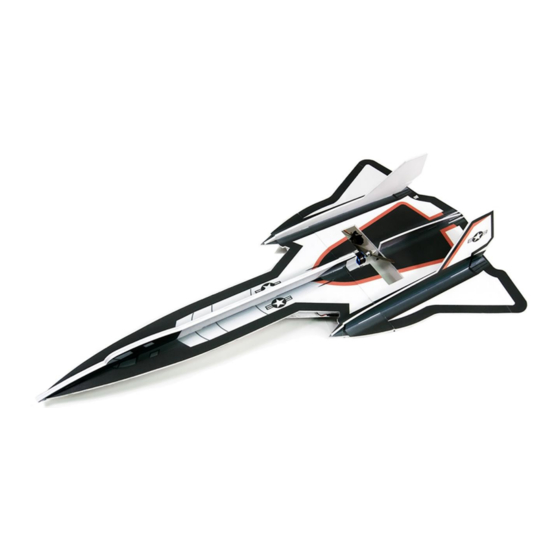
- Page 1 Foamboard Blackbird Kit Specifications Wingspan:22.6 in (575mm) Length: 40 in (1013mm) Flying Weight: Approx.0.9lb(400g)
- Page 2 Dear Customer, Congratulations on your purchase of Foamboard Blackbird Kit from Value Hobby. We thank you for your generous support, and hope you enjoy your new airplane. At Value Hobby, we hope to offer competitive prices, good performance, and products that you can setup and use with ease.
- Page 3 Before Starting Assembly Unpack your airplane and examine the components. Check for damage of any kind. If you see any damage, please contact Value Hobby immediately. Airframe Parts 1. Fuselage front part.(L) 2. Fuselage front part.(R) rear part (1) 3. Fuselage rear part(2) 4.
-
Page 4: Recommended Equipment
RECOMMENDED EQUIPMENT Product Quantity FrSky Taranis Q X7 Transmitter and Receiver Set FLY-RC-4572 TWP-SV-4980 Towerpro MG90s or SG90 TWP-SV-5057 GForce E400 2212-2200KV Brushless Motor VHB-MT-5337 GForce 30A Brushless ESC HWG-SC-0238 GForce Elite Series 1600mAh 3S LiPO FLM-LP-5577 Gemfan 6 x 4 Prop GFH-MP-2069 Foam Safe Glue VHB-AC-2511... -
Page 5: Airframe Assembly
Airframe Assembly The fuselage has locking tabs that match slots on the wing. First, apply hot melt adhesive to the joining areas of By sliding the fuselage onto the wing, carefully align and the rear wings (Part #6). test-fit the fuselage with the wing. When proper positioned, the fuselage should end near the motor opening on the wing. - Page 6 Locate Part #11 and Part #12. Slide the vertical fins into the Locate Part #3. Slide the rear fuselage part into the pre-cut slots on the wing. Apply hot melt glue to secure it. pre-cut slots on the wing. Apply hot melt glue to secure the vertical fins.
-
Page 7: Servo Installation
Locate Part #9 and Part #10. Apply hot melt glue to secure Servo Installation them on the wing. Find out 2 set of control horns Slide the two control horns into the slot of the ailerons. Locate Part #4. Fuselage rear part should be installed the same way. - Page 8 Locate the motor. Secure your motor to the plastic motor The ESC goes through the fuselage door. mount with 4 screws, as follows: You will need two 9g micro servos. Connect the ESC to the motor First, install 2 EZ-connectors on the servo arm. Secure your prop to the motor.
- Page 9 You will need two 12in servo extensions. Both servos should be installed the same way. Connect two servo extension cables to two servos respectively. Please pay attention to that cable color and connector color must be consistent. The CG should be 580mm (22.8in) from the front of the airplane.
Need help?
Do you have a question about the Foamboard Blackbird Kit and is the answer not in the manual?
Questions and answers