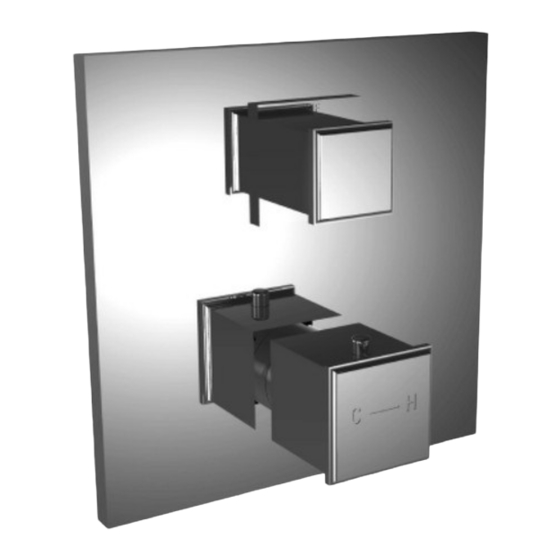
Summary of Contents for Santec TH-8010
- Page 1 1/2 " Thermostatic trim Installation Instruction 1/2 " Thermostatic trim with Volume control/TH-8010 2-Way diverter /TH-8210, TH-8212 3-Way diverter /TH-8310, TH-8313 K EE P TH IS I NSTR U CTION BOOKL E T F OR F UT URE R EF E REN C E...
- Page 2 M5 x 8 mm Set Screw PM-974 Teflon Washer PM-346 Brass Nut Broach Extension SA255 PM-344 Metropoli Cover Plug O-ring PH9706 TH-7000 Dial Scold Buttom PH1031-RC SA255 Broach Extension PM-5-4X Screw TH-7000-1 Mud Guard TH-3000-3 Temperature Restrictor TH-8010,-02,-12,-03,-13 Complete Thermostatic Valve PM-1207 Hex Screw...
-
Page 3: Installation Instructions
INSTALLATION INSTRUCTIONS TH-8010/TH-8210/TH-8310/TH-8313 FINISHED WALL MIN MAX − Rough in the valve, lining the surface of the wall to the Mudguard Min/Max line. - Page 4 INSTALLATION INSTRUCTIONS OOL NEEDED FOR NEXT STEP FINISHED WALL plate surface − From surface of plate cut #8 so it is − Place #4 Plate up against wall over valve. protruding at least 1-1/4" from plate. − Screw #6 Nut, the #8 all thread and −...
- Page 5 INSTALLATION INSTRUCTIONS FINISHED WALL 1¼" - 1½" − Once #8 & #5 is cut to the surface,. − Re-install part #7 Barosa Diverter insert #15 washer and screw in #16 − Screw and tighten #11 Set screw Nut. and screw in #20 Button...
- Page 6 INSTALLATION INSTRUCTIONS FINISHED WALL − Place #3 Thermostatic Handle − Make sure the OFF position faces the 12 o'clock position). − insert #14 set screw and tighten with L- wrench prvided. − Insert #1 Barosa Cap until it locks in place.
- Page 7 (NOT PRVIDED) If the valve is roughed too far into the wall, please use the extension kit (call Santec Customer Ser. if needed To install this kit, first thread part P00055-1 onto the valve. The remaining parts in the kit can be cut to fit based on the depth the valve is in the wall.
- Page 8 INSTALLATION INSTRUCTIONS General characteristic Santec thermostatic valve is suitable for most water heater Note: Cartridge and #17 Temperature systems provided it is installed correctly Restrictor have RED markings indicating Low pressure storage heaters are not recommended for the 100° mark should be aligned at the 12 this application o'clock position.
- Page 9 A mild liquid hand soap may be used occasionally if desired. Use of a non-abrasive carnauba wax will add protection to the nish and should be used if the faucets will not be dried after use. Santec Orobrass kitchen products are clear coated.
- Page 10 Access should be provided to the roman tub valves for future service or repair to valves and piping. Under no circumstances will Santec Faucet, Inc. be liable for any costs associated with the removal of materials for future access to the tub valves or piping for service or repair.


Need help?
Do you have a question about the TH-8010 and is the answer not in the manual?
Questions and answers