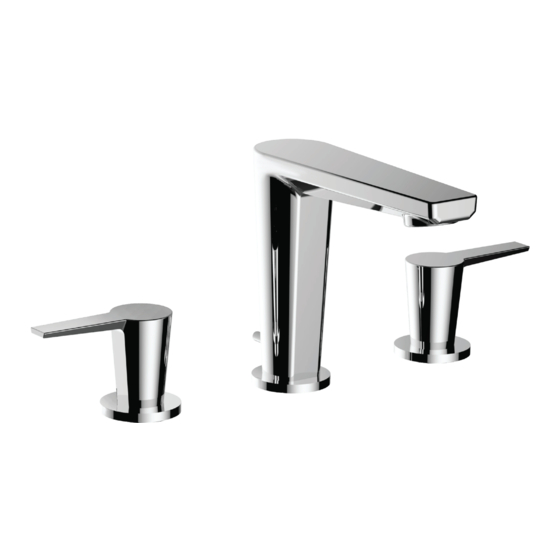
Santec E Series Instruction Booklet
Ebis collection widespread lavatory with hy handles
Hide thumbs
Also See for E Series:
- Instruction booklet (5 pages) ,
- Installation instructions (2 pages) ,
- Installation instruction (8 pages)
Summary of Contents for Santec E Series
- Page 1 E -SERIES: EBIS COLL ECT ION WID ESPRE AD LAV AT O RY WIT H “H Y” HAN DLES M ODE L: 3 7 2 0HY1 0 3 7 2 0HY75 K EEP TH IS I NS TRUCTI O N BO OKL ET FOR FUTURE RE FERENC E...
-
Page 2: Spout Installa Ti On
S p o u t Flush both supply lines before installation. After flushing, shut off both supply lines. Hole size for the spout and handle trim is a minimum of 1¼” and a maximum of 1½”. Spout Installa ti on Remove tee connector, tee connector washer, lift rod, and spout mounting hardware from bottom of spout assembly. - Page 3 (looking from front) and the handle with the “hot” red label at the left side of the spout. SANTEC Apply a ring of silicone caulking around the handle hole on the sink or counter top (do not use plumber’s putty which can damage the finish of your faucet).
-
Page 4: Handle Installation
H andle In stall ation Secure the valve body by tightening the screws attached to the lock nuts with a philliips head screwdriver. SANTEC Loop and connect the flexible hoses to the tee. Tighten the nuts provided at the of the hose to avoid leakage. - Page 5 P o p - U p D r a i n Pop- U p Drai n In st allat io n Remove the drain flange and drain plug from the pop-up assembly. Do not remove the gasket, washer and lock nut. Apply a ring of silicone caulking underneath the drain flange (do not use plumber’s putty).
- Page 6 P o p - U p D r a i n P op - U p D r ain In st allati on Insert drain plug into drain flange. Make sure the adjustable eye-screw of the drain plug is facing back so that the ball rod will properly fit into it. Insert ball rod washer into drain body followed by the ball rod, 2nd washer and ball rod nut.
- Page 7 F l u s h t h e L i n e Flu s h the Lin e I nst r u ct i on After all the connections have been made, remove the hidden aerator with the provided key. Turn both both hot and cold water on and flush the lines for 45 seconds.
- Page 8 A mild liquid hand soap may be used occasionally if desired. Use of a non-abrasive carnauba wax will add protection to the finish and should be used if the faucets will not be dried after use. Santec Orobrass kitchen products are clear coated.
- Page 9 : SANTEC Polished Chr ome, P olis he d N i c kel a n d S at i n Ni c ke l fi n i s h e s c ar ry a Li fe ti m e...


Need help?
Do you have a question about the E Series and is the answer not in the manual?
Questions and answers