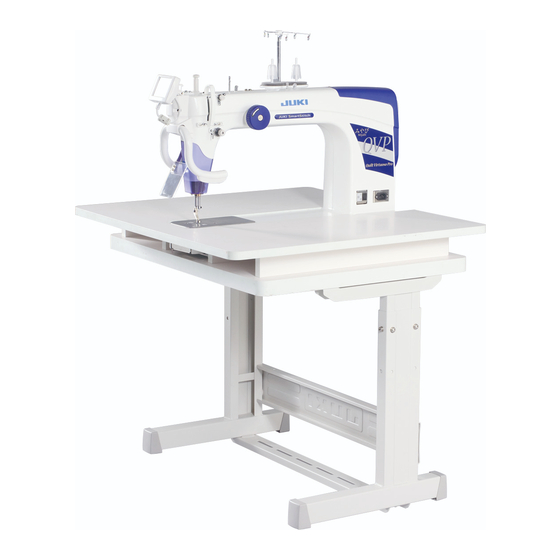
Summary of Contents for JUKI J-350QVP
- Page 1 Juki Sit Down LCD, Lighting, and Surestitch Installation 12.2 Copyright June 7, 2018 ersion The Grace Company(Reproduction Prohibited)
-
Page 3: Table Of Contents
Table of Contents Parts List Front LCD Orientation Instructions Side LCD Orientation Instructions Juki HDMI Cable Static Protection Needle Plate Optical Sure Stitch Cable... -
Page 4: Parts List
Parts List Sure Stitch Box Lighting Mount LCD Screen Side LCD HDMI Cable Mount Bracket... - Page 5 4mm Allen Wrench M4 x 16mm SBHC Screw 2.5mm Allen Wrench 2mm Allen Wrench M3 x 16mm SBHC Screw Ziptie Ziptie Mount M6 x 12mm SBHC screws Insulating Sheet...
-
Page 6: Front Lcd Orientation Instructions
Front LCD Orientation Instructions HDMI Cable HDMI Connector Type D Lighting Mount HDMI Connector Fig. 1.2 Type A Take the HDMI cable end (HDMI connector Type A see Fig. 1) and plug it into the Lighting Mount as Shown in Fig. Fig. - Page 7 Lighting Mount Tilt the LCD Screen back Clip the LCD into the and plug the other HDMI Lighting Mount cable end (HDMI connector Type D, see Fig. 1) into the LCD.
- Page 8 continued from page 7... Front LCD Orientation Instructions Fig. 2 4mm Allen Wrench M6 x 12mm SBHC Screws Zip Tie and Mount Lighting Mount Casing Groove Data Cable M4 x 16mm Plastic Machine SBHC Screw Casing Grooves 2.5mm Allen Wrench...
- Page 9 Fig. 3 5.5mm Barrel Connector Plug Surestitch Box M3 x 16mm SBHC Screw 2mm Allen Wrench Model JC-001 Install the LCD and Lighting Mount using the 4mm Allen Wrench and (3) M6 x 12mm SBHC Screws. Be sure not to pinch the LCD Data Cable and that it falls in the groove on the LCD Mount Bracket Casing.
-
Page 10: Side Lcd Orientation Instructions
Side LCD Orientation Instructions Pull LCD Screen off LCD Pull LCD Clips off LCD Clips. Mount. Push LCD Screen onto Push LCD Clips onto rod LCD Clips. Continue to ends of Side LCD Mount page 11... Bracket. - Page 11 Side LCD Orientation Instructions Install the LCD Mount Bracket and Lighting Mount using the (3) M6 x 12mm SBHC screws and 4mm Allen Wrench. Be sure not to pinch the LCD Cable and that it falls in the groove on the LCD Mount Bracket Casing. Plug the HDMI Cable into the bottom of the LCD Screen and into the Lighting Mount as shown in Fig.
-
Page 12: Juki Hdmi Cable Static Protection
Be sure to cover the Data Cable without pinching it by placing it in the grooves on the Plastic Machine Casing. Juki HDMI Cable Static Protection Place the insulating sheet over the gap between the HDMI cable and the LCD to protect against static interference (see Fig. -
Page 13: Needle Plate Optical Sure Stitch Cable
Needle Plate Optical Sure Stitch Cable Plug the cable from the Sure Stitch box into the back of the machine so that it is firmly seated (see Fig FS-2). Fig. FS-2 Cable Sure Stitch Box Plug Made By Grace™...


Need help?
Do you have a question about the J-350QVP and is the answer not in the manual?
Questions and answers