Advertisement
Quick Links
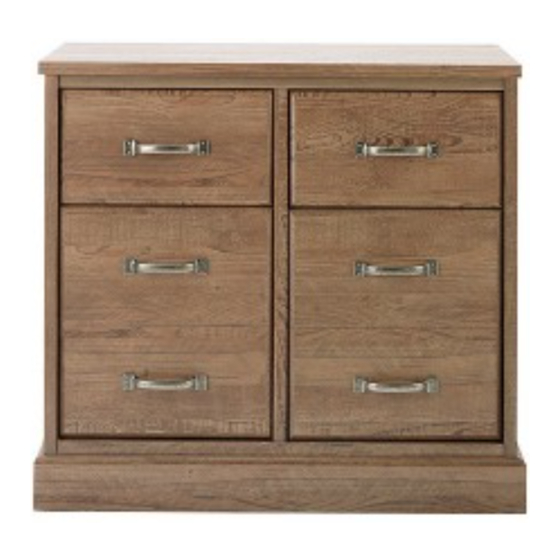
Durham - 2 Door 2 Drawer Sideboard
Assembly Instructions
451/7506
- Please keep for future reference
Dimensions
Width - 84.5cm
Depth - 42.9cm
Height -76.9cm
Important
– Please read these instructions fully before starting assembly
If you need help or have damaged or missing parts, call the Customer Helpline: 0345 6403030
BK05040 - Issue 1 - 17/11/2015
Advertisement

Related Manuals for Heart of House Durham 2 Door 2 Drawer Sideboard 451/7506


Summary of Contents for Heart of House Durham 2 Door 2 Drawer Sideboard 451/7506
- Page 1 Durham - 2 Door 2 Drawer Sideboard Assembly Instructions 451/7506 - Please keep for future reference Dimensions Width - 84.5cm Depth - 42.9cm Height -76.9cm Important – Please read these instructions fully before starting assembly If you need help or have damaged or missing parts, call the Customer Helpline: 0345 6403030 BK05040 - Issue 1 - 17/11/2015...
- Page 2 Safety and Care Advice Important – Please read these instructions fully before starting assembly • Check you have all the unit or your floor. room is well ventilated and this components and tools listed on will assist a speedy removal •...
- Page 3 If you have damaged or missing components, Components - Panels 0345 6403030 call the Customer Helpline: Please check you have all the panels listed below 2 Door 2 drawer sideboard (76.9 x 84.5 x 42.9cm)
- Page 4 Components - Fittings Please check you have all the fi ttings listed below Note: The quantities below are the correct amount to complete the assembly. In some cases more fi ttings may be supplied than are required. 15mm Screw x 1 15mm Washer x 2 Wall strap x 1 The following components are pre-fi...
- Page 5 Assembly Instructions Step 1 Remove and replace handles Position the unit in the required position. The D handles are fi tted to the inside of the unit, using a Philips screwdriver unscrew the 20mm handle screws in each handle and remove both the 20mm handle screw and the D bar handles.
- Page 6 Assembly Instructions Step 2 Fixing to wall It is recommended that the unit is fi xed to a wall Fix wall strap to the back of the unit using 15mm screw 15mm washer Warning: The 15mm screw is for fi xing the Back Panel wall strap to furniture...
Need help?
Do you have a question about the Durham 2 Door 2 Drawer Sideboard 451/7506 and is the answer not in the manual?
Questions and answers