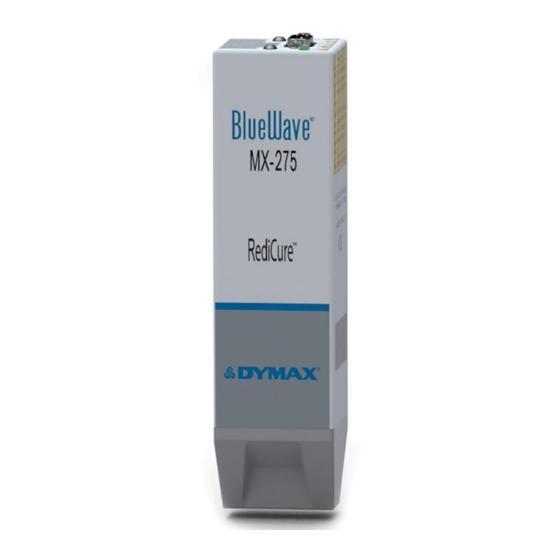
Summary of Contents for dymax Bluewave MX-275 Series
- Page 1 BlueWave MX-275 Emitter User ® Guide Line Pattern Flood-Curing Emitters ▪ Instructions for Safe Use ▪ Setup and Operation ▪ Maintenance ▪ Ordering Spare Parts and Accessories...
- Page 2 Dymax standard Conditions of Sale. Dymax recommends that any intended application be evaluated and tested by the user to ensure that desired performance criteria are satisfied. Dymax is willing to assist users in their performance testing and evaluation by offering equipment trial rental and leasing programs to assist in such testing and...
-
Page 3: Table Of Contents
BlueWave® MX-275 Emitter User Guide Contents Introduction ......................... 4 Introduction to the User Guide ..................4 Where to Get Help ......................4 Safety ........................... 4 Product Overview......................... 5 ® Description of BlueWave MX-275 Emitter ............... 5 Unpacking ..........................6 Parts Included ........................6 Installation ........................... -
Page 4: Introduction
Customer Support and Applications Engineering teams are available by phone and email in Germany, Monday through Friday, from 8:00 a.m. to 5:00 p.m. Central European Time. You can also email Dymax Europe GmbH at info_de@dymax.com. Please see the back cover for worldwide contact information. For more information about this product, visit dymax.com. -
Page 5: Product Overview
BlueWave® MX-275 Emitter User Guide Product Overview Description of BlueWave MX-275 Emitters ® ▪ When paired with a MX-series controller, BlueWave® MX-275 emitters function as line-pattern flood curing systems with 5 mm x 50 mm (0.2" x 2") active curing areas. ▪... -
Page 6: Unpacking
Upon arrival, inspect all boxes for damage and notify the shipper of box damage immediately. Open each box and check for equipment damage. If parts are damaged, notify the shipper and submit a claim for the damaged parts. Contact Dymax so that new parts can be shipped to you immediately. -
Page 7: Mounting/Connection
BlueWave® MX-275 Emitter User Guide Mounting/Connections ▪ Each emitter has two sets of M3 x 0.5 mm holes (Figure 2) that align with Dymax stands and holders. ▪ When connecting the emitter to the controller, ensure proper strain relief to prevent pinching or kinking of the interconnect cable. -
Page 8: Operation
BlueWave® MX-275 Emitter User Guide Figure 3. Example of Installation Using Array Stand Operation ▪ The BlueWave® MX-275 emitter, when attached to the appropriate controller, will create a fan noise during startup and during high output operation. This is normal and is not of concern unless there is a temperature warning on the controller. -
Page 9: Troubleshooting & Maintenance
BlueWave® MX-275 Emitter User Guide Troubleshooting & Maintenance Problem Possible Cause Corrective Action LED intensity adjustment Increase LED intensity setting. set to 0% or too low LED cycle time is set to 0 Seconds sets manual mode and 0 seconds requires a trigger. -
Page 10: Glass Window Replacement
BlueWave® MX-275 Emitter User Guide Glass Window Replacement (Kit 43362) 1. Before starting, disconnect power to the unit. 2. Lay the emitter on its side with the cover facing forward. Using a Philips #1 screwdriver, loosen and fully remove the two screws (Figure 4). 3. -
Page 11: Compatible Devices
BlueWave® MX-275 Emitter User Guide Compatible Devices Item Part Number Controllers BlueWave® MX Series 2-Channel Controller/Power Supply* 43184 43181 BlueWave® MX Series 4-Channel Controller/Power Supply* Emitters BlueWave® MX-275, RediCure® (365 nm) 43094 BlueWave® MX-275, PrimeCure® (385 nm) 43098 BlueWave® MX-275, VisiCure® (405 nm) 43102 System Components Interconnect Cable Assembly - 2 Meter... -
Page 12: Spare Parts
BlueWave® MX-275 Emitter User Guide Spare Parts Item Part Number BlueWave® MX-275 Emitter Glass Replacement Kit 43362... -
Page 13: Specifications
Operating Environment 10°C to 40°C (50°F to 104°F) * Measured using a Dymax ACCU-CAL™ 50-LED Radiometer with 3-mm aperture prototype. This is preliminary intensity data for reference, tests using flood mode without an aperture will yield different results. Figure 5. BlueWave® MX Series Spectral Output RediCure®... -
Page 14: Declaration Of Conformity
BlueWave® MX-275 Emitter User Guide Declaration of Conformity... -
Page 15: Warranty
Unauthorized repair, modification, or improper use of equipment may void your warranty benefits. The use of aftermarket replacement parts not supplied or approved by Dymax Corporation, will void any effective warranties and may result in damage to the equipment. - Page 16 © 2019 Dymax Corporation. All rights reserved. All trademarks in this guide, except where noted, are the property of, or used under license by Dymax Corporation, U.S.A. The data contained in this bulletin is of a general nature and is based on laboratory test conditions. Dymax Europe GmbH does not warrant the data contained in this bulletin. Any warranty applicable to products, its application and use is strictly limited to that contained in Dymax Europe GmbH’s General Terms and Conditions of Sale published on our website at...


Need help?
Do you have a question about the Bluewave MX-275 Series and is the answer not in the manual?
Questions and answers