Advertisement
Advertisement
Table of Contents

Subscribe to Our Youtube Channel
Related Manuals for Taga Harmony Pro Audio PSL


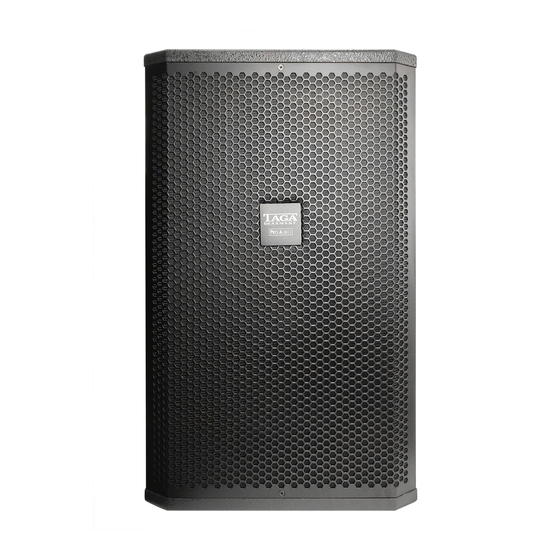
Summary of Contents for Taga Harmony Pro Audio PSL
- Page 1 Point Source Loudspeakers Instruction Manual Edition 12-2018...
- Page 2 • Please do not dismantle any parts of the loudspeaker as this may void your warranty – servicing should be performed only by a qualified TAGA Harmony repair center • When connecting the loudspeaker make sure to power off your audio equipment (amplifier, power mixer, sound processor etc.).
- Page 3 Contents Introduction Unpacking the loudspeaker Placement and installation Hooking up the wires...
- Page 4 The placement and installation method for the loudspeaker varies on the intended application. MOUNTING SYSTEM Contact TAGA Harmony or our dealer for recommendations regarding the mounting system. Make sure to obtain a mounting system from a reputable manufacturer. Select a system design applicable for this loudspeaker and its intended use.
- Page 5 Placement and installation REMOVABLE LOGO BADGE The loudspeaker is equipped with the magnetic logo badge which is mounted in the recess on the front grill. Depending on the placement (for instance horizontal or vertical orientation) and intended application the logo badge can be mounted in different positions in the recess. To remove the badge pull it gently forward.
- Page 6 Hooking up the wires Note! Make sure to power off your audio equipment before connecting this loudspeaker. Consult your local TAGA Harmony dealer/installer for further information about cables and connection options. We recommend that your sound system is designed and installed by a licensed professional engineer or designer (installer).
- Page 7 Hooking up the wires Note! Make sure to avoid short-circuit of the speaker wires – this may damage the loudspeaker and/or your audio equipment and void your warranty. Check the below diagram for connecting two (2) loudspeakers to a single amplifer: Note! When using more than one (1) loudspeaker connected in parallel make sure to check whether your amplifier can handle the final system impedance –...
- Page 8 We strongly advise that your sound system is designed and installed by a licen- sed professional engineer or designer (installer). We recommend using high quality TAGA Harmony cables and other installation accessories. Your product is marked with the symbol as showed on the left.
Need help?
Do you have a question about the Pro Audio PSL and is the answer not in the manual?
Questions and answers