Sign In
Upload
Download
Table of Contents
Contents
Add to my manuals
Delete from my manuals
Share
URL of this page:
HTML Link:
Bookmark this page
Add
Manual will be automatically added to "My Manuals"
Print this page
×
Bookmark added
×
Added to my manuals
Manuals
Brands
Oceanic Manuals
Diving Instrument
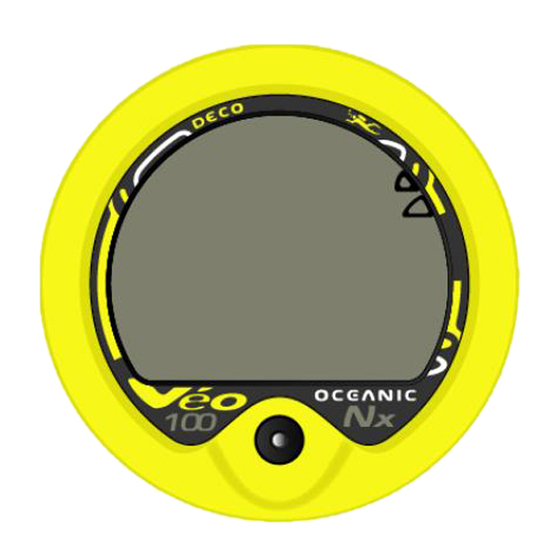
VEO 100 Nx
Manual
Oceanic VEO 100 Nx Manual
Hide thumbs
1
2
3
4
5
6
7
8
9
10
11
12
13
14
15
16
17
18
19
20
21
22
23
24
25
26
27
28
29
30
31
32
33
34
35
36
37
38
39
40
41
42
43
44
45
46
47
48
49
50
51
52
53
54
55
56
57
58
59
60
61
62
63
64
65
66
67
68
69
70
71
72
73
74
75
76
77
78
79
80
81
82
83
84
85
86
87
88
89
90
91
92
93
94
95
96
97
98
99
100
101
102
103
104
105
106
107
108
109
110
111
112
113
114
115
116
117
118
119
120
121
122
123
124
125
126
127
128
129
130
131
132
133
134
135
136
137
138
139
140
141
142
143
144
145
146
147
148
149
150
151
152
153
154
155
156
157
158
159
160
161
162
163
164
165
166
page
of
166
Go
/
166
Contents
Table of Contents
Bookmarks
Table of Contents
Decompression Model
Multiple Tissue Tracking
Features & Displays
Full Display
Control Button
Tissue Loading Bar Graph
Variable Ascent Rate Indicator
Depth Displays
Time Displays
No Decompression Dive Time Remaining
Power Supply
Activation & Setup
Altitude Compensation
Surface Sequence
Surface Mode
Set Mode
Set: Wet Activation
Set: Units of Measure
Set: Hour Format
Set: Po2 Alarm
Set: Fo2 50% Default
Dive Modes
Control of Displays
No - Deco Dive Mode
Ascending to the Surface
No - Deco Safety Stop
Post Dive Modes
Post Dive Surface Mode
Transition Period
After the Transition Period
Log Mode
Wet Contacts
Advanced Functions
Diving with Nitrox
High O2 Accumulation
Decompression Dive Mode
Total Ascent Time
Reset (Clear) Feature
Maintenance
Care and Cleaning
Inspections and Service
Battery Replacement
Safety Guidelines
Advertisement
Quick Links
1
Decompression Model
2
Features & Displays
3
Control Button
4
Time Displays
5
Activation & Setup
6
Set Mode
7
Reset (Clear) Feature
8
Battery Replacement
Download this manual
Table of
Contents
Previous
Page
Next
Page
1
2
3
4
5
Advertisement
Table of Contents
Need help?
Do you have a question about the VEO 100 Nx and is the answer not in the manual?
Ask a question
Questions and answers
Related Manuals for Oceanic VEO 100 Nx
Diving Instrument Oceanic ATOM 2.0 Operating Manual
(178 pages)
Diving Instrument Oceanic VT 3 Operating Manual
(164 pages)
Diving Instrument Oceanic VT3 Operating Manual
(164 pages)
Diving Instrument Oceanic Dive Computer Pro Plus 2 Operating Manual
Dive computer (101 pages)
Diving Instrument Oceanic PRO PLUS 2 Operating Manual
(100 pages)
Diving Instrument Oceanic VEO 200 Operating Manual
(96 pages)
Diving Instrument Oceanic VEO 200 Operating Manual
Dive computers (96 pages)
Diving Instrument Oceanic Veo 200 Operating Manual
(96 pages)
Diving Instrument Oceanic DATA PLUS Owner's Manual
Oceanic data plus 2 (90 pages)
Diving Instrument Oceanic versa Operating Manual
Dive computer (50 pages)
Diving Instrument Oceanic versa Pro Operating Manual
Dive computer (96 pages)
Diving Instrument Oceanic Personal Dive Computer Veo 100Nx Operating Manual
Personal dive computer (72 pages)
Diving Instrument Oceanic Veo 100Nx Operating Manual
(72 pages)
Diving Instrument Oceanic Veo 180Nx Operating Manual
(80 pages)
Diving Instrument Oceanic VEO 1.0 Operating Manual
Dive computer (68 pages)
Diving Instrument Oceanic VEO 4.0 Operating Manual
(62 pages)
This manual is also suitable for:
Veo 180
Pro plus 2
Atom 2.0
Veo 250
Vt 3
Table of Contents
Print
Rename the bookmark
Delete bookmark?
Delete from my manuals?
Login
Sign In
OR
Sign in with Facebook
Sign in with Google
Upload manual
Upload from disk
Upload from URL


Need help?
Do you have a question about the VEO 100 Nx and is the answer not in the manual?
Questions and answers