Table of Contents
Advertisement
Quick Links
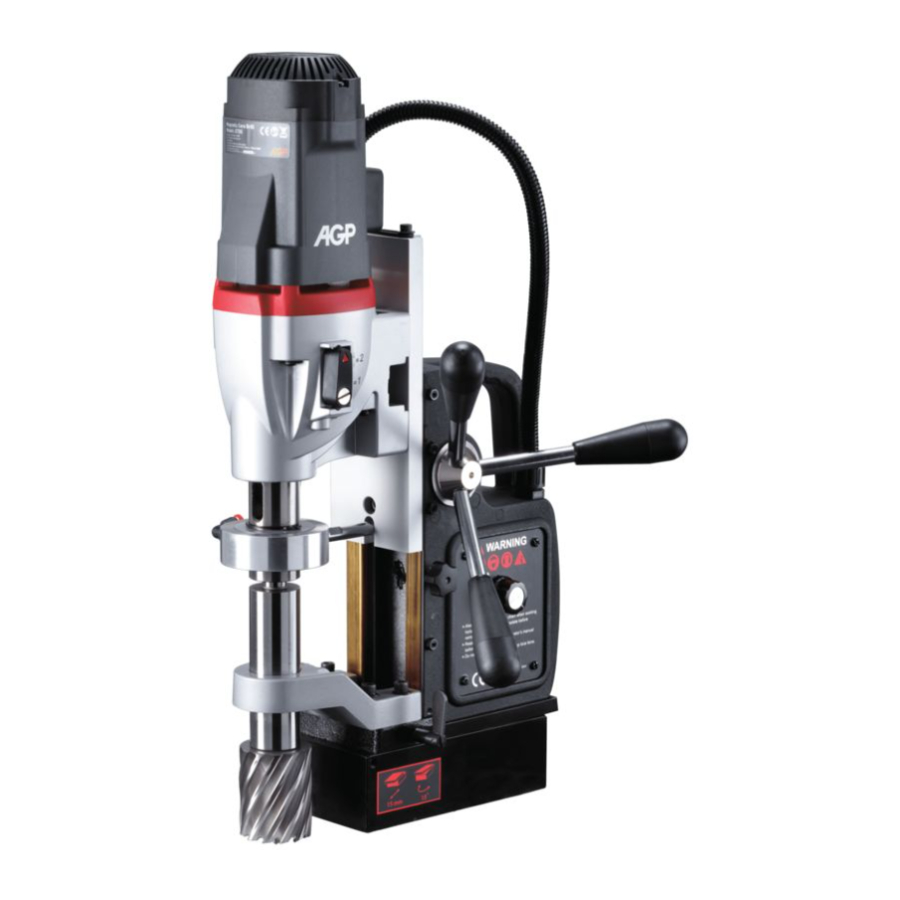
2 SPEED SWIVEL BASE
MAGNETIC DRILLING MACHINE
ORIGINAL OPERATING INSTRUCTIONS
SAVE THESE INSTRUCTIONS
FOR FUTURE REFERENCE.
Warning:
For tools equipped with over
load protection, when motor
has shut down off due to over
load, always run machine with
no load for at least 3 minutes
to reduce temperature before
returning to operation to avoid
burn out of the motor.
Version:20150711
Advertisement
Table of Contents

Subscribe to Our Youtube Channel
Related Manuals for AGP ST50


Summary of Contents for AGP ST50
- Page 1 2 SPEED SWIVEL BASE MAGNETIC DRILLING MACHINE ORIGINAL OPERATING INSTRUCTIONS SAVE THESE INSTRUCTIONS FOR FUTURE REFERENCE. Warning: For tools equipped with over load protection, when motor has shut down off due to over load, always run machine with no load for at least 3 minutes to reduce temperature before returning to operation to avoid burn out of the motor.
- Page 2 Coolant Tank Motor Unit Coolant Feed Tap On/Off Switch Reversing Switch Magnet Switch Gear Selector Magnet Variable Speed Knob Ejector Slot Coolant Feed Annular Cutter Arbor Arbor Support Universal Tapping Chuck for M6 up to M20 (Annular Cutter Swivel Lock Tab Gib Adjustor not included) Twist Drilling with...
-
Page 3: General Safety Instructions
WARNING! Read and understand all instruction before operating any drilling system. Failure to follow all instructions listed below may result in electrical shock, damage to drilling system and even personal injury. GENERAL SAFETY INSTRUCTIONS Work area Keep your working area clean and well lighted. Cluttered benches and working stations causes accidents as well as dark spaces. -
Page 4: Symbols Used In This Manual
to a rotating part of the tool may result in personal injury. Do not overreach. Keep a proper footing and balance at all times. Proper footing and balance enables better control of the tool in unexpected situations. Use safety equipment. Always wear eye protection. Dust mask, non-skid safety shoes, hardhat, or hearing protection must be used for appropriate conditions. - Page 5 Symbol Name Designation/Explanation Volt Voltage (potential) Amperes Current Hertz Frequency (cycles per second) Watt Power Kilograms Weight Minutes Time Seconds Time Diameter Size of drill bits No load speed Rotational speed, at no load Revolutions per minute Revolutions, strokes, surface speed per minute. Off position Zero speed, zero torque…...
- Page 6 magnetic chip collector and a chip hook or other appropriate tool. CAUTION: NEVER position machine on a work piece between the electrode and the ground of any arc type welder. Damage to the machine will result, as the welder will ground through the machine’s ground cable.
-
Page 7: Operation-General
MOUNTING ANNULAR CUTTERS CAUTION: Never use a cutting tool that is larger than the maximum rated capacity of the machine. To insert an annular cutter, first insert the pilot pin into the cutter. Then slide the cutter into the arbor, align the proper flat with the locking screw(s) and tighten securely with the supplied hex wrench. -
Page 8: Swivel Base
NOTE: Always ensure that the cutting tool is sharp. A dull cutter typically will have finer and/or choppy shavings. WARNING: ALWAYS clear chips when there is too much build-up. Excessive chip build-up could result in a jammed cutter or other hazardous situation. WARNING: the slug ejects at end of cut and is very hot. -
Page 9: Gear Selection
MT2 ANNULAR CUTTER ADAPTOR This machine is equipped with a unique annular cutter adaptor system with built-in coolant directly to the gearbox. To install the annular cutter adaptor, first insert the taper end of the adaptor into the arbor of the machine as described above. -
Page 10: Cutting Speeds
NOTE: whenever possible, it is always preferable to lower the speed by changing the gear rather than lowering the motor speed. A slower motor speed will have less cooling and somewhat less torque so always try to keep the motor going as fast as possible. Only lower the motor speed if you have no other option. -
Page 11: Reversing Switch
MT2 SHANK ACCESSORIES If it is desired to use any of various MT2 shank accessories, such as twist drills, countersinks, reamers, etc., it may or may not be necessary to remove the arbor support bracket. If removal is necessary, then follow the instructions below for replacement. -
Page 12: Maintenance
TAPPING For tapping, the arbor support bracket must be removed. To Replace, see the instructions above under: "ARBOR SUPPORT BRACKET REPLACEMENT". If using the optional two jaw universal tapping chuck, simply mount the unit in the spindle, insert the tap's square into the chuck and tighten firmly. (If using an outside sourced MT2 tapping chuck &... - Page 13 THE ARBOR SHAFT Keep the arbor shaft free of dirt and lightly grease as needed. If the arbor support bearing is noisy, it may be dirty or have a chip lodged in it. Remove the arbor shaft to clean and re-grease the arbor support bearing. THE GIBS (DOVETAIL SLIDES) The gibs require adjustment if too loose.
- Page 14 MAGNET TROUBLESHOOTING Full magnet performance is absolutely essential for magnetic drill operation. If the magnet works, but does not hold well, it is likely that one of the coils has failed. If the magnet does not work at all, it is likely to be a failed rectifier. (It is highly unlikely that both magnet coils would fail at the same time) NOTE: A faulty magnet coil can also damage the rectifier, so whenever there is a magnet problem, BOTH the magnet coils and rectifier must be checked.
- Page 15 Wiring...
-
Page 16: Exploded View And Parts List
Exploded View & Parts list... - Page 17 Parts Name Q'TY FLAT WASHER Ø6 x Ø25 x 1 INTERNAL CIRCLIP R-19 FLAT WASHER Ø6 x Ø40 x 2.5 ARBOR WASHER Ø10 x Ø18.5 x 0.8 BUSHING Ø28 x Ø32 x 12 O-RING Ø12 x Ø20 x 4 CRANK SPINDLE COOLANT SEAL CRANK LEVER SPRING...
Need help?
Do you have a question about the ST50 and is the answer not in the manual?
Questions and answers