Advertisement
Quick Links
Commissioning
• Tighten the plastic screw on cable gland to ensure
waterproof seal
• Re-assembly the brick light, make sure the tighten of
front allen screws to ensure waterproof seal.
Fitting/replacing bulbs
• The LED bulbs in this product are non replaceable
We recommend cleaning with a soft dry cloth.
Do not use solvents or abrasive cleaners as these could
damage the finish.
Recycling advice
Waste electrical products should not be disposed of with household waste. Please recycle where facilities
exist. Check with your Local Authority or retailer for recycling advice.
Safety information
Live Voltages may be present in this unit even when turned off or when completely disconnected. For your safety,
always switch off the supply before changing lightbulbs, or cleaning.
www.saxbylighting.com
• Replace fuse or circuit breaker and switch on. Your
light is now ready for use.
Iss.12022015
Saxby Lighting Ltd. BH23 3PE
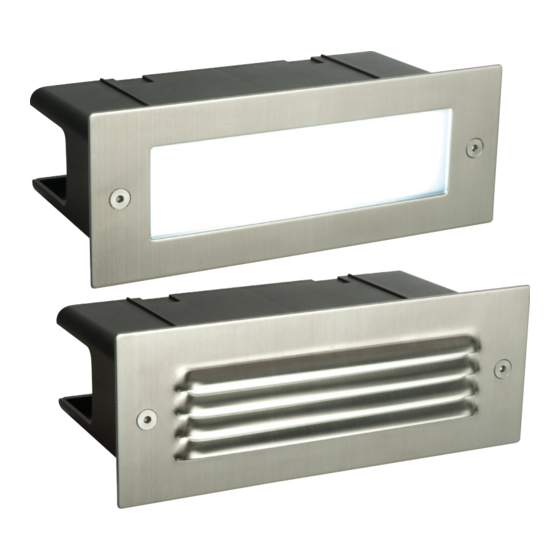
Instruction leaflet
Seina Recessed Bricklight
52104, 55518, 55519, 55520
Advertisement

Related Manuals for Saxby Lighting Seina 52104


Summary of Contents for Saxby Lighting Seina 52104
- Page 1 Commissioning Instruction leaflet • Tighten the plastic screw on cable gland to ensure • Replace fuse or circuit breaker and switch on. Your waterproof seal light is now ready for use. • Re-assembly the brick light, make sure the tighten of Seina Recessed Bricklight front allen screws to ensure waterproof seal. 52104, 55518, 55519, 55520 Fitting/replacing bulbs • The LED bulbs in this product are non replaceable We recommend cleaning with a soft dry cloth. Do not use solvents or abrasive cleaners as these could damage the finish. Recycling advice Waste electrical products should not be disposed of with household waste. Please recycle where facilities exist. Check with your Local Authority or retailer for recycling advice.
- Page 2 Installation Thank you for purchasing this light fitting. Please read the instructions carefully before use to ensure safe and satisfactory operation of this product. Please retain these instructions for future reference. Existing fittings must be completely removed before • Fit the 4 spring clips into the outer frame by pushing installation of a new product. Before removing the them into the slots. Ensure they are securely fitted. existing fitting, carefully note the position of each set Then fit the outer frame. (See Fig. 2) Warning of wires. • Wire as detailed below. • Using the supplied allen key, remove the front This product is Class 2 (Double insulated) If replacing an existing fitting, make a careful note of stainless steel panel by unscrewing the two allen and must not be earthed. the connections.
Need help?
Do you have a question about the Seina 52104 and is the answer not in the manual?
Questions and answers