Advertisement
Quick Links
Advertisement

Related Manuals for Decorotika Arya TV Stand


Summary of Contents for Decorotika Arya TV Stand
- Page 1 TV Stand Assembly Guide...
- Page 2 introduction Before starting, please check all Furniture parts are going to several Valued Customer, components and accessories manufacturing procedures. During this according to the provided list. If process, parts can have little dust or We design and carefully manufacture our you purchased more than one marks.
-
Page 3: Before You Start
before you start Get required installation tools prepared. Do not install the product on rough surfaces. Get help from someone else! - Page 4 components Part1 Part2 Part3 Part4 Part5 Part6 Part7 Part8 Part9 Part10 Part11 Part12 Part13 Part14 TOTAL 50 mm Nail Minifix M10 4 sw Minifix k18 3,5x16 12 mm 18 mm Ø8 3,5x30 4x50...
- Page 5 a. installing components First, you need to place A02 and A03 to specified location as seen in the model. Make sure that A02 and A03 correctly placed to wood parts numbered as shown Secondly, as shown in the below model, insert the parts in together according to the directions shown in the model.
- Page 6 c. inserting shelf to the cabinet In first 2 steps, you have completed the installation of base and shelf that needs to be assembled inside of the base. Now, you will Insert the shelf in to cabinet. Stick to the model, please insert the shelf according to given directions.
- Page 7 e. installing decorative panels Please assemble wood piece #9 as seen in the model. Use A03 component to attach the part. f. attaching the legs Component A26 is the leg. Please use A27 to attach the legs into the body. g.
- Page 8 h. installing cabinet hinges. Please take wood parts (doors) # 13 and #14. Please place hinge (Shown as C in below hinge figure) to the holes located on the doors, then screw it into the panel as you in figure 8-1 After that, screw the bottom part of the hinge into the TV Stand as shown in the figure 8-2 Finally, you may align the door height or width by using the screw points A and B shown in Hinge detail figure.
-
Page 9: Back Side
I. Back Panel Please take the back panel and with the help of nails and hammer, please put finalize the back panel. Put all nails that you find in the hardware pack back side j. assembling the wall shelf. - Page 10 k. please get assistance while placing the Wall Shelf on the Wall Once you complete the assembly of wall shelf, please get assistance for placing the shelf on the wall. Minimum 2 person would be suffice. A117...
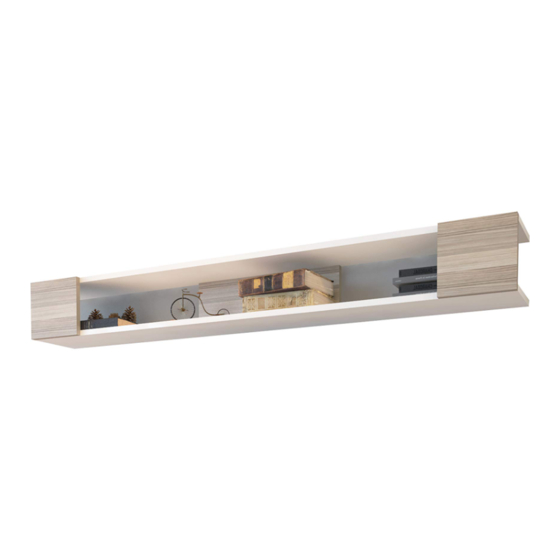
- Page 11 final look Enjoy your product!
Need help?
Do you have a question about the Arya TV Stand and is the answer not in the manual?
Questions and answers