Advertisement
Quick Links
Advertisement

Related Manuals for Decorotika LUSI


Summary of Contents for Decorotika LUSI
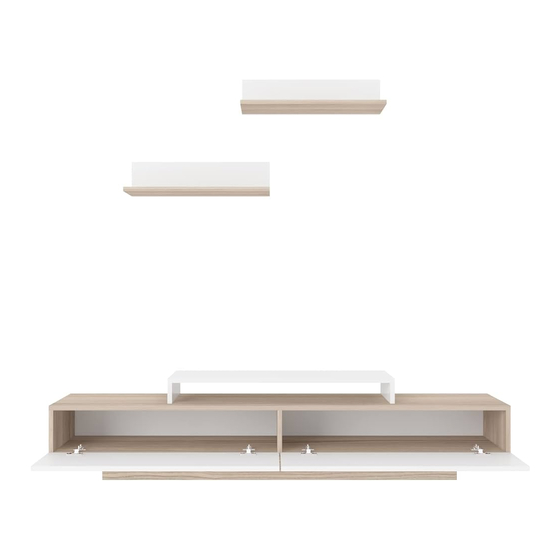
- Page 1 LUSI Tv Stand Assembly Instructıon please scan the QR code for nstallat on v deo...
- Page 2 Introduction Before starting, please check all Furniture parts are going through several Valued Customer, components and accessories manufacturing procedures. During this according to the provided list. If process, parts can have little dust or We design and carefully manufacture our you purchased more than one marks.
-
Page 3: Before You Start
Before you start or o Get required installation tools prepared Do not install the product on rough surface. Get help from someone else! - Page 4 Components Part1 Part2 Part3 Part4 Part5 Part6 Part7 Part8 Part9 Part10 TOTAL Accessor es 50 mm screw 3.5x18 mm screw minifix screw minifix head rawlplug 5x70 mm screw 18 mm sticker na l Ø8 pivot bracelet Please be aware that C01(bracket) and C04(p vot) parts may come as attached together.
- Page 5 Gett ng fam l ar w th the ma n components *Minifix is the main connec on component used in Decoro ka products. Before star ng, please check the below figures. MINIFIX MINIFIX SCREW HEAD *Please nsert A03 (m n fix screw) as shown below. *Please not ce that there s a small arrow on A02 (m n fix head).
- Page 6 a. Installing components Please place A03 (m n fix screws) nto the part 3 holes as shown below. Ÿ Please place A02 (m n fix heads) nto the part 4 holes as shown below. Ÿ Please place C04 (p vot) nto the pre-d relled p vot holes as shown below and turn the Ÿ...
- Page 7 c. Installing components Ÿ Please insert the minifix heads nto part 4 as shown below. Ÿ Now attach the part 4 to part 3 as shown below. Ÿ Finally screw the minifix heads (note: turn the screwdriver to + d rect on as specified on the minifix head)
- Page 8 d. Installing cabinet hinges. Place h nge (C01 bracelet) to the pre-dr lled holes located on the part 10 (door) as shown n the below h nge deta le figure.Then attach the doors to the TV stand, screw ng t n to the panel as shown n the figure 8 below.
- Page 9 e. Installing the top of stand In this step, you need to attach top part 5 Ÿ to the main body that we assembled earlier.Follow the below arrows and make sure screws and holes are l ne up in the specified way. After plac ng the part 5 onto the ma n body, turn the Ÿ...
- Page 10 g. Installing the top shelf This top shelf is a complimentary shelf for our customer who would like to place her/h s TV a little Ÿ bit higher than usual panel. It is a completely personal choice to place or not to place it on the TV Stand. If you have Ÿ...
- Page 11 F nal look Enjoy your Decorotika product! After fin sh ng asembly, please cover the m n fix (A02) and other screw heads w th 18mm st ckers (A06) that comes w th the accessory pack for a better look of your furn ture.
- Page 12 For any inquiries or questions, please write, call or visit us. contact@decorotika.com www.decorotika.us For the USA: www.decorotika.com For the UK: support@decorot ka.com We are here to help !!!
Need help?
Do you have a question about the LUSI and is the answer not in the manual?
Questions and answers