Advertisement
Quick Links
Advertisement

Related Manuals for Decorotika Esla


Summary of Contents for Decorotika Esla
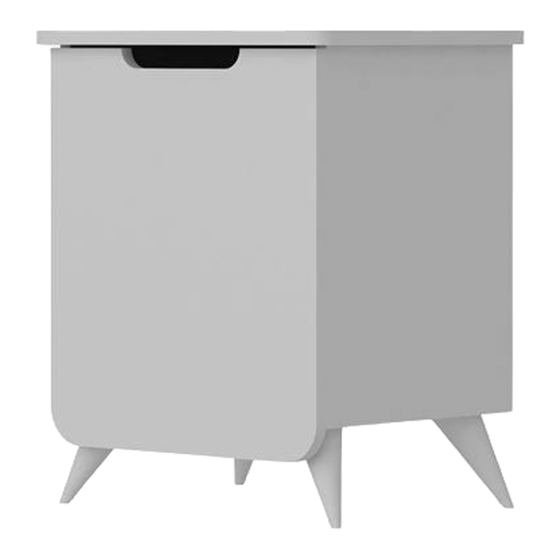
- Page 1 Esla N ghtstand assembly gu de...
- Page 2 ntroduct on Before start ng, please check all Furn ture parts are go ng to several Valued Customer, components and accessor es manufactur ng procedures. Dur ng th s accord ng to the prov ded l st. If process, parts can have l ttle dust or We des gn and carefully manufacture our you purchased more than one marks.
-
Page 3: Before You Start
before you start or o Get requ red nstallat on tools prepared. Do not nstall the product on rough surfaces. Get help from someone else! - Page 4 gett ng fam l ar w th the ma n components *Minifix is the main connec on component used in Decoro ka products.Before star ng, please check the below figures MINIFIX DOWEL MINIFIX SCREW HEAD *Please not ce that there s an small arrow on A02 (m n fix head).Th s arrow should show the d rect on of upper hole.
-
Page 5: Accessory List
ACCESSORY LIST full overlay bracelet 4x50 mm screw minifix head minifix screw furniture feet 18 mm sticker 14 mm sticker 3.5x18 mm screw pivot nail na led shelf p n GENERAL VIEW Parça 3 03 Parça Parça Parça... - Page 6 step a *Please attach the p ece #1 onto the p eces #4 and #5 as shown below *Now screw the A17(4x50 mm screw) w th the help of a screwdr ver clockw se d rect on 4x50 Parça Parça step b *Please nsert A03 (m n fix screw) nto the holes on the p ece #3 as shown below *Please nsert A02 (m n fix head) nto the holes on the p eces #4 and #5 as shown below...
- Page 7 step c *Furn ture feet cons st of two parts; nner part and cover. *Please take the nner parts of feet then put them on the mark holes *Screw all A18 (3.5x18 mm screw) w th screwdr ver clockw se 3,5x18 d rect on *Now place all covers on the nner parts...
- Page 8 step e *Please put C01 (bracelet) nto the b g holes on p ece #6 the way they w ll fit the pre-dr lled holes *Now take A18 (3.5x18 mm screw) and put them on pre-dr lled holes then turn them all w th screwdr ver *Please put all the C04 (p vot ) the way that they w ll fit the pre-dr lled holes on the p ece #5 *Now take A18 (3.5x18 screw) and put them on pre-dr lled holes then turn them all w th screwdr ver 3,5x18...
- Page 9 step f *Please connect C04(p vot) and C01 (bracelet) as shown n figure *Turn the screw A *You can make some adjustment w th screw B for better open ng and clos ng of door Parça Parça to connect the hinge to the door arrows to show the directions for arrangement of doors.
- Page 10 step g *Please take the panel and na l down w th the help of a hammer *For the best result use all na ls g ven n the hardware pack nail step h *For the best appearance of your furn ture please place all A06(18 mm st cker) onto the A02 (m n fix head) *For the best appearance of your furn ture please place all A10(14 mm st cker) onto the A20(4x50 mm screw)
- Page 11 final look Enjoy your Decorot ka product! www.decorot ka.us contact@decorot ka.com www.decorot ka.com...
Need help?
Do you have a question about the Esla and is the answer not in the manual?
Questions and answers