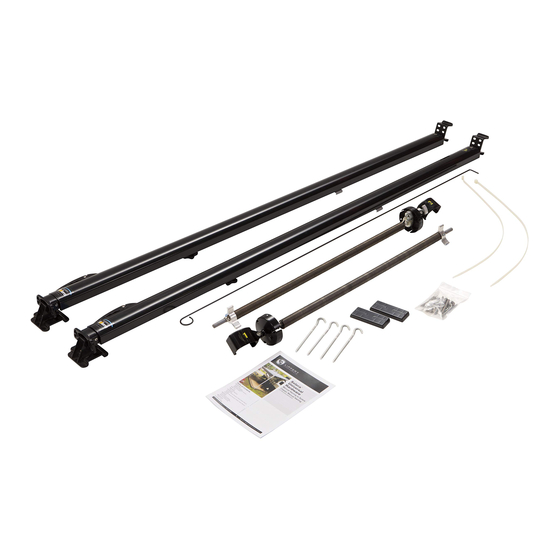
Lippert Components Solera Classic Oem Installation Manual
Hide thumbs
Also See for Solera Classic:
- Installation and owner's manual (12 pages) ,
- Installation and owner's manual (16 pages) ,
- Installation manuals (10 pages)
Table of Contents
Advertisement
Quick Links
Advertisement
Table of Contents

Summary of Contents for Lippert Components Solera Classic
- Page 1 Solera® Classic Awning OEM INSTALLATION MANUAL (AU)
-
Page 2: Table Of Contents
TABLE OF CONTENTS Introduction Safety Preparation Resources Required Installation Installing the Awning Rail (If Necessary) Assembling the Awning Mounting the Bottom Mounting Brackets Mounting the Awning Securing the Fabric Installing the Stop Bolt Introduction The Solera® Classic Awning is designed for use on most recreational vehicle units and is available in a variety of sizes to fit even the largest unit. -
Page 3: Preparation
Preparation Removing these items prematurely may cause personal injury or property damage. Do NOT remove the following items until instructed: Tape securing the fabric. Cotter pins in the spring assemblies. Note: This manual will refer to the “drive side” and “idler side” throughout for various instructions. The “drive side”... -
Page 4: Installation
Installation Note: All screws supporting the awning assembly MUST have a backer within the structure of the wall of the unit. Refer to the unit manufacturer for proper location. Installing the Awning Rail (If Necessary) Note: Awning rail not included. Sidewall Mounting Position the awning rail along the line where roof and wall meet OR: For pitched awnings: A minimum of 11”... -
Page 5: Assembling The Awning
Assembling the Awning Note: The head assemblies (Fig. 3A) and support arm assemblies (Fig. 3B) are numbered to ensure proper assembly. Match the proper support arm assembly to the correct head assembly. Fig. 3 On a flat surface, carefully lay out the support arm assemblies and roll tube assembly. The cam lock (Fig. -
Page 6: Mounting The Awning
D. Attach the bracket using the " x 3" lag screws or equivalent (not provided) (Fig. 5). Fig. 5 Note: All screws supporting the awning assembly MUST have a backer within the structure of the wall of the unit. Refer to the unit manufacturer for proper location. Repeat step 3 for the other end of the awning. - Page 7 Fig. 7 Channel Channel Locking Knob Channel Channel Use a screwdriver to spread open either end of the awning rail on the installation side (Fig. 8A). To protect the fabric from damage during installation, file any sharp edges or burrs from the awning rail channel.
- Page 8 Standard Center the upper mounting brackets on the support arm assembly centerline marked previously and arrange the upper mounting brackets to straddle the awning rail (Fig. 10). Tighten the black locking knob on the mount/rafter arm upper channel (channel #3) (Fig. 7). Pop Top If applicable, center the upper mounting brackets on the support arm assembly centerline marked previously and arrange the upper mounting brackets on the wall of the unit below the line where...
-
Page 9: Securing The Fabric
Securing the Fabric Roll the awning in and out several times to ensure that the fabric is square on the roll tube. Secure the fabric in the awning rail no more than 1” inside the edge of the fabric on both ends using a #6 x 1/2”... - Page 10 The contents of this manual are proprietary and copyright protected by Lippert Components, Inc. (LCI). LCI prohibits the copying or dissemination of portions of this manual unless prior written consent from an authorized LCI representative has been provided. Any unauthorized use shall void any applicable warranty. ...


Need help?
Do you have a question about the Solera Classic and is the answer not in the manual?
Questions and answers