Advertisement
Quick Links
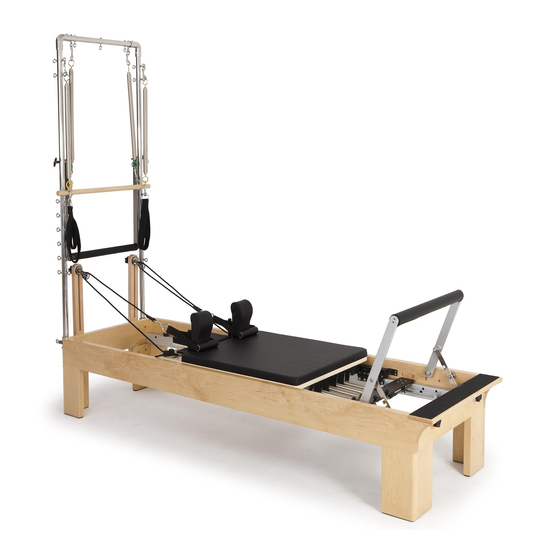
How to install your Reformer with Tower
BEFORE BEGINNING ASSEMBLY
These instructions include a
parts list. Please use this list
to make sure you have all the
parts necessary for installation.
If you are missing a part,
please contact our customer
service department at
1-800-PILATES
(1-800-745-2837).
REQUIRED TOOLS
» 3/16" Allen Wrench (Included. GEN9280)
» 21mm x 1/2 inch wrench (Included. ALL0060)
PARTS FOR TOWER
DESCRIPTION
Vertical tubes with eyebolts installed
Horizontal tube with eyebolts,
safety strap, and corner connectors
Push Through Bar for slider assembly
Yellow trap springs
Blue trap springs
Roll down bar
Yellow long springs
Purple long springs
Single cotton loops (pair)
Push Through Bar slider assembly
Push Through Bar slider shoulder bolt
1. Loosen the setscrews in the circular tube receivers with
included Allen wrench (see Figure A).
Figure A: Loosen set-screws here.
2. Remove the vertical
tower poles from the
box and place them
into the receiver bracket
on the end of the
Reformer. The knobs of
PART NO.
QTY
the sliders will be facing
outward as shown in
TRP0105
2
Figure B.
TRP0100
1
3. Place the top horizontal
tube onto the two
707-287
1
vertical tubes which go
SPR9002
2
into the corner brackets.
Make sure when you
SPR9004
2
place the tubes into the receiver that the loop is facing
forward, towards the carriage, see Figure C.
710-010
1
SPR9006
2
SPR9461
2
101-005
1
N/A
2
619-202
2
Figure C
Knobs
outward
Figure B
Loop should face
the reformer.
Contact Us
1-800-PILATES | +1-916-388-2838
pilates.com | info@pilates.com
400-351 | 10.10.16
Advertisement

Related Manuals for Balanced Body Reformer with Tower


Summary of Contents for Balanced Body Reformer with Tower
- Page 1 How to install your Reformer with Tower BEFORE BEGINNING ASSEMBLY 1. Loosen the setscrews in the circular tube receivers with included Allen wrench (see Figure A). These instructions include a parts list. Please use this list to make sure you have all the parts necessary for installation.
- Page 2 4. Move the sliders on the tubes to the same hole on each tube. 4. Remove shoulder rests from the carriage. If the shoulder rests There are three positions. Make sure they are both in the same are not detachable, the carriage will need to be turned upside position by pulling the knobs outward and moving the slider.
Need help?
Do you have a question about the Reformer with Tower and is the answer not in the manual?
Questions and answers