Advertisement
Quick Links
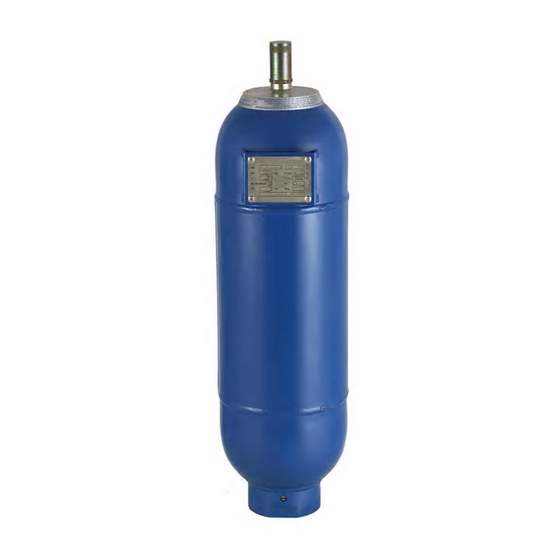
Bladder accumulator series IBV / EBV
Repair instructions
Dismantling the accumulator
Disconnect and close the accumulator
inlet and discharge the hydraulic fluid
from the accumulator.
Remove the accumulator from its
mounting and lay it horizontally in a
vice or other fixation system. Take care
not to damage the accumulator.
Unscrew
the
protective
necessary remove the lead seal from
the protective cap(s).
Deflate the bladder using Parker Olaer
tester and pressurize instrument
Operate the tester and pressurize
instrument as described in its manual.
Unscrew the gas inlet valve
Release the gas inlet valve sub-
assembly nut and remove the name
plate
(Fig. 3)
.
Unscrew the flange or reduction from
the hydraulic fluid end. Dismantle the
venting screw (not used with every
model). Take care on the seal.
With the accumulator completely free
of pressure (gas and fluid), a loose fit
of the grid has to be detected
If this is not the case all further work
has to be stopped!
Parker Olaer
(Fig. 4).
Remove the spring ring
Remove the grid
(Fig. 6).
Remove the bladder through the fluid
end opening
(Fig. 7).
Cleaning, inspection and repairs
Carefully
clean
all
accumulator and dry with compressed air.
Inspect the vessel from any internal damage.
Check that the bladder has no sign of wear of
major frictional wear or other damage.
Tel.: +49 2131 4016-0
Fig. 1
cap(s).
If
Fig. 3
(Fig. 1)
.
(Fig. 2).
Fig. 5
Fig. 7
Please contact
(Fig. 5).
metallic
parts
of
the
© Parker Hannifin GmbH
Fax: +49 2131 4016-9199
Under no circumstances attempt to repair the
bladder.
Replace all worm or damaged parts.
Pat-Parker-Platz 1
41564 Kaarst
E-Mail: parker.germany@parker.com Web: www.olaer.de
doc 6.140
Page 1 von 2
Fig. 2
Fig. 4
Fig. 6
Stand 06/14
Advertisement

Related Manuals for Parker OLAER IBV Series


Summary of Contents for Parker OLAER IBV Series
- Page 1 Fig. 3 Fig. 4 the protective cap(s). Deflate the bladder using Parker Olaer tester and pressurize instrument (Fig. 1) Operate the tester and pressurize instrument as described in its manual. Unscrew the gas inlet valve (Fig.
- Page 2 No welding/soldering or mechanical operations of operation from the authorities responsible. any kind must be undertaken on the accumulator! Stand 06/14 © Parker Hannifin GmbH Pat-Parker-Platz 1 41564 Kaarst Tel.: +49 2131 4016-0 Fax: +49 2131 4016-9199 E-Mail: parker.germany@parker.com Web: www.olaer.de...