Table of Contents
Advertisement
Quick Links
1. Cut the
strapping and lift
the box top and put
it to the side to be
used as a remote
work station.
3. Remove upright
and place it on top
of the big white
foam packaging
cube.
Tip: Keep the cross brace foam
tubes on until you install upright
to avoid accidental scratching.
ASSEMBLY INSTRUCTIONS
2. Use the box top
as a work station to
lay out all of the
components.
Open up the main
hardware bag so
that you can clearly
see all the
numbered
hardware bags.
NOTE: Hardware
bag "STEP 6" is
intentionally not
included. This
hardware comes
preinstalled from
the factory.
4. Remove the
rest of the
components and
place them on the
box top or near by.
Remove the base
frame from the
pallet and place it
in the exact spot
you plan to use it.
Advertisement
Table of Contents

Subscribe to Our Youtube Channel
Related Manuals for Landice ElliptiMill


Summary of Contents for Landice ElliptiMill
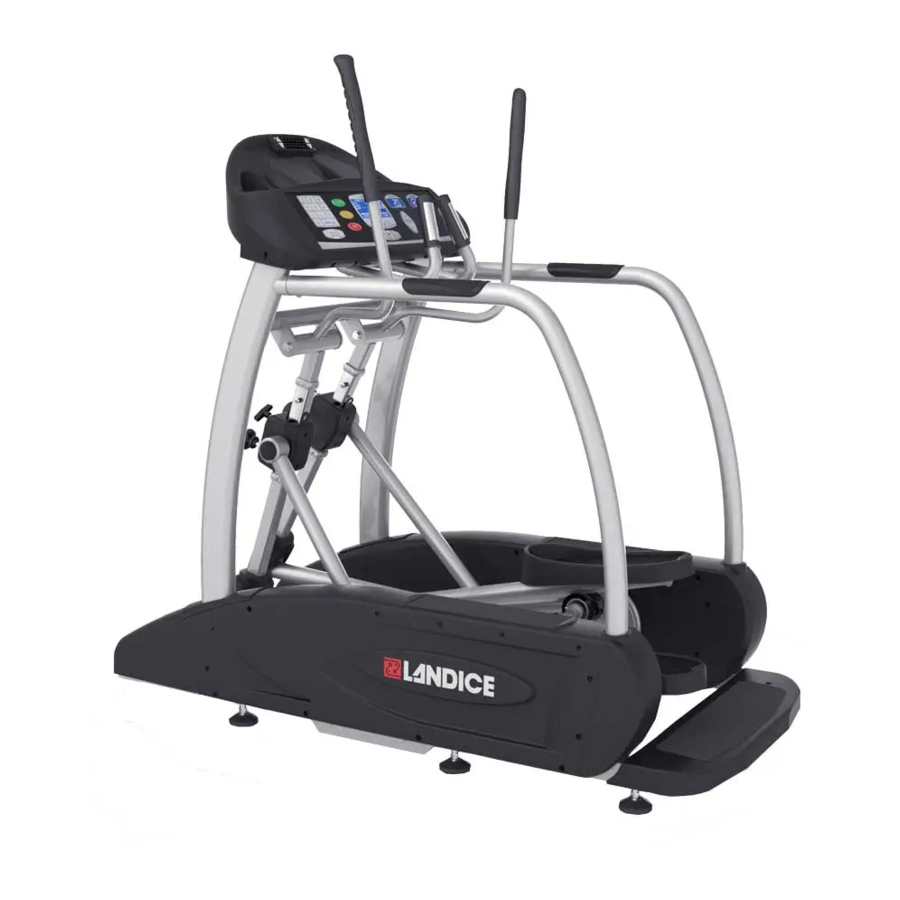
- Page 1 ASSEMBLY INSTRUCTIONS 1. Cut the 2. Use the box top strapping and lift as a work station to the box top and put lay out all of the it to the side to be components. used as a remote Open up the main work station.
- Page 2 5. Check that all 6. Slide the Tip: Remove the bearing caps the leveling feet (6) vertical stride afterwards to avoid accidental upright are turned all the adjustment scratching way up into the members into the frame by tilting the upright housing.
- Page 3 9. Pick up the 10. Carefully upright assembly rotate the upright and walk it into the legs into the frame from the rear correct alignment in as shown in the and slip them into picture. their respective black fittings on top of the frame.
- Page 4 13. Open 14. Open hardware bag hardware bag "STEP 3". "STEP 4". Connect the crank Connect the pedal arm to the crank. arm to the vertical Tighten the top two member. Slide the bolts first, then the bolt in from the bottom two.
- Page 5 17. Slide the 18. Use the Tip: If you handrails into the remaining bolts in have trouble upright fittings. hardware bag with Open hardware "STEP 5" to fasten alignment, bag "STEP 5" and the bottom of the use a long use the smaller rail.
- Page 6 21. Clip the 22. Mount the harness to the (2) front cover. Use harness clips along the remaining the frame. Once screws in hardware you have secured bag "STEP 7" to the harness to the mount the cover. clips, connect it to NOTE: Use the the female machine screws...
- Page 7 25. Open 26. Open hardware bag hardware bag "STEP 9" and use "STEP 8" and use the screws to the allen key to attach the upright fasten the rear step endcaps to the of the elliptical. upright. 27. Check to make 28.
Need help?
Do you have a question about the ElliptiMill and is the answer not in the manual?
Questions and answers