Table of Contents
Advertisement
SERIAL NUMBER:
NÚMERO DE SERIE:
NUMÉRO DE SÉRIE:
______________________________________
See rating label on grill for serial number.
El número de serie se encuentra en la etiqueta
deespecificaciones de la parrilla.
Voir l'étiquette d'évaluation sur le gril pour le numéro
de série.
DATE PURCHASED:
FECHA DE COMPRA:
DATE D'ACHAT:
______________________________________
Need Help? Visit Oklahomajoes.com for video assembly tips. If you'd rather - you can call us at 1-800-318-7744
Necesita ayuda? Visite Oklahomajoes.com para obtener consejos sobre el montaje de videos. Si prefiere, puede llamarnos al 1-800-318-7744
Besoin d'aide? Visitez Oklahomajoes.com pour des astuces d'assemblage vidéo. Si vous préférez, vous pouvez nous appeler au 1-800-318-7744
A MAJOR CAUSE OF FIRES IS FAILURE TO MAINTAIN REQUIRED
CLEARANCES (AIR SPACES) TO COMBUSTIBLE MATERIALS. IT IS OF
UTMOST IMPORTANCE THAT THIS PRODUCT BE INSTALLED ONLY IN
ACCORDANCE WITH THESE INSTRUCTIONS.
IMPORTANT: RETAIN FOR FUTURE REFERENCE. READ CAREFULLY.
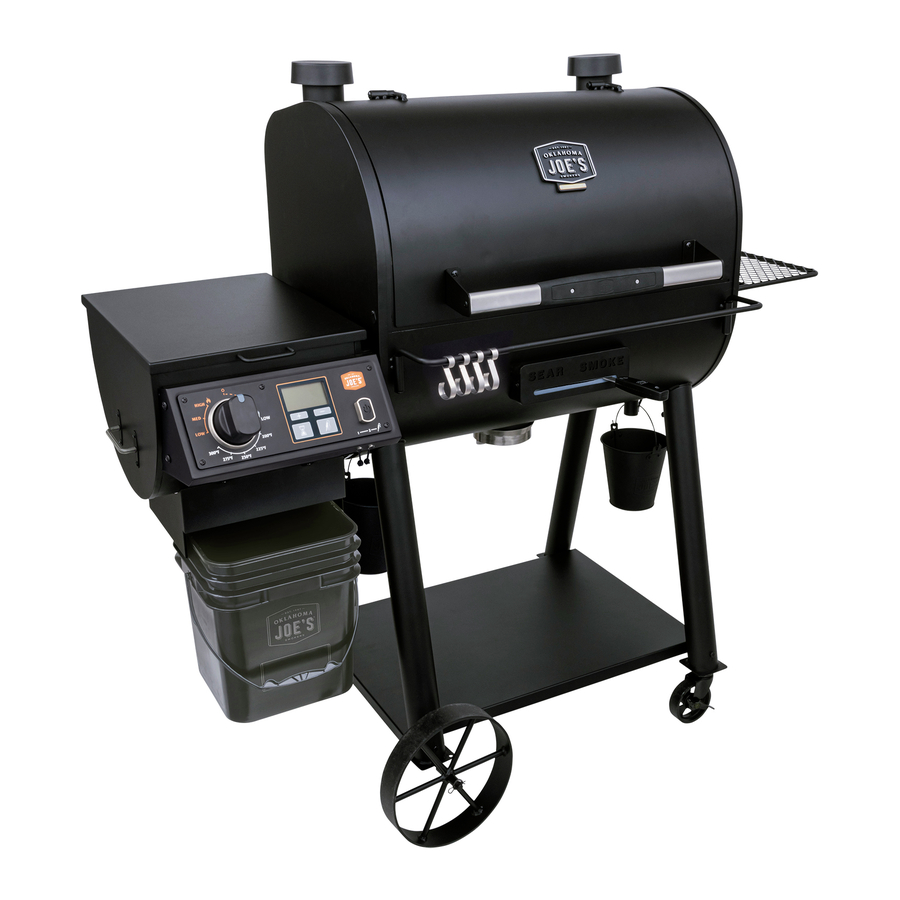
DLX PELLET GRILL
MODEL NUMBER 20209106
Assembly GUIDE
PN: 42805505 • 05/10/2020
Advertisement
Table of Contents

Related Manuals for oklahoma joes Rider DLX


Summary of Contents for oklahoma joes Rider DLX
- Page 1 DLX PELLET GRILL MODEL NUMBER 20209106 ASSEMBLY GUIDE SERIAL NUMBER: NÚMERO DE SERIE: NUMÉRO DE SÉRIE: ______________________________________ See rating label on grill for serial number. El número de serie se encuentra en la etiqueta deespecificaciones de la parrilla. Voir l’étiquette d’évaluation sur le gril pour le numéro de série.
- Page 2 READ ALL INSTRUCTIONS BEFORE INSTALLING IMPORTANT SAFEGUARDS When using electrical appliances, basic safety precautions AND USING THE APPLIANCE. should always be followed including the following: • Do not touch hot surfaces. IMPORTANT SAFETY INFORMATION • To protect against electrical shock, do not immerse cord, plugs, con- troller or heating element in water or any other liquid.
- Page 3 7. To prevent fingers, clothing or other objects from coming in con- IMPORTANT SAFETY INFORMATION tact with the auger feed system, the appliance is equipped with a metal safety screen, mounted to the interior of the hopper. 1. A minimum clearance of 36 inches (1 meter) from combustible con- This screen must not be removed unless directed by Customer structions to the sides of the appliance, and 36 inches (1 meter) Service or an authorized dealer, and never when the appliance...
- Page 4 ed, this creosote makes an extremely hot fire. D A N G E R The grease duct should be inspected at least monthly to deter- mine when grease and/or creosote buildup has occurred. For North American Consumers: When grease or creosote has accumulated, it should be removed Plug into an appropriate 3-prong outlet.
- Page 5 RE PLACE M E NT PARTS DIAG RAM • DIAG RAMA DE PI EZAS DE RE PU ESTO • SCH É MA DE PI ÈCES DE RECHANG E OK LAHO M AJ O ES. CO M...
- Page 6 RE PLACE M E NT PARTS LIST Description Description FIREBOX SMOKE STACK CAP TOP LID KIT, GREASE BLOCK, F/ SEAR ZONE CHAMBER LOGO PLATE SEAR ZONE, HEAT BAFFLE CHAMBER AIR CHANNEL SUPPORT SEAR ZONE, STATIONARY CHAMBER AUGER HOUSING SEAR ZONE, ROTATING CHAMBER GASKET F/ HOPPER HANDLE LEVER BRACKET, F/ SEAR ZONE FIRE POT...
- Page 7 HARDWARE LIST • LISTA DE HARDWARE • LISTE DU MATÉ RI E L Key • Clv Description • Descripción Picture • Imagen • Image Qty. • Cant. • Qté • Clé 1-4-20 x 3” HEX SCREW TORNILLO HEXAGONAL HEX VIS 5/16-18 x 3/4”...
- Page 8 ASSE M BLY / ASSE M BLAG E / ASAM BLEA C A U T I O N THIS UNIT IS HEAVY! DO NOT attempt to assemble without a helper. ¡ESTA UNIDAD ES PESADA! NO intente ensamblar sin un ayudante. CET APPAREIL EST LOURD! NE PAS essayer de se réunir sans aide.
- Page 9 ASSE M BLY / ASSE M BLAG E / ASAM BLEA • DO NOT use the Side Hopper Release Handle to move your grill. It is not designed to support the weight of the grill. • NO use la manija de liberación de la tolva later- al para mover su parrilla.
- Page 10 ASSE M BLY / ASSE M BLAG E / ASAM BLEA OK LAHO M AJ O ES. CO M...
- Page 11 ASSE M BLY / ASSE M BLAG E / ASAM BLEA OK LAHO M AJ O ES. CO M...
- Page 12 ASSE M BLY / ASSE M BLAG E / ASAM BLEA C A U T I O N • DO NOT use the Side Hopper Release Handle to move your grill. It is not de- signed to support the weight of the grill. •...
- Page 13 ASSE M BLY / ASSE M BLAG E / ASAM BLEA C A U T I O N • The Ash Cup (#47) must be installed and se- curely tightened during operation. • La Ash Cup (# 47) debe instalarse y apretarse de manera segura durante la operación.
- Page 14 ASSE M BLY / ASSE M BLAG E / ASAM BLEA OK LAHO M AJ O ES. CO M...
- Page 15 ASSE M BLY / ASSE M BLAG E / ASAM BLEA OK LAHO M AJ O ES. CO M...
- Page 16 ASSE M BLY / ASSE M BLAG E / ASAM BLEA ✓ OK LAHO M AJ O ES. CO M...
- Page 17 ASSE M BLY / ASSE M BLAG E / ASAM BLEA OK LAHO M AJ O ES. CO M...
- Page 18 ASSE M BLY / ASSE M BLAG E / ASAM BLEA OK LAHO M AJ O ES. CO M...
- Page 19 ASSE M BLY / ASSE M BLAG E / ASAM BLEA OK LAHO M AJ O ES. CO M...
- Page 20 FOR YOU R SAFETY - STARTI NG U P YOU R PE LLET G RI LL FIRST TIME START UP down process will start by flashing the message “DRN HOP” on the Pit Control screen, indicating that Follow these instructions for setup and proper use of your Rid- it’s time to drain the remaining pellets in the Quick- er Pellet Grill.
- Page 21 FOR YOU R SAFETY - STARTI NG U P YOU R PE LLET G RI LL C A U T I O N The main power switch will shut the power off to the control panel and to the grill components only. When servicing the control panel or any parts ensure that the power supply cord is disconnected to avoid a shock hazard.
- Page 22 COM MON TROU BLESHOOTI NG What if temperatures won’t rise or I see an ER 5 message on the i. Turn off and unplug grill Pit Control Screen? ii. Remove Pit Control panel iii. Ensure all wires are firmly connected. Reassemble the grill These are both signs that you are not getting proper combustion in and assess the auger again.
- Page 23 COM MON TROU BLESHOOTI NG CLEARING AN AUGER JAM Auger jams can occur from time to time with normal use of the grill. Jams can be caused by a number of factors such as using damp/ crumbling pellets, leaving pellets in the system for extended peri- ods of time or not properly running the shutdown process.
- Page 24 E RROR CODES Error Error Icon Cause Solution Code Title Control No Icon Power turned on while the 1. Turn the power off Knob Posi- knob is not in the OFF/Shut- 2. Turn the knob to the OFF/Shutdown position tion Error down position 3.
- Page 25 E RROR CODES Error Error Icon Cause Solution Code Title • CHECK PELLET SUPPLY - Are there pellets in the hopper? If Flameout No Icon The temperature in the not, load it up and try again. cook chamber does not •...
- Page 26 E RROR CODES Error Error Icon Cause Solution Code Title Unattend- No Icon Unit left unattended for 1. Turn the power off. ed unit too long. 2. Turn the knob to the OFF/Shutdown position. 3. Turn the power on. For additional information on troubleshooting, please visit OklahomaJoes.com or call Oklahoma Joe’s customer service at 800-318-7744.
- Page 27 E LECTRICAL CI RCU IT DIAG RAM • DIAG RAMA DE CI RCU ITO E LECTRICO • SCH É MA DE CI RCU IT É LECTRIQU E NOTE: CI RCU IT DIAG RAM PROVI DE D FOR RE FE RE NCE ON LY. DO NOT MODI FY ANY CI RCU ITS PROVI DE D WITH YOU R G RI LL.
- Page 28 2020 Char-Broil, LLC. Columbus, GA, 31904. © Printed in China. Imprimé en China. Impreso en China. The product associated with this guide was manufactured in China. Tel producto asociado con esta guía ha sido fabricado en China. Le produit associé à ce guide a été fabriqué en Chine.
Need help?
Do you have a question about the Rider DLX and is the answer not in the manual?
Questions and answers