Advertisement
REGULATORS
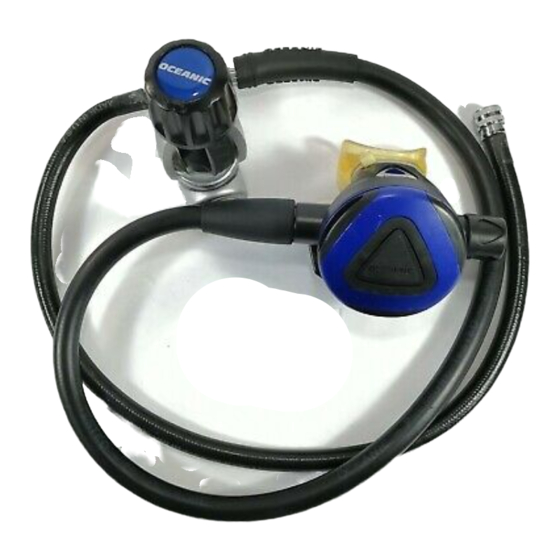
DELTA II SECOND STAGE
DELTA 2
SERVICE
PROCEDURE
This Delta-2 Product Service Procedure conveys a list of components and service pro-
cedures that reflect the Delta-2 as it was configured at the time of this writing (10/3/10).
R = Revision
Doc. 12-2223-r03 (10/3/10)
PG-1
© 2002 Design 1997
OCEANIC® Product Service Guide
Advertisement

Related Manuals for Oceanic DELTA 2


Summary of Contents for Oceanic DELTA 2
- Page 1 This Delta-2 Product Service Procedure conveys a list of components and service pro- cedures that reflect the Delta-2 as it was configured at the time of this writing (10/3/10). R = Revision Doc. 12-2223-r03 (10/3/10) PG-1 © 2002 Design 1997 OCEANIC® Product Service Guide...
-
Page 2: Table Of Contents
2. No leak with knob turned in, counter clockwise, 1.5 turns. 3. Minimum effort with no leak = 1.2 inches of H O, or less. Oceanic approved Halocarbon Based Lubricant (See General Procedure Doc. 12-2202 for approved list) R = Revision Doc. -
Page 3: Troubleshooting
5. Tighten until perfectly snug and properly 4. Demand diaphragm washer(2) not aligned. present. 6. Replace with new. 5. Front cover(1) insufficiently tightened onto housing. 6. Cracked or damaged housing(4). R = Revision Doc. 12-2223-r03 (10/3/10) PG-3 © 2002 Design 1997 OCEANIC® Product Service Guide... -
Page 4: Disassembly Procedure
10. Remove the packing nut(32) by turning it counterclockwise using a 5/8" open end wrench. Remove the thrust washer(31) from the adjustment stem(29). R = Revision Doc. 12-2223-r03 (10/3/10) PG-4 © 2002 Design 1997 OCEANIC® Product Service Guide... - Page 5 20. Examine the poppet spring(16) with a magnifier and compare with new to ensure correct tension and length. Discard if found to be weakened or corroded. Fig. 6 R = Revision Doc. 12-2223-r03 (10/3/10) PG-5 © 2002 Design 1997 OCEANIC® Product Service Guide...
-
Page 6: Reassembly Procedure
WARNING: Use only genuine Oceanic parts, subassemblies, and components whenever assembling Oceanic products. DO NOT attempt to substitute an Oceanic part with another manufacturer’s, regardless of any similarity in shape, size, or appearance. Doing so may render the product unsafe, and could result in serious injury or death of the user. - Page 7 8. If previously removed, install the piston spring follower(28) on the adjustment stem(29). Screw it on counterclockwise, flat side Fig. 12 first. DO NOT tighten with a wrench. R = Revision Doc. 12-2223-r03 (10/3/10) PG-7 © 2002 Design 1997 OCEANIC® Product Service Guide...
- Page 8 As soon as contact is made, you will feel the locknut begin to turn. Hold the screwdriver by the shaft rather than the handle. Fig. 15 R = Revision Doc. 12-2223-r03 (10/3/10) PG-8 © 2002 Design 1997 OCEANIC® Product Service Guide...
-
Page 9: Final Tuning And Testing
20. Secure the mouthpiece(9) onto the housing(4) with an all plastic, noncorrosive tie wrap(8), positioning the locking tab of the tie wrap towards the hose. (Fig. 17) NOTE: Oceanic’s patented Orthodontic Mouthpieces are designed to accommodate the natural overbite of the hu- man jaw. - Page 10 B. Purge the regulator of air. C. Depress the lever arm and hold to remove the inlet coupling from the inlet tube, using a 3/4" open end wrench. R = Revision Doc. 12-2223-r03 (10/3/10) PG-10 © 2002 Design 1997 OCEANIC® Product Service Guide...
- Page 11 NOTE: If hesitation or lag is detected, refer to the trouble- shooting section to determine possible cause and treatment. 8. Clean and disinfect the mouthpiece in warm, soapy water before returning to the customer. R = Revision Doc. 12-2223-r03 (10/3/10) PG-11 © 2002 Design 1997 OCEANIC® Product Service Guide...
-
Page 12: Parts List And Exploded View Diagram
Delta II Color Kit - PR 4969 Washer - Snap ANNUAL SERVICE PARTS KIT 2.004 O-ring - Balance Shaft Service Kit (Includes all Bold items) 40.6160 R = Revision Doc. 12-2223-r03 (10/3/10) PG-12 © 2002 Design 1997 OCEANIC® Product Service Guide...
Need help?
Do you have a question about the DELTA 2 and is the answer not in the manual?
Questions and answers